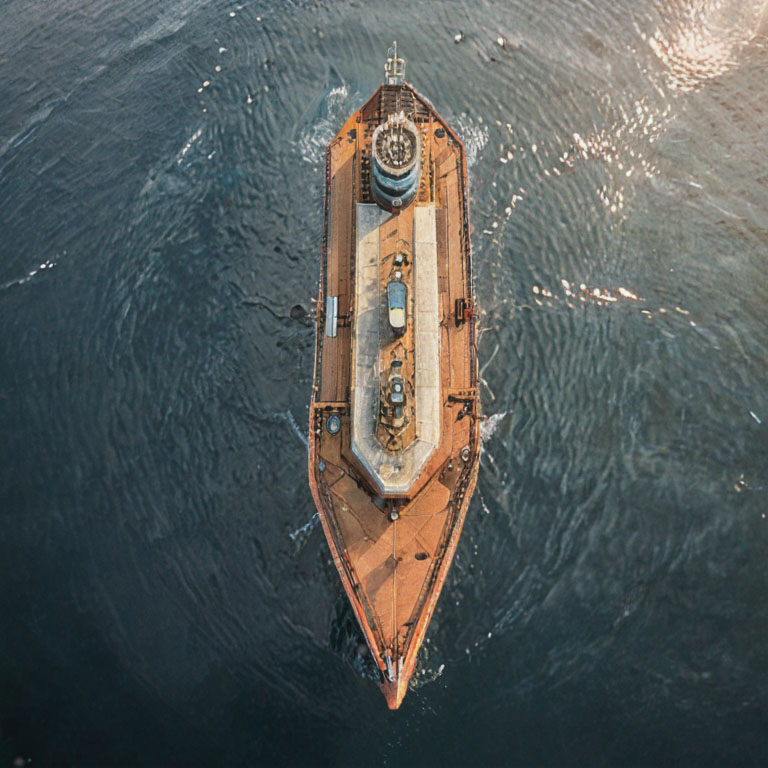


This image was created by Stable Diffusion with the following prompt:
Prompt – (A small ship is seen from the sky, first person view 45 degree angle), showing the full ship from zoomed out view, post processing, cinematic, post production, detailed and intricate, tone mapping, hyper realistic, photorealistic, ultra photoreal, ultra-detailed, intricate details, 8k, super detailed, full color, surrealism, full detail, ray tracing, best quality, extremely detailed
Negative prompts – (worst quality, low quality, normal quality:1.8)
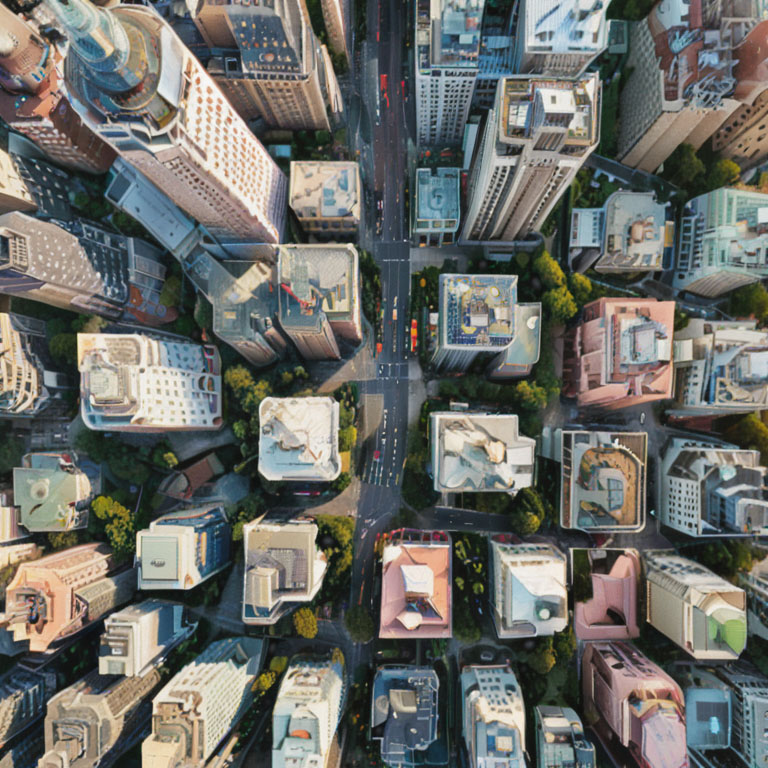
This image was created by Stable Diffusion with the following prompt:
Prompt – (A city full of buildings is seen from the sky, first person view 45 degree angle), post processing, cinematic, post production, detailed and intricate, tone mapping, hyper realistic, photorealistic, ultra photoreal, ultra-detailed, intricate details, 8k, super detailed, full color, surrealism, full detail, ray tracing, best quality, extremely detailed
Negative prompts – (worst quality, low quality, normal quality:1.8)
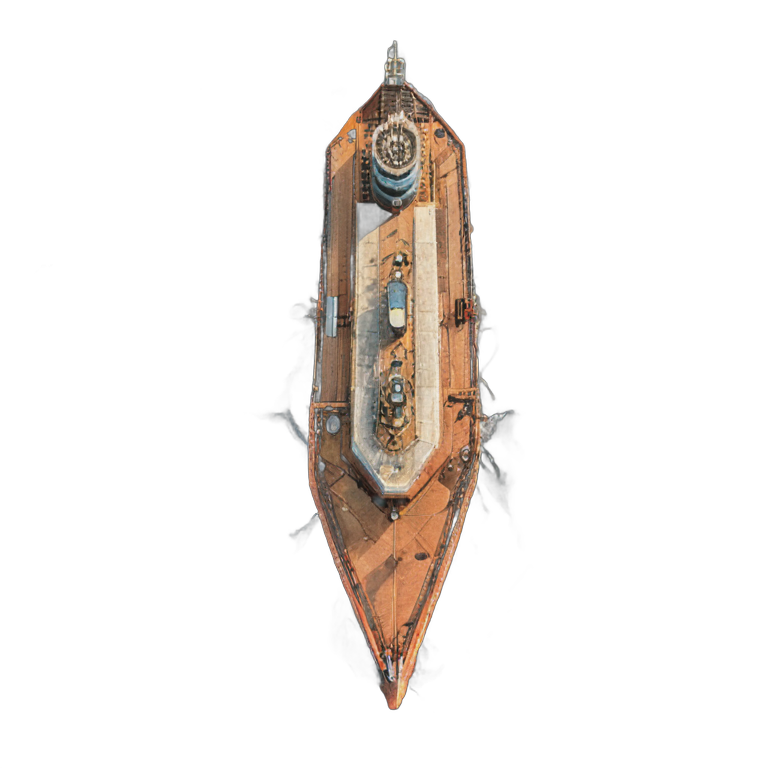
The background was removed in Stable Diffusion, by using an extension called [stable-diffusion-webui-rembg].
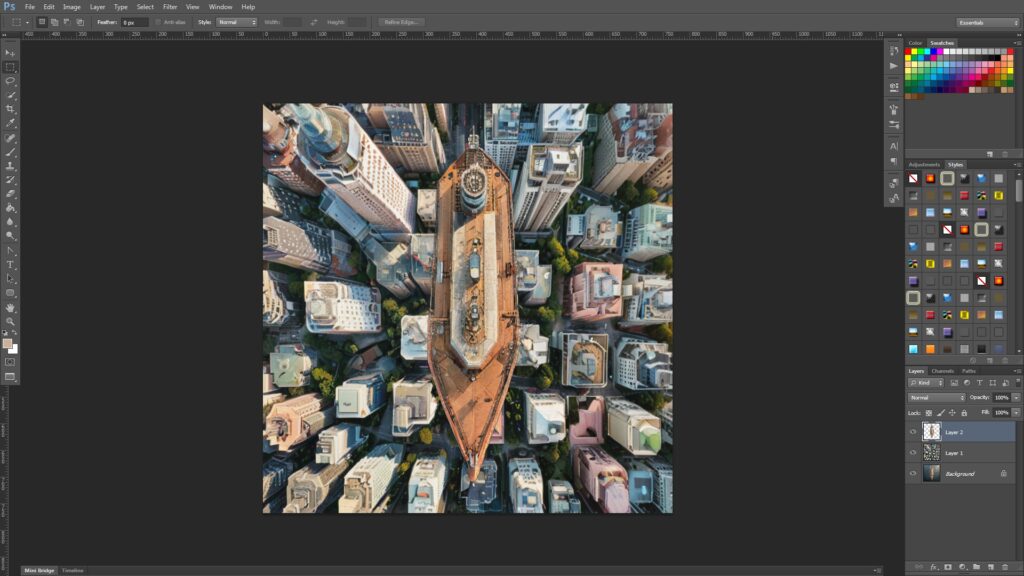
Open the ship image. Copy and paste the City image. Copy and paste the transparent ship image.
Change the city image’s blend mode to [Soft Light]. The tutorial can end here, but I’ll show you more interesting effects.
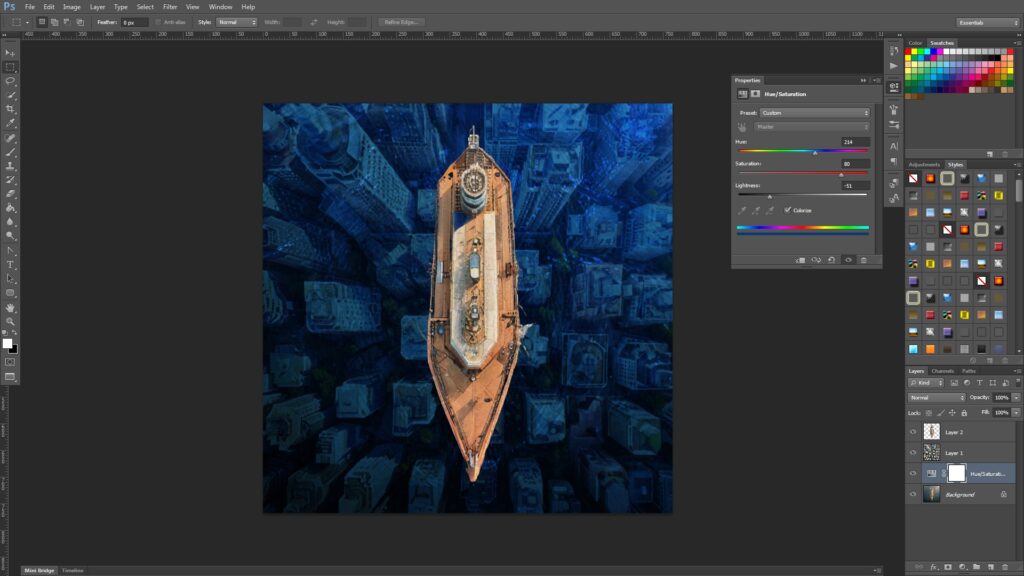
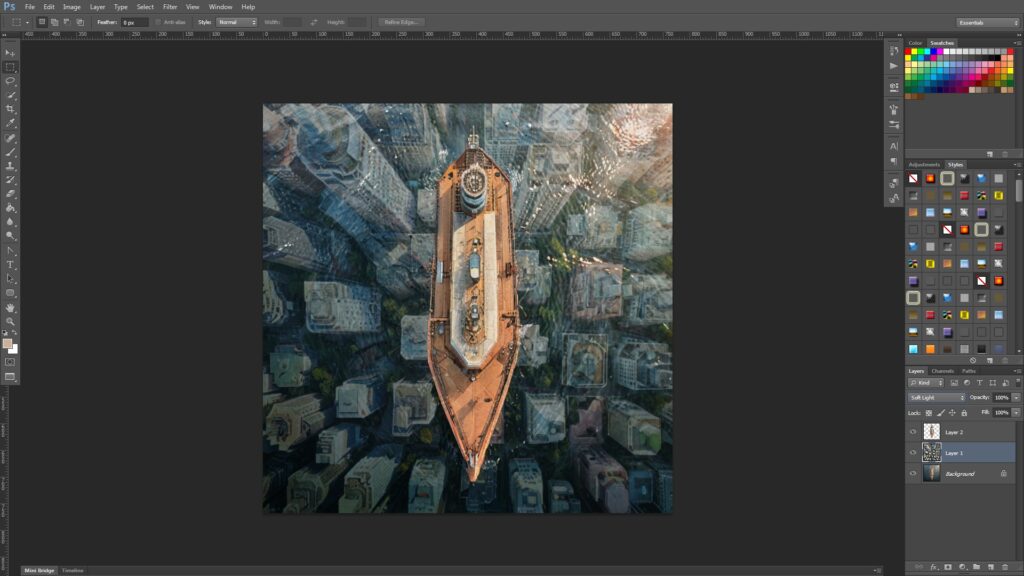
Add a ‘Hue and Saturation adjustment layer’ to the city image, and turn it bluish like this.
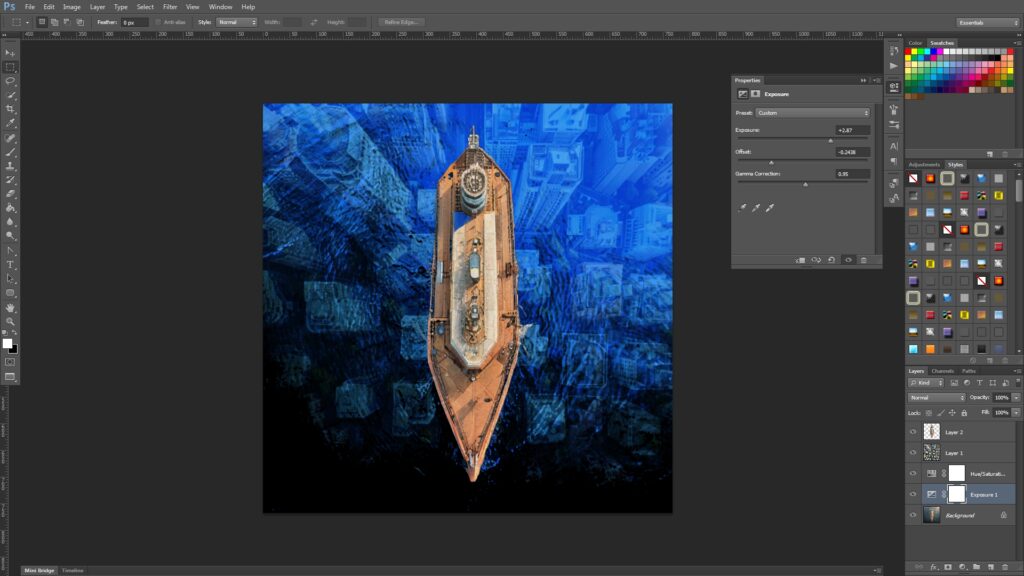
Add an ‘Exposure adjustment layer’ to the city image, and adjust the settings like this.
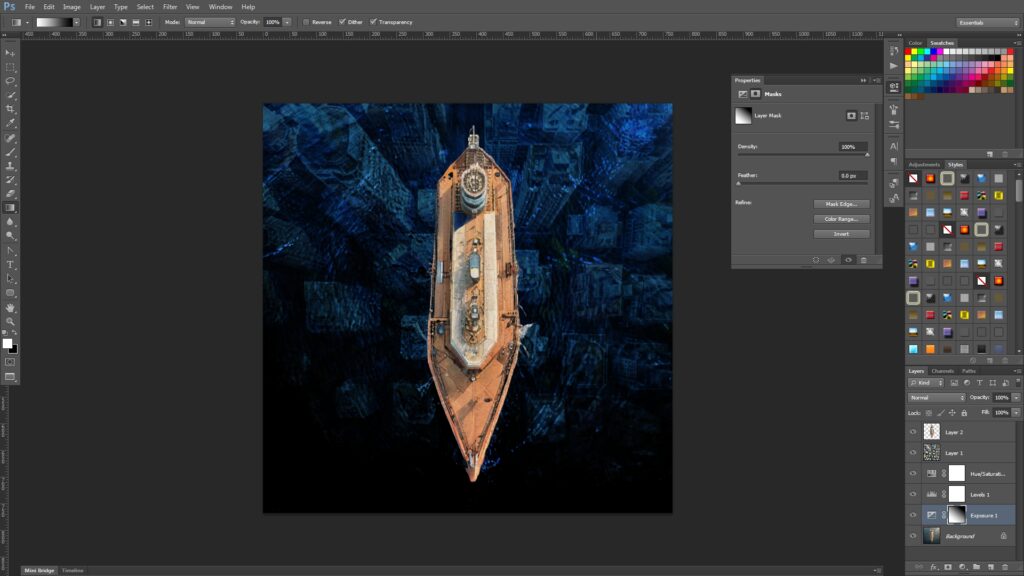
This is optional, but I have also added a Levels adjustment layer, and applied a gradient fill to the mask of the exposure adjustment layer.
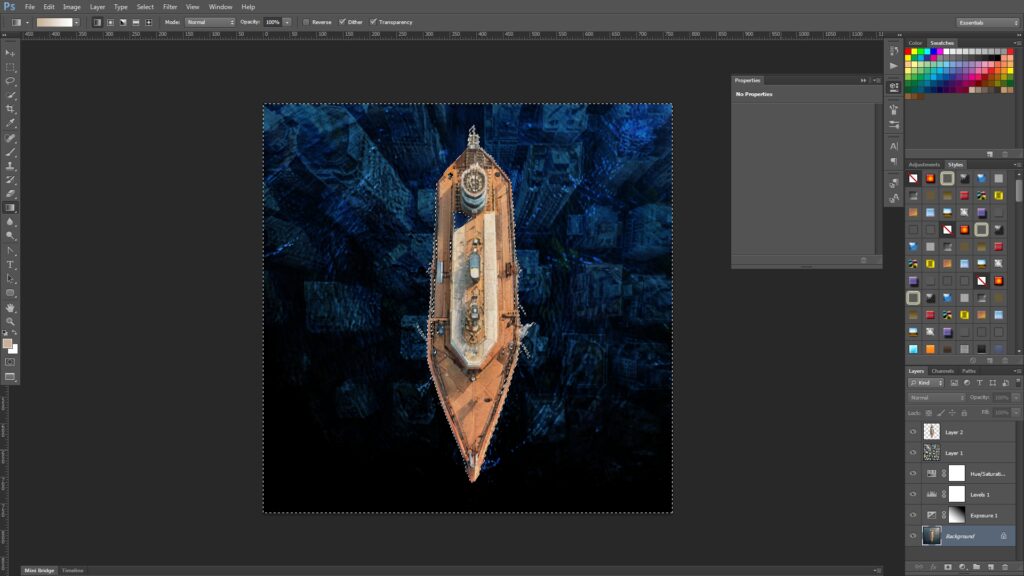
[Control + Click] the top layer to select the ship shape. Press [Control + Shift + I] to invert the selection. Select the bottom layer and press [Control + C] and [Control + Shift + V] to paste in place. Basically, we have just copied the water. Place the water layer below the transparent ship layer.
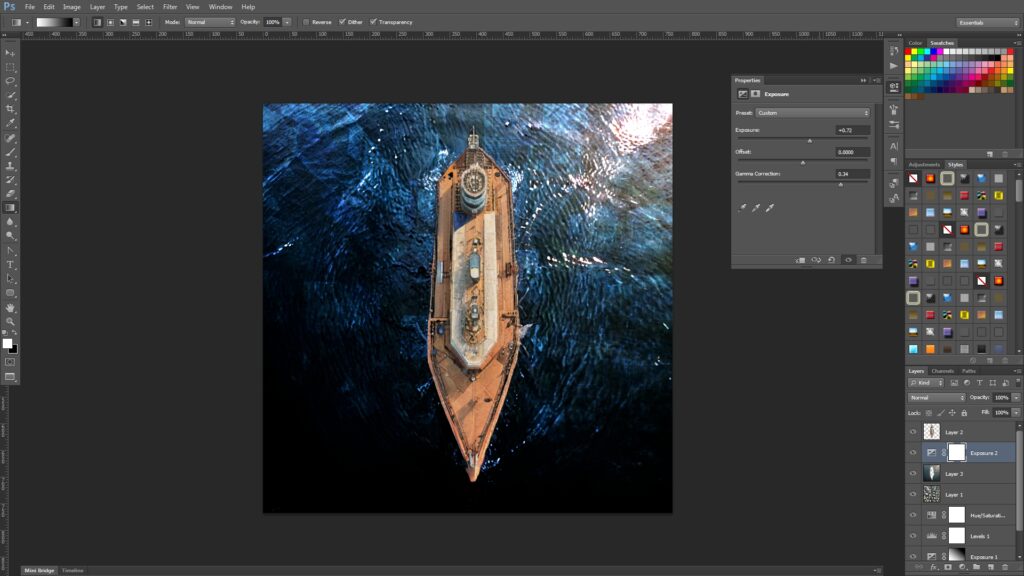
Let’s add an Exposure adjustment layer to the water layer. Please remember to right click the exposure adjustment layer and create a clipping mask.
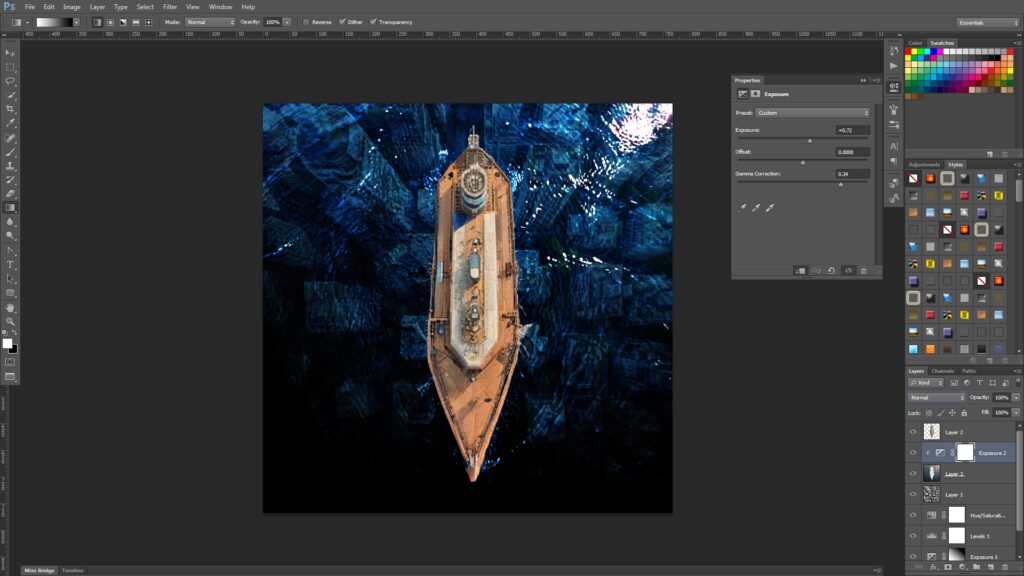
Change the water layer’s blend mode to Color Dodge and it’s all done.
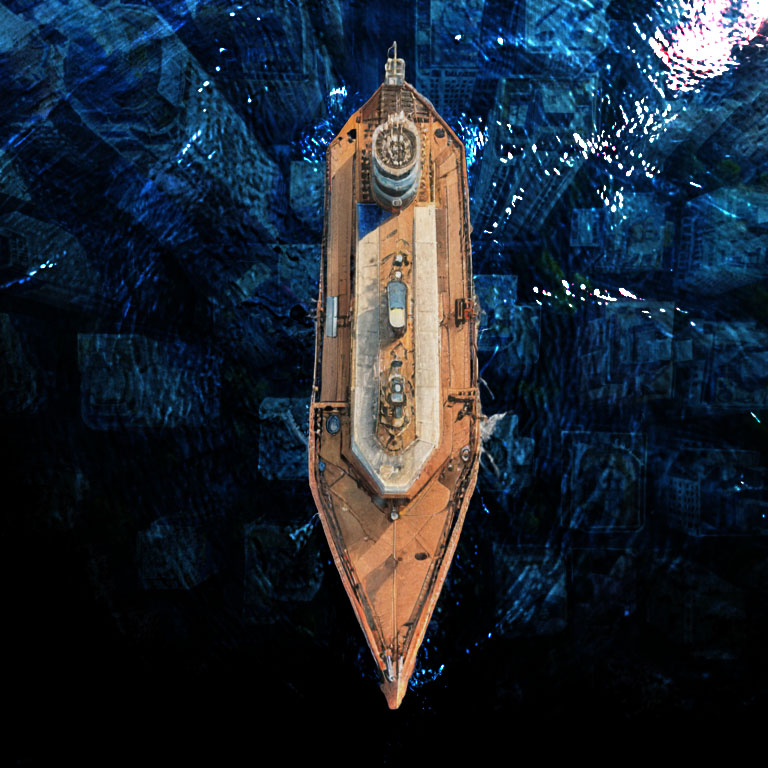
This is the end of the tutorial. 🙂