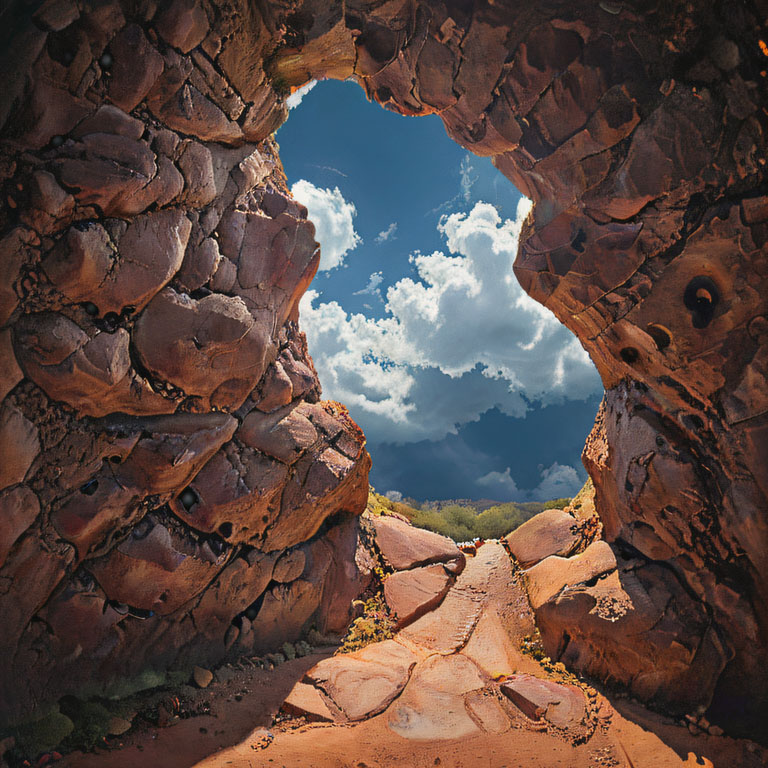


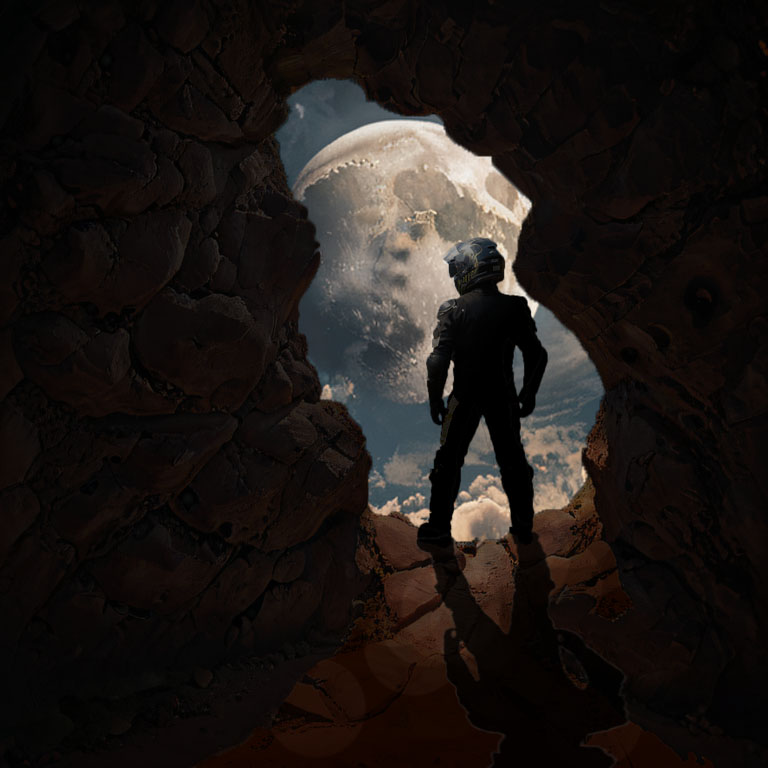
This image was created by Stable Diffusion with the following prompt:
Prompt – first person view from inside the rocky cave tunnel to the outside, through a small entrance hole that is located above the eye level, there is visible night sky with beautiful clouds outside, post processing, cinematic, post production, detailed and intricate, tone mapping, hyper realistic, photorealistic, ultra photoreal, ultra-detailed, intricate details, 8k, super detailed, full color, surrealism, full detail, ray tracing, best quality, extremely detailed
Negative prompts – (worst quality, low quality, normal quality:1.8)
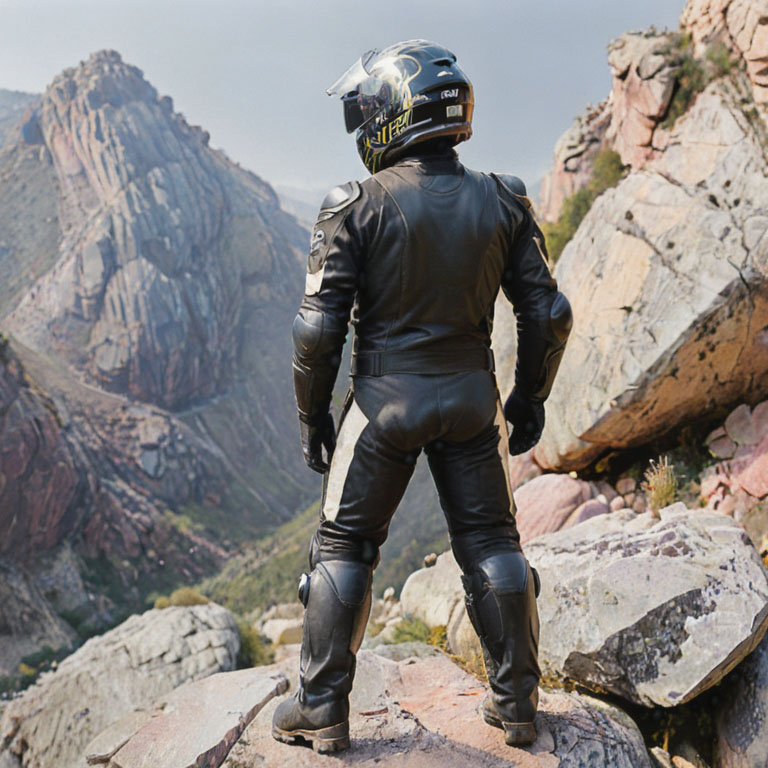
This image was created by Stable Diffusion with the following prompt:
Prompt – (showing the full body from head to boots:1.5), A man wearing motorcycle suit with helmet is facing away from the camera, standing on the rock, isolated in black background
Negative prompts – (worst quality, low quality, normal quality:1.8)
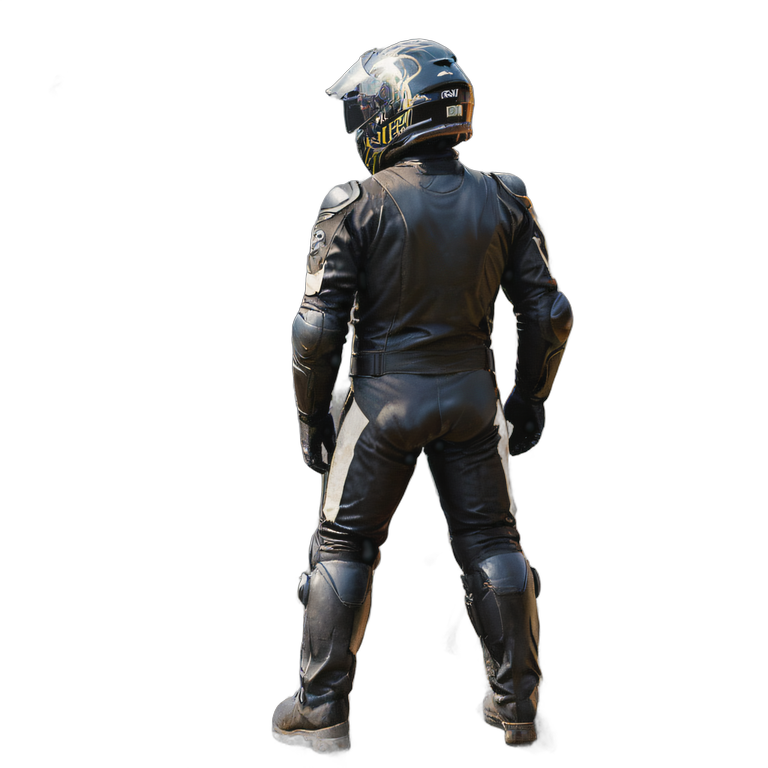
I have removed the background in Photoshop.
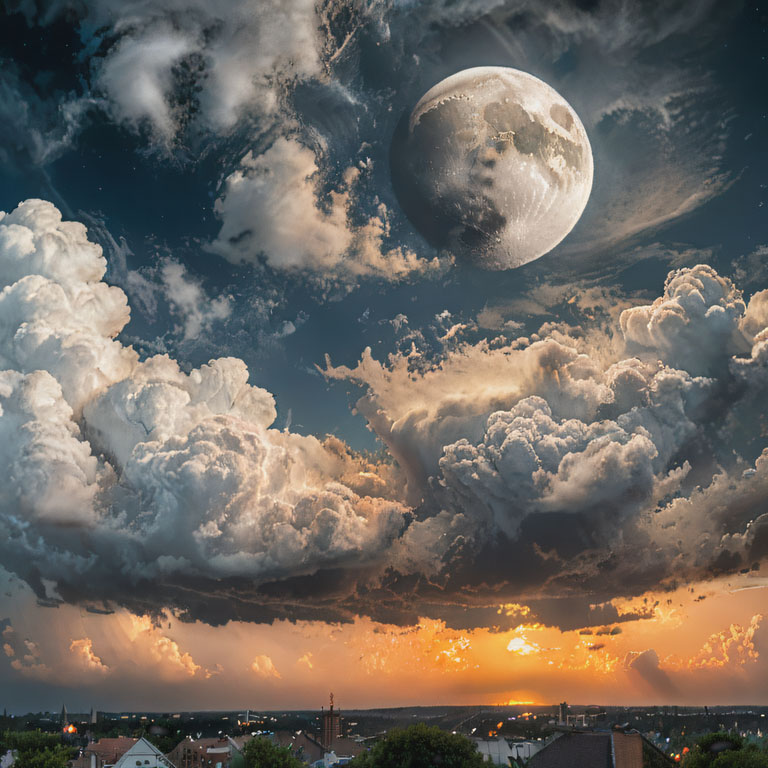
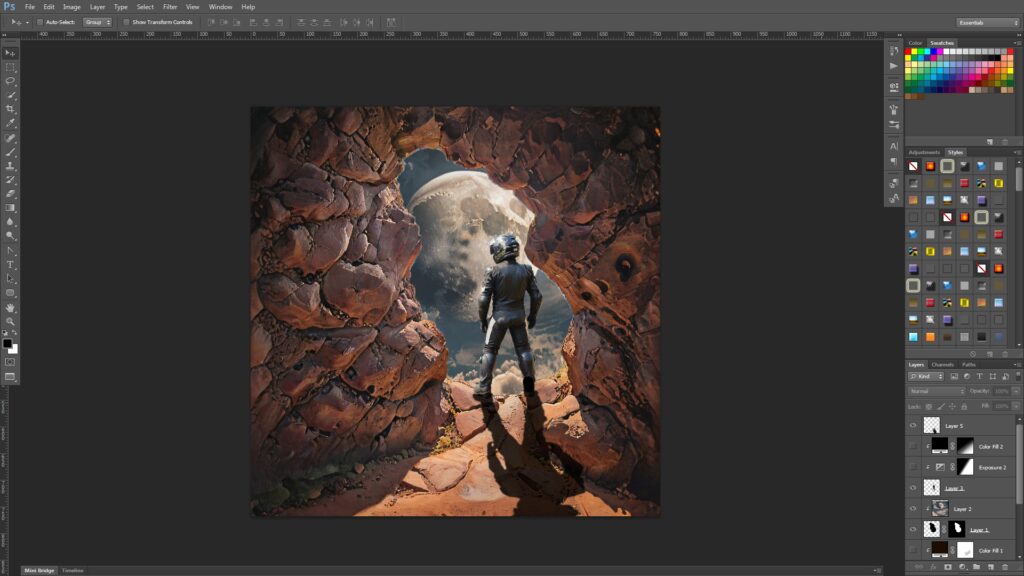
This image was created by Stable Diffusion with the following prompt:
Prompt – Beautiful clouds and the Moon at night, post processing, cinematic, post production, detailed and intricate, tone mapping, hyper realistic, photorealistic, ultra photoreal, ultra-detailed, intricate details, 8k, super detailed, full color, surrealism, full detail, ray tracing, best quality, extremely detailed
Negative prompts – (worst quality, low quality, normal quality:1.8)
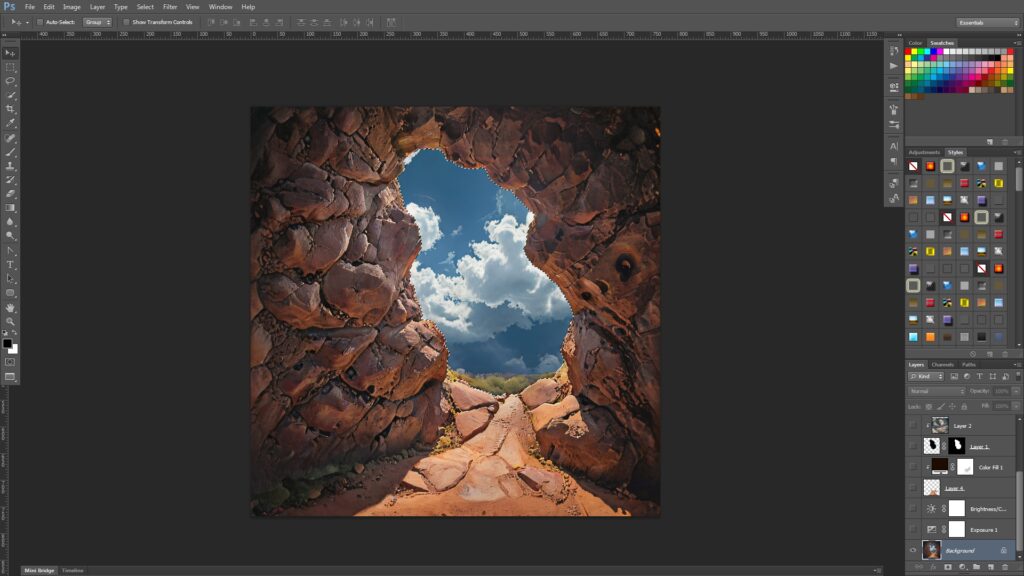
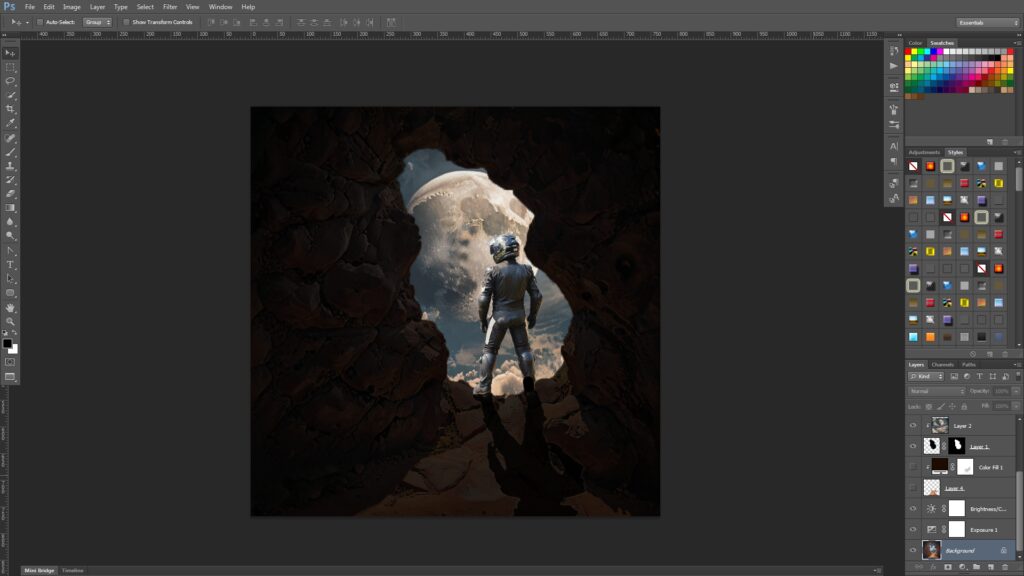
I used a Quick Selection Tool to select the sky region, created a new layer, and filled it with black. Then I added a layer mask.

Then I used the Quick Selection Tool to select the light brown region at the bottom of the image. I pressed [Control + C] to copy, and [Control + Shift + V] to paste in place.
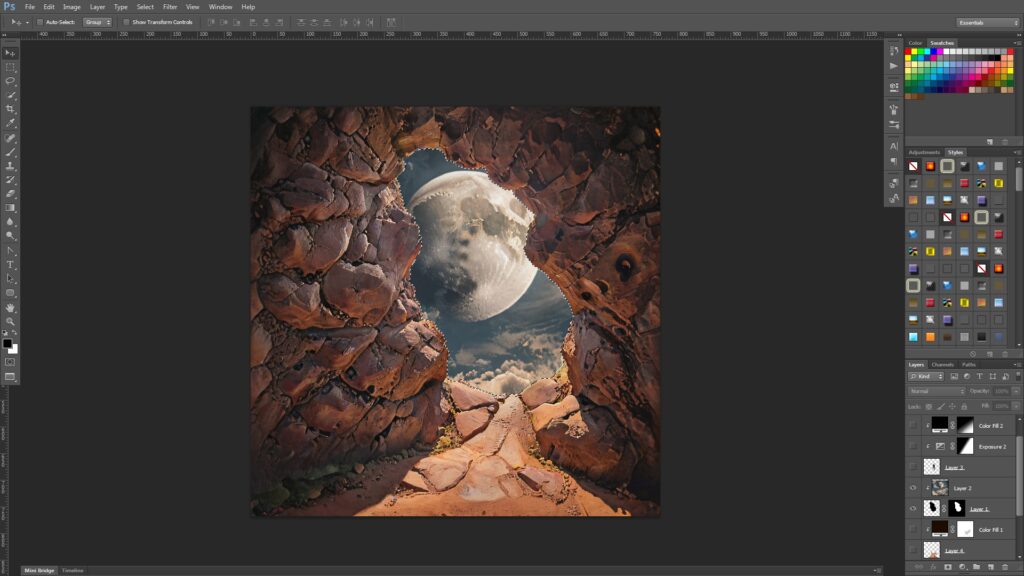
Then I selected the black sky region layer and pasted the new sky image above it. I right clicked the new sky layer, and selected [Create Clipping Mask] to mask the image.
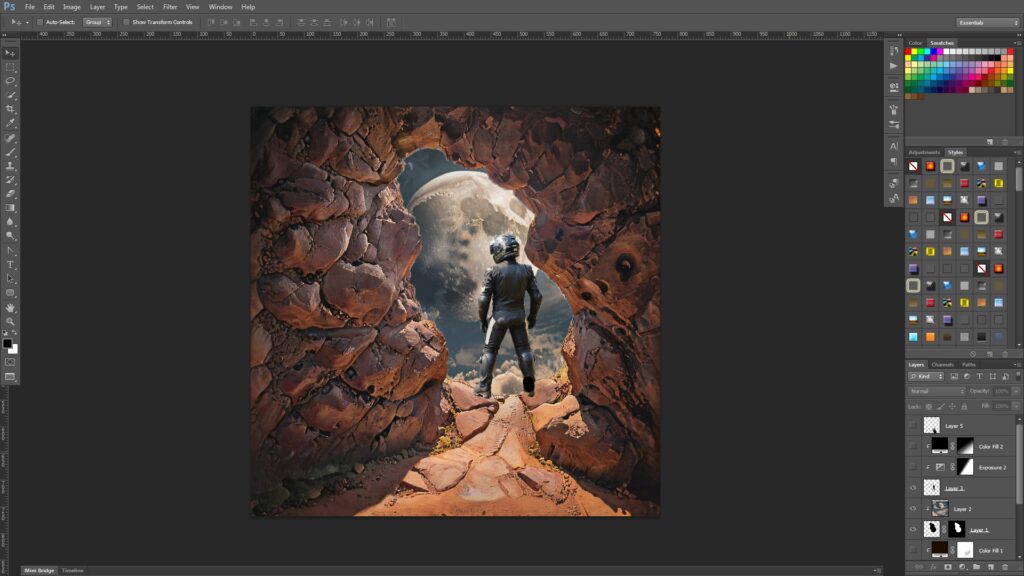
Then I copied and pasted the character image and used [Control + T] to move and resize.
Then I created a shadow by [Control + Clicking] the character layer, creating a new layer, fill it with black, and [Control + T] to put the image upside down. After that I pressed [Control + T and Right Click] to select the warp, and connect the shadow’s legs to the character’s legs.
I added an Exposure Adjustment Layer to the cave image.
Then I added a Brightness and Contrast Adjustment Layer to the cave image.
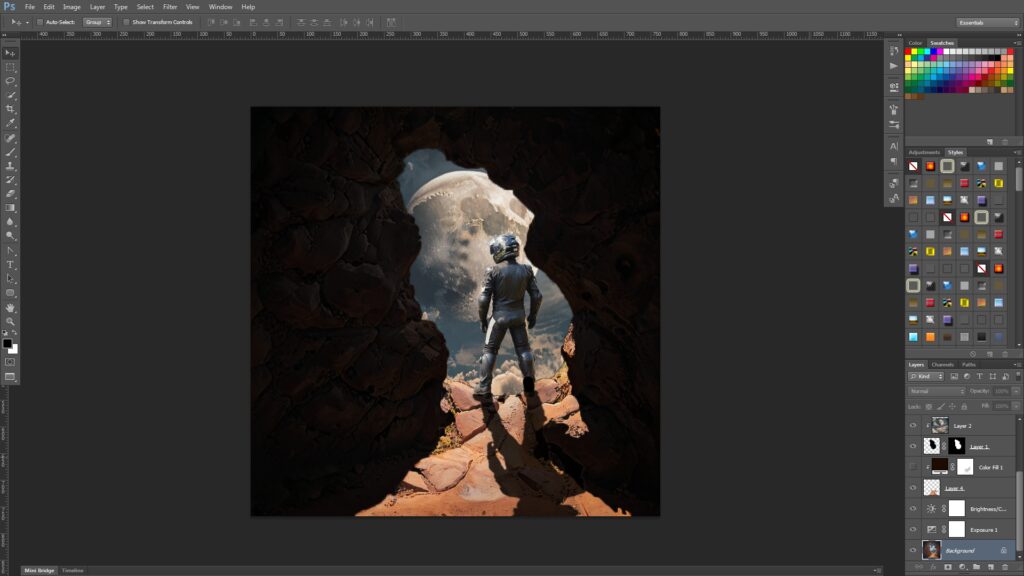
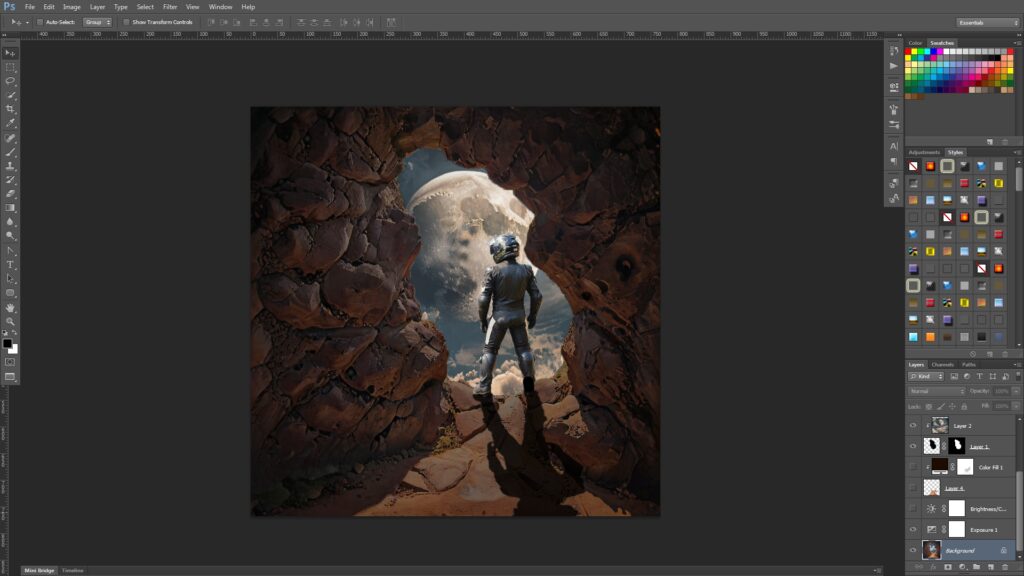
Then I placed the light brown layer between the sky shaped black image layer and the background layer like this.
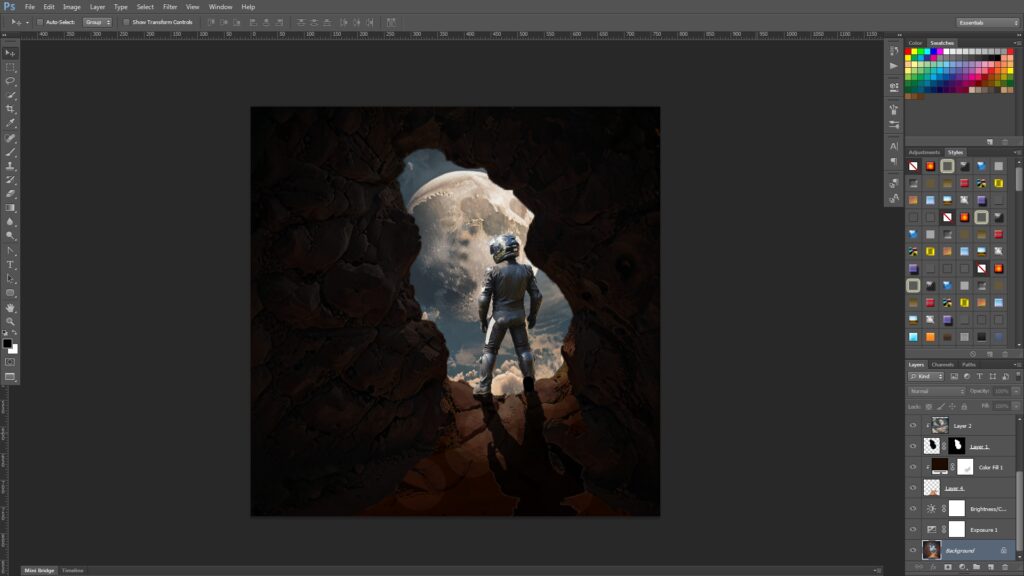
I added an Solid Color Fill layer, filled it with black and changed the layer blend mode to [Multiply]. I used a brush with white paint selected, and clicked the entrance region with 5% brush opacity.
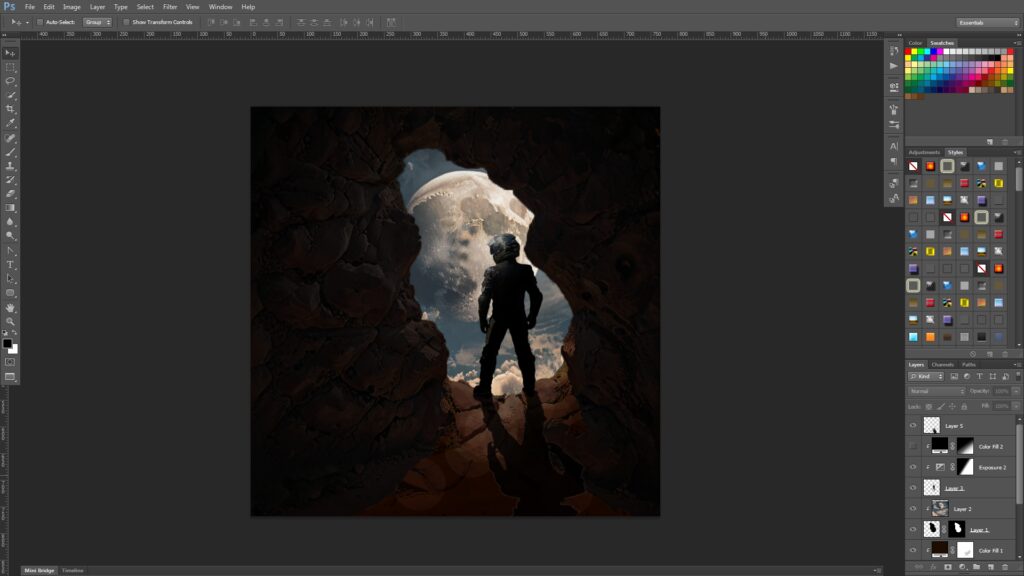
Then I added Exposure adjustment layer to the character layer.

Lastly, I added a Solid color fill layer to the character layer like this.
This is the end of the tutorial. 🙂