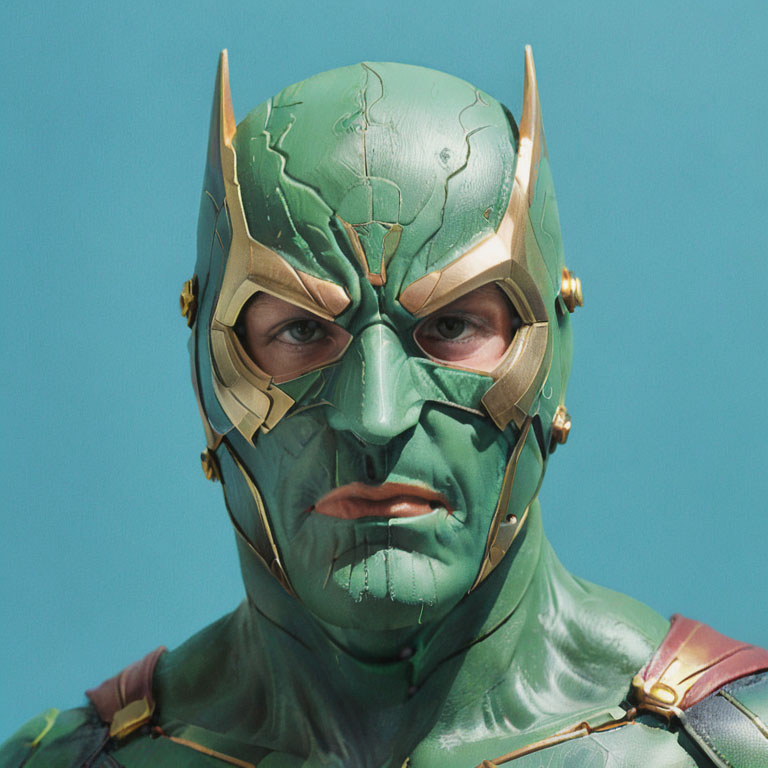


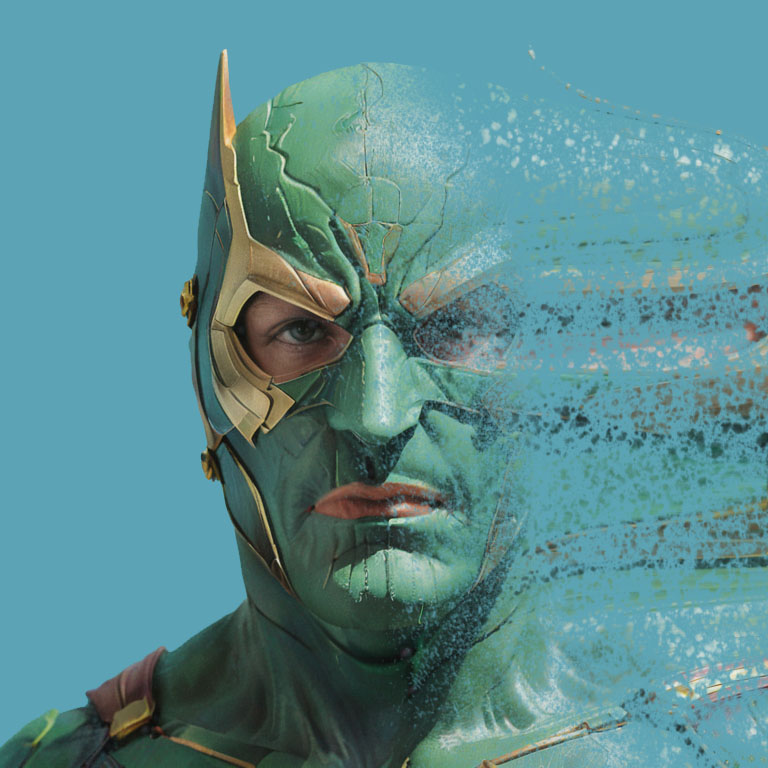
This image was created by Stable Diffusion with the following prompt:
Prompt – green mask wearing super hero, portrait photograph, isolated in light blue background, post processing, cinematic, post production, detailed and intricate, tone mapping, hyper realistic, photorealistic, ultra photoreal, ultra-detailed, intricate details, 8k, super detailed, full color, surrealism, full detail, ray tracing, best quality, extremely detailed
Negative prompts – (worst quality, low quality, normal quality:1.8)

1. Please download and install an explosion brush.
https://www.brusheezy.com/brushes/17364-free-explosion-brushes
2. Remove the background. I have used a Magic Wand Tool to select the background, pressed [Control + Shift + I] to invert the selection, [Control + C] to copy, and [Control + Shift + V] to paste.
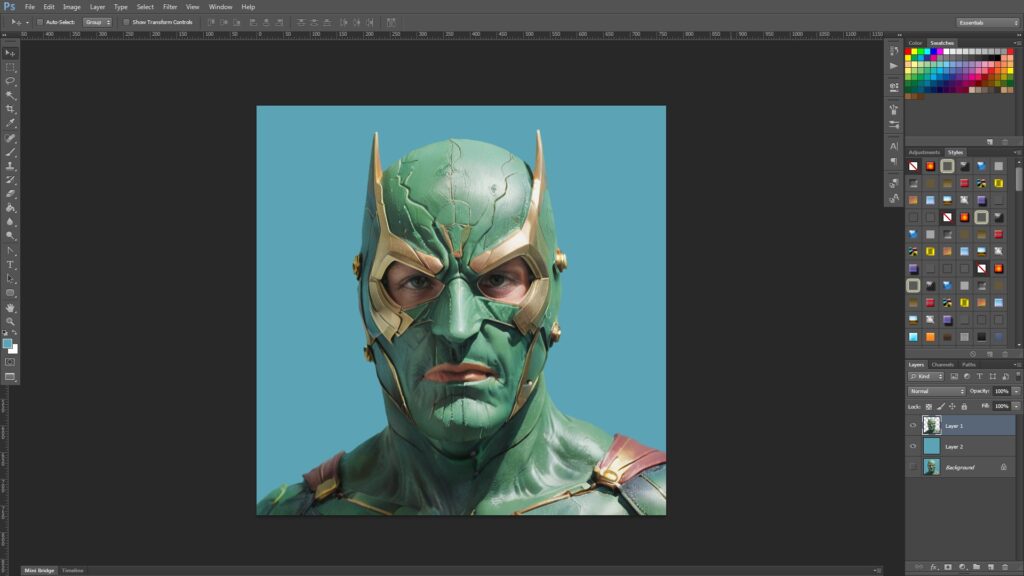
Create a new layer, fill it with light blue, and place the layer between the original layer and the character layer.
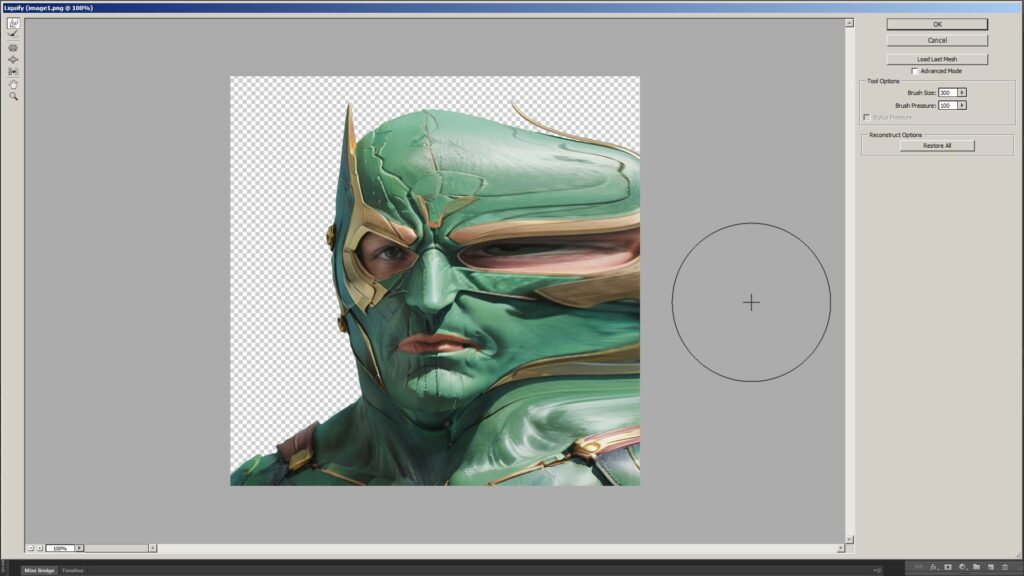
Select the character layer, go to [Filter -> Liquify] to liquify the character like this.
Select the explosion brush, open the brush settings, and rotate the brush angle to 90 degrees.
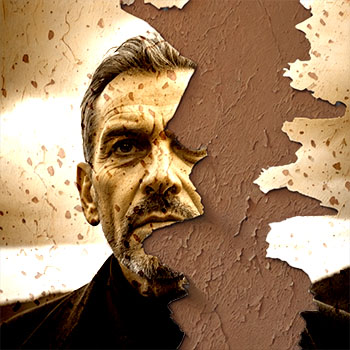
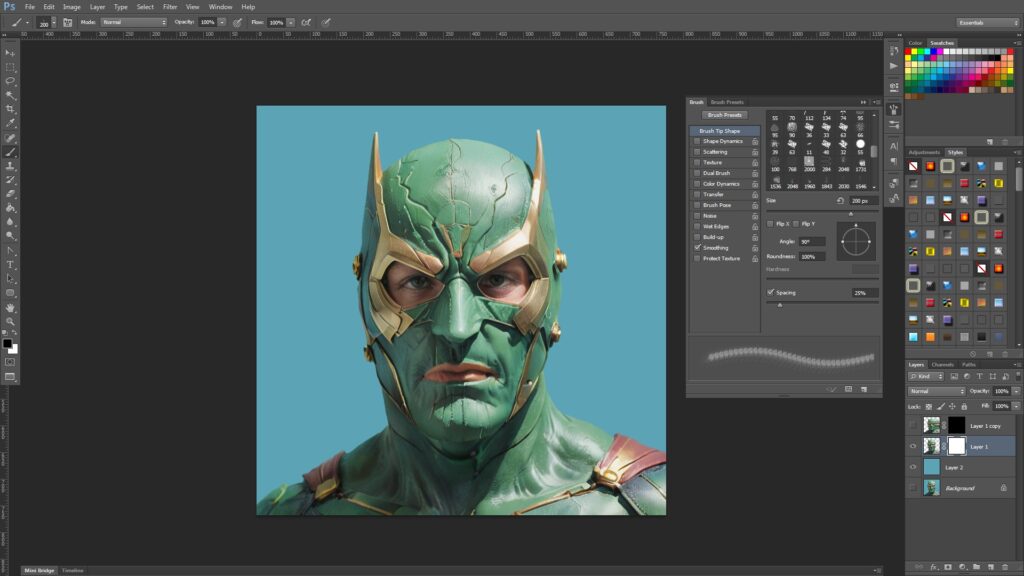
Add a mask to the character layer, press [Control + J] to duplicate it. Fill the top layer’s mask with black and the second layer’s mask with white. Use the explosion brush with black color to remove the right side of the image like this. Please hide the top layer while brushing, so the character will become visible.
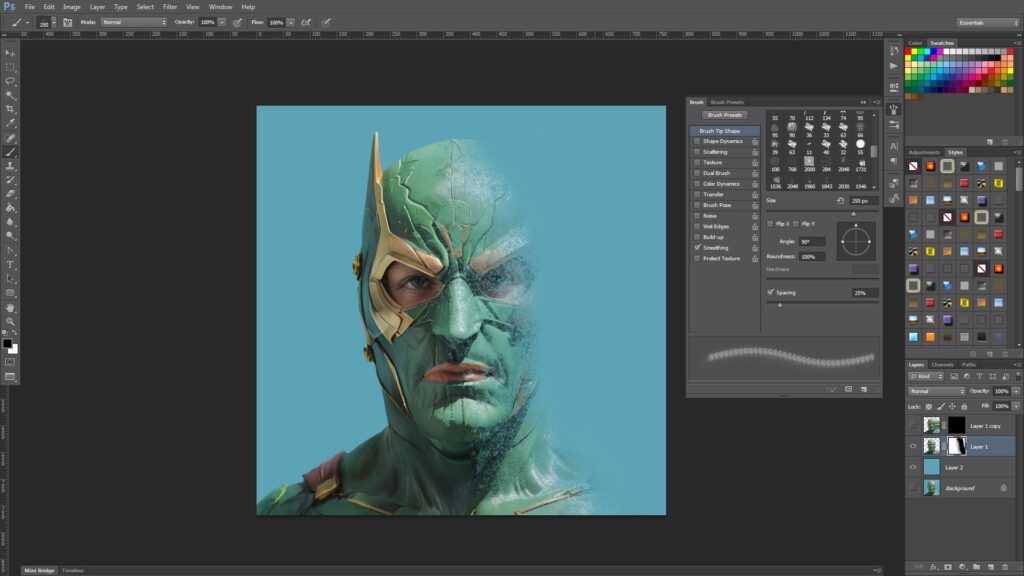
Unhide the top layer, use the explosion brush with white color to create a scatter effect like this.
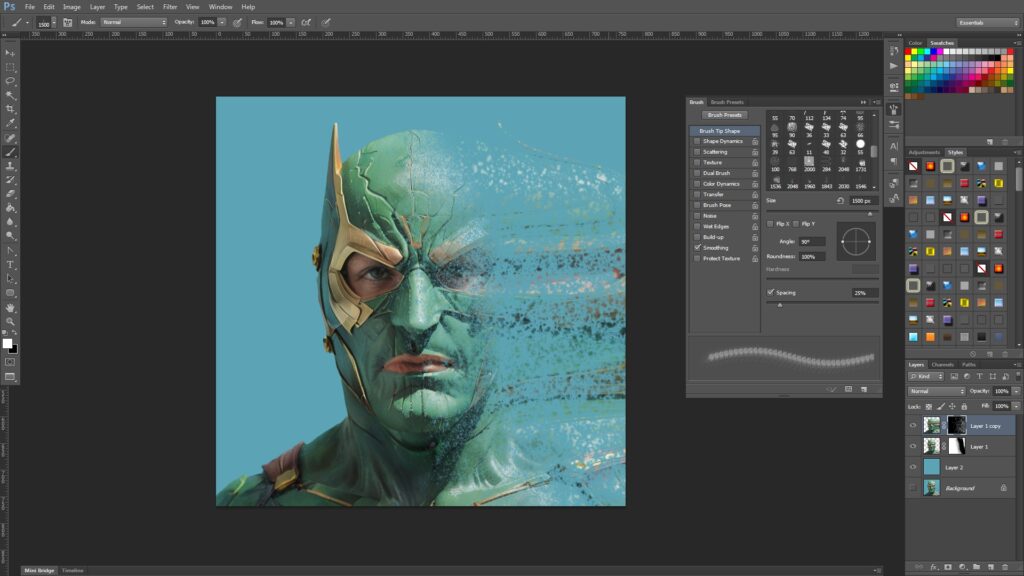
This is the rough result. Please use the explosion brush to remove the scatter parts a bit more to make it look more realistic.
This is the end of the tutorial. 🙂