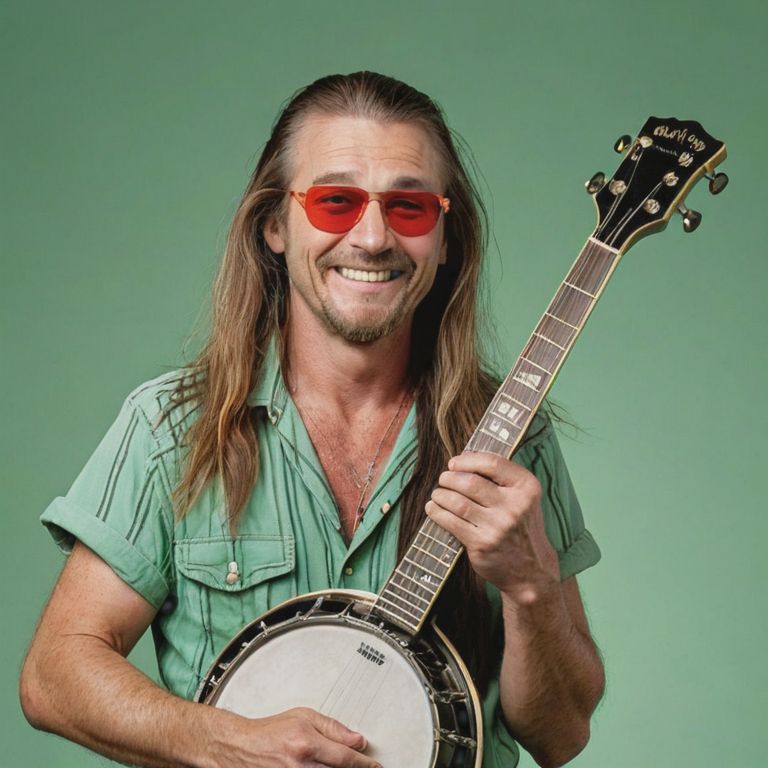


This image was created by Stable Diffusion with the following prompt:
- Prompt – A smiling hillbilly man with mullet hair, missing teeth, wearing red sunglasses, staring at the camera like a movie villain. Holding his banjo above his head. Isolated in light black background. His name is Jethro Billy Ray-Nathan Wyatt.
- Negative prompt – (worst quality, low quality, normal quality:1.8)
The background was removed in Stable Diffusion, by using an extension called [stable-diffusion-webui-rembg].
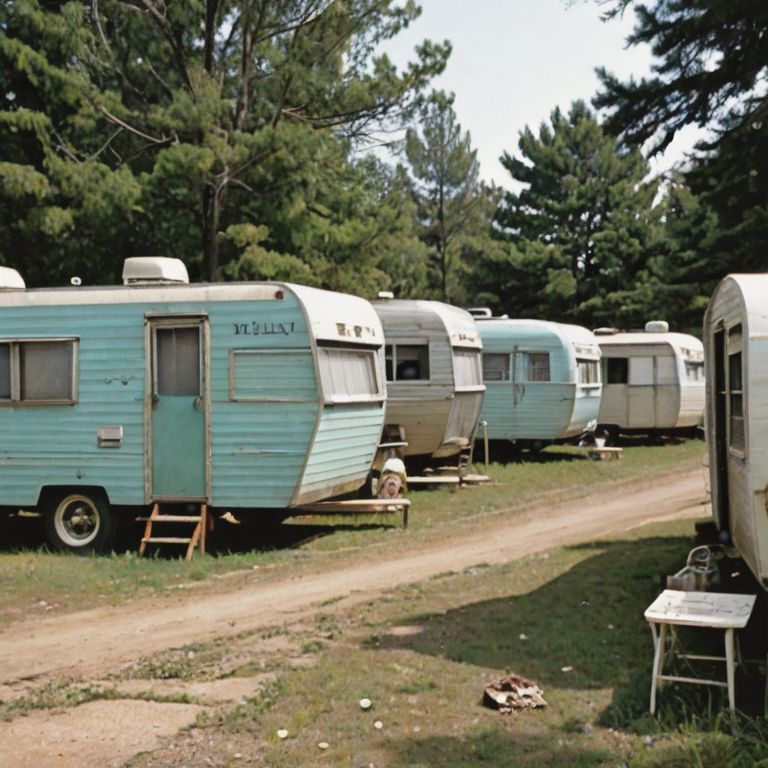
This image was created by Stable Diffusion with the following prompt:
- Prompt – 1960’s trailer park.
- Negative prompt – (worst quality, low quality, normal quality:1.8)
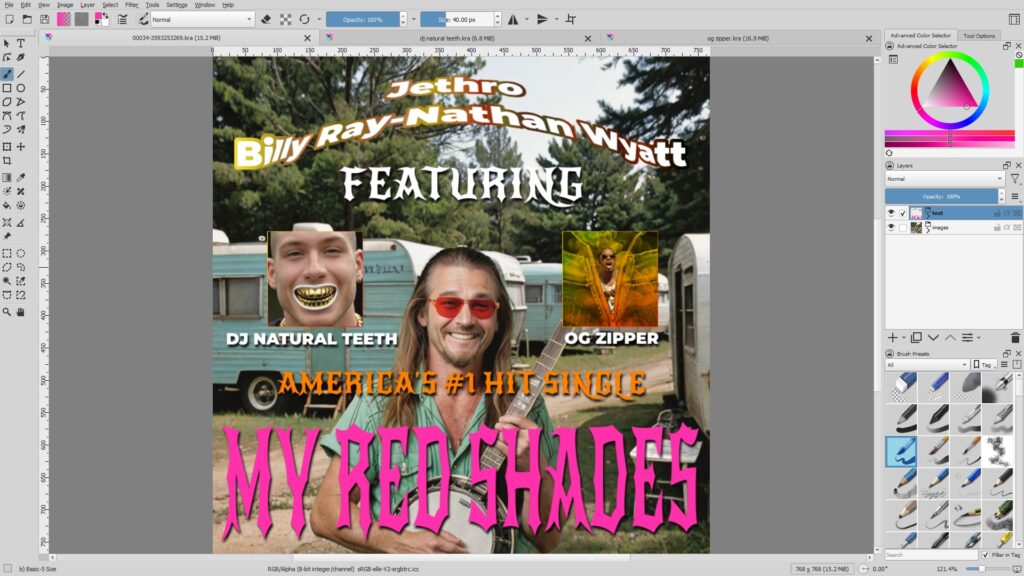
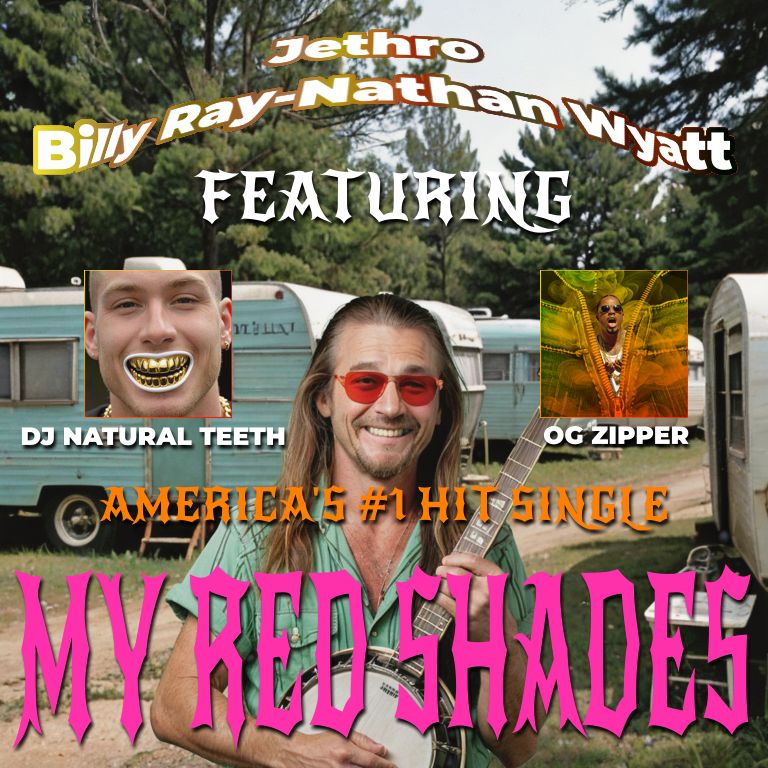
This was the result. Basically, I created six text objects and copied/pasted two more images into this project. I’ll explain how they were arranged.
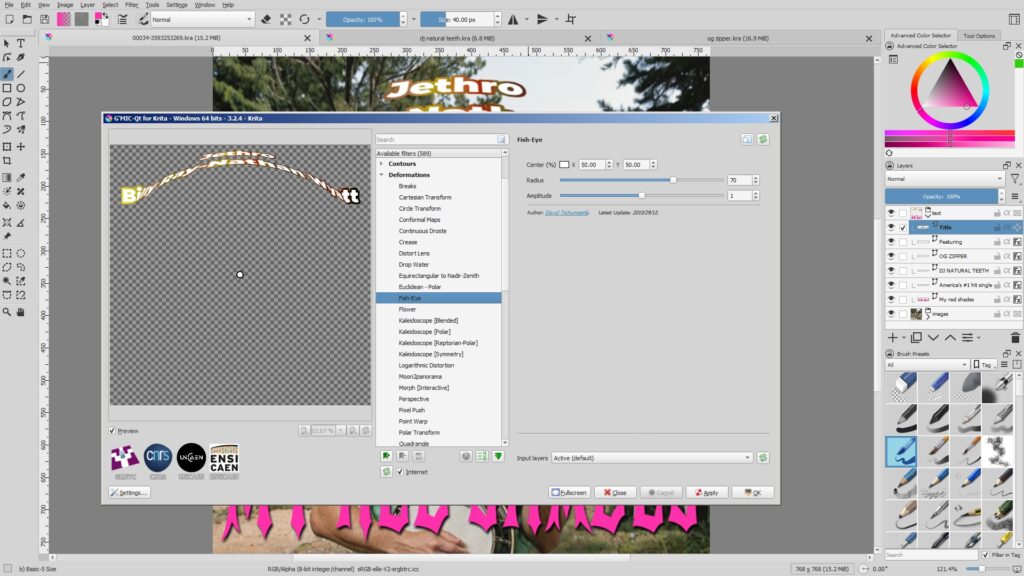
The singer’s name had a Fish Eye filter added. the filter is located under [Filter -> Start G’MIC-Qt -> Deformations -> Fish-eye].
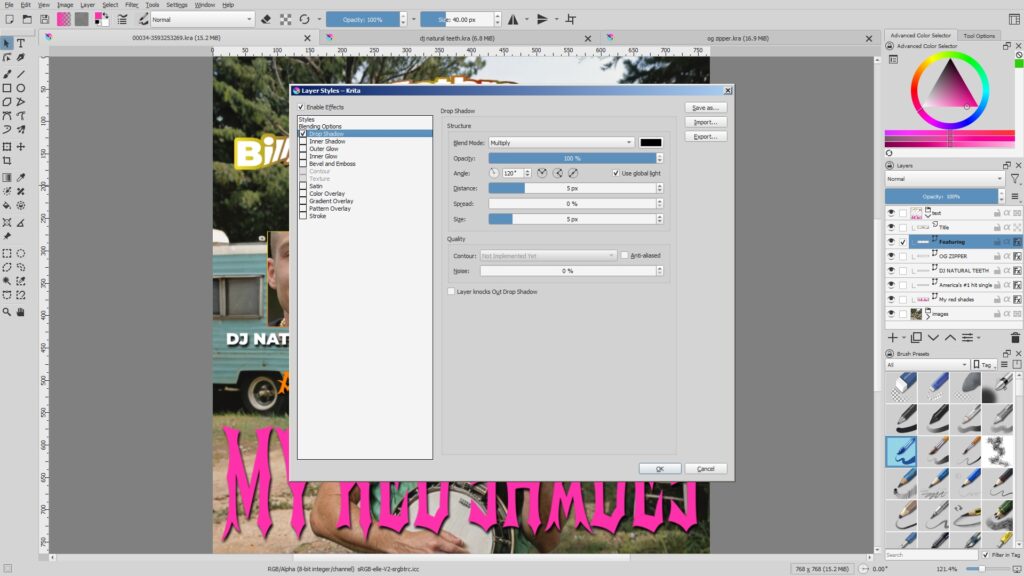
The rest of the text objects had a Drop Shadow layer style added.
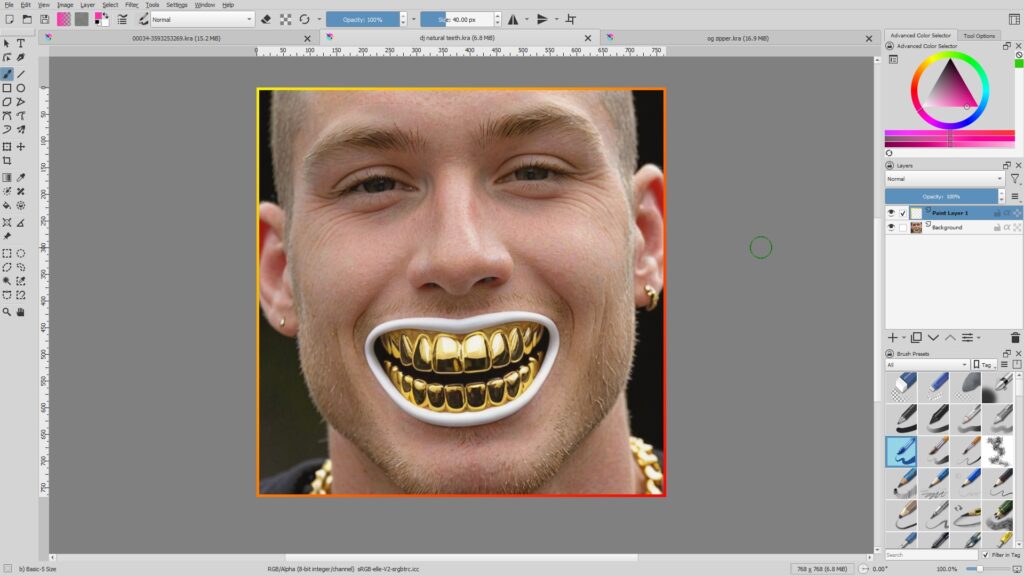
This image was created while I was creating a rapper image with Stable Diffusion yesterday. I wanted to get a rapper with all golden teeth, and this humorous image was created by the AI.
The border was created by pressing [Control + A] to select all, and by going to [Select -> Grow selection], added 5 pixels, pressed [Control + Shift + I] to invert the selection, and filled it with red and yellow gradient.
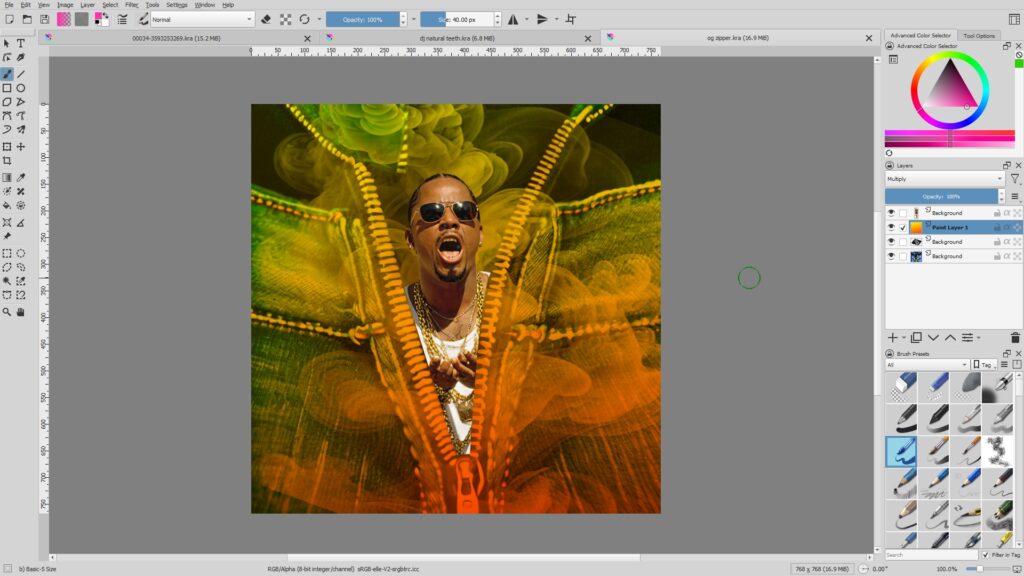
This image was created after generating an open zipped jean image with Stable Diffusion, placing the rapper’s image above, and using Bezier curve selection tool to cut out the rapper’s image to give an illusion that the rapper is in the zipper.
After that I added the smoke to the top layer, and added a gradient in between the smoke the rapper layer. The gradient layer’s blend mode was set as ‘Multiply’.
This is the end of the tutorial..!! 🙂