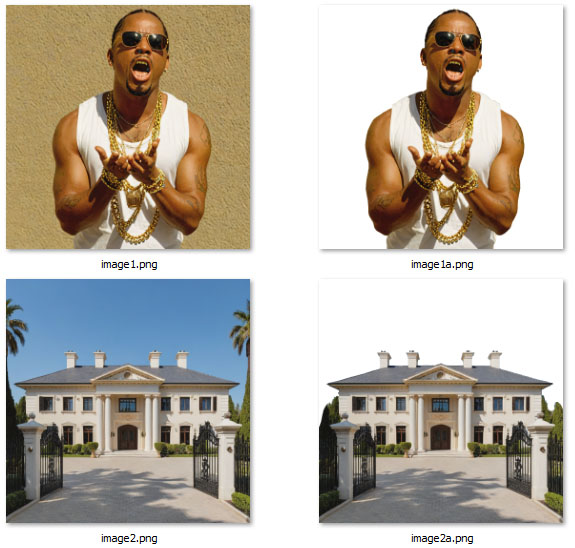


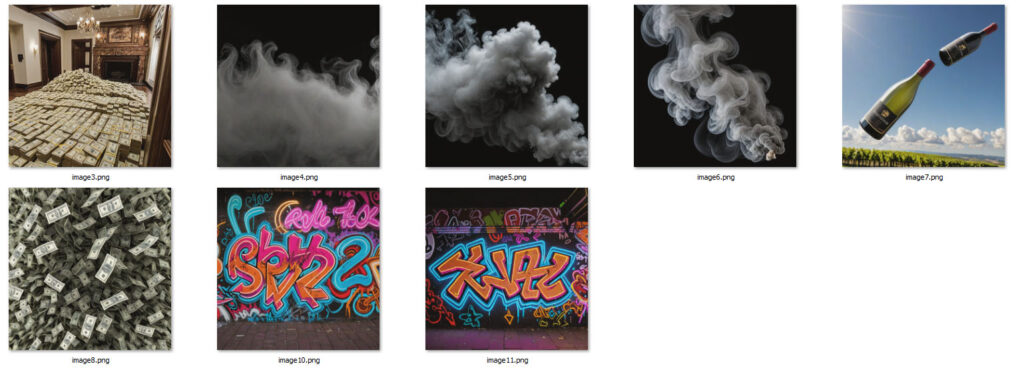
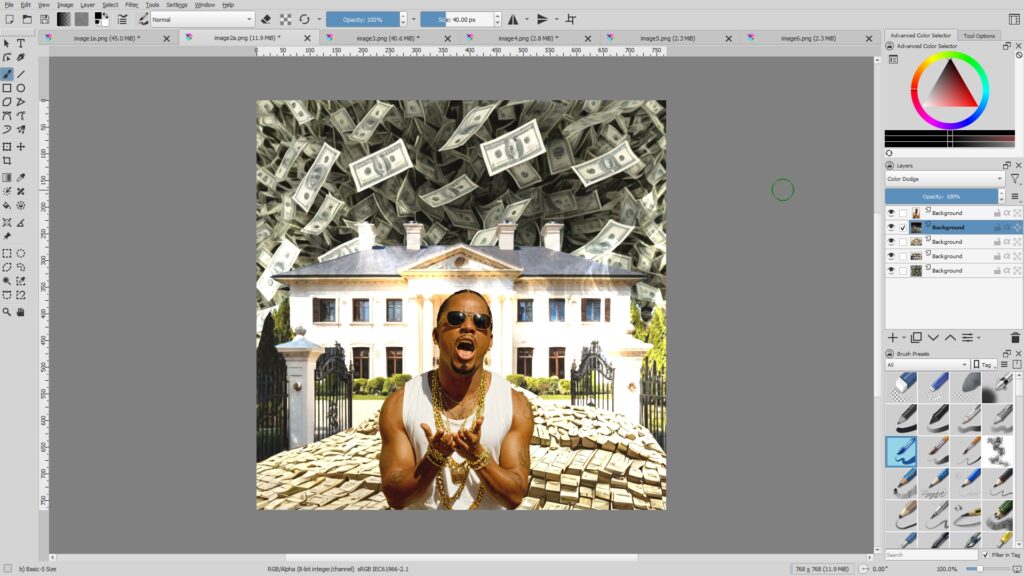
These images were created by Stable Diffusion with the following prompt:
- Scary looking street gangster hustler with multi-color cornrow hair wearing a white tank with a lot of gold chains, staring at the camera with grumpy looking demeanor with his mouth open. Wearing sunglasses. His teeth are covered in gold. Showing the full upper body.
- 40 room luxurious mansion. Photograph taken after stepping into the front gate
- Negative prompts for all – (worst quality, low quality, normal quality:1.8)
The background was removed in Stable Diffusion, by using an extension called [stable-diffusion-webui-rembg].
These images were created by Stable Diffusion with the following prompt:
- Pile of cash, a lot of money
- mysterious mist and smoke covering the screen
- luxurious wine bottles flying in the sky
- flying cash everywhere, covering the entire screen
- street graffiti
- Negative prompts for all – (worst quality, low quality, normal quality:1.8)
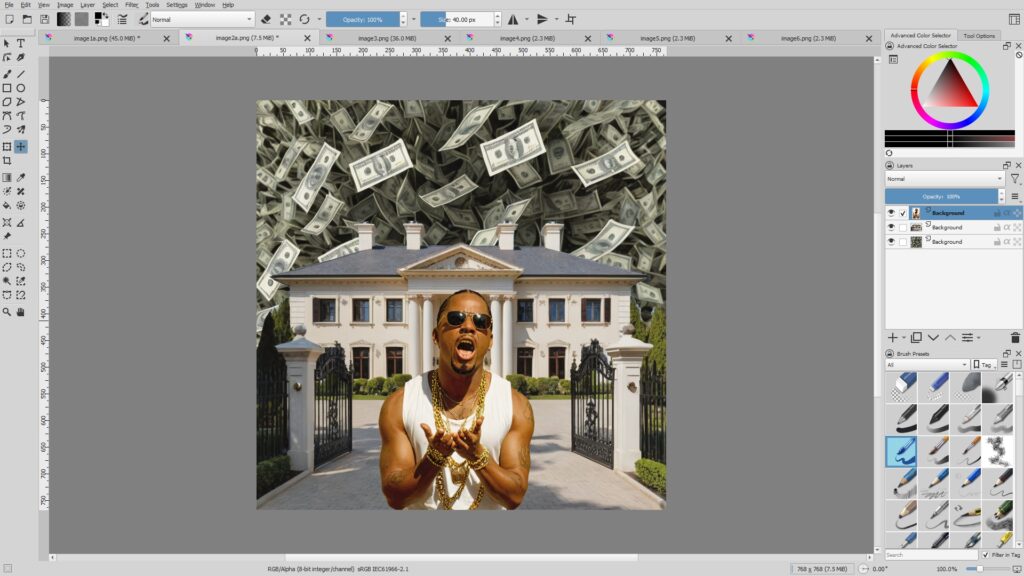
I copied and pasted the rapper and the cash images into the house image. I arranged the layers so that the cash is at the bottom and the rapper is at the top in terms of layer orders.
I opened the cash pile image, and used a Bezier Curve Selection Tool to trace the cash part only, and copied and pasted it to the house image.
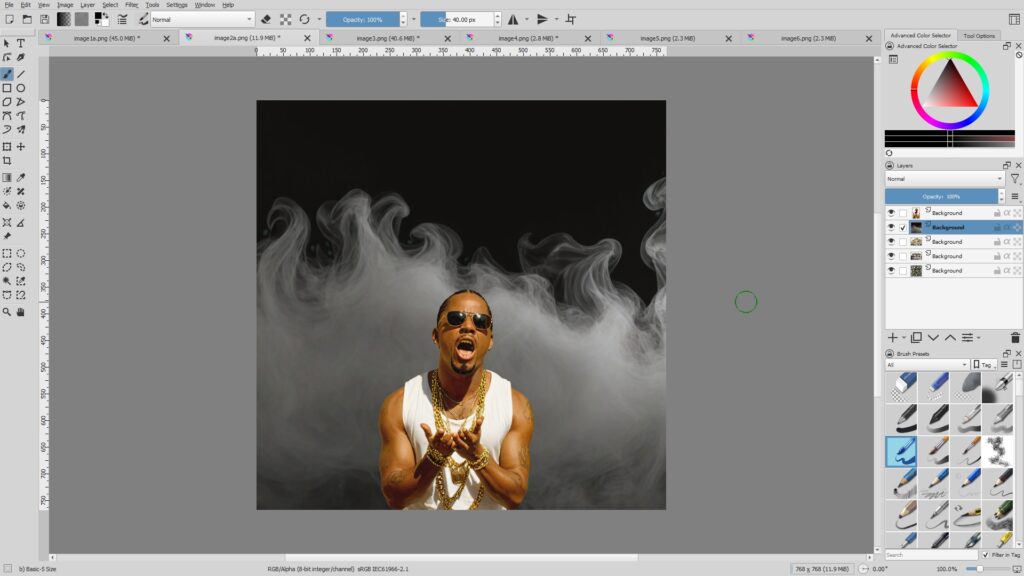
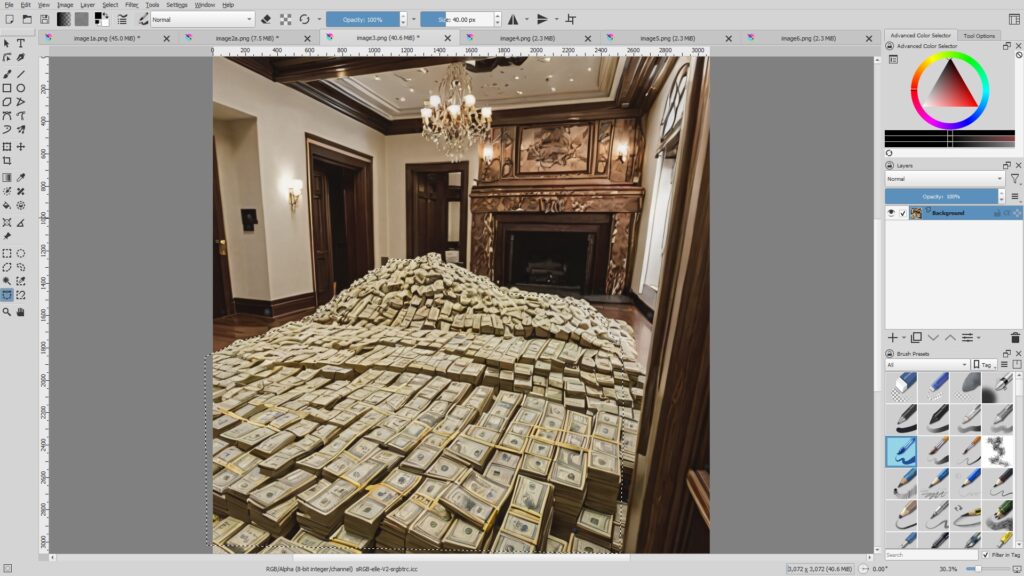
Then I copied and pasted the smoke image and placed it right underneath the rapper like this.
The idea is to change the blend mode of the smoke and later I’ll add a new layer filled with a gradient, in order to give the final image more professional look.
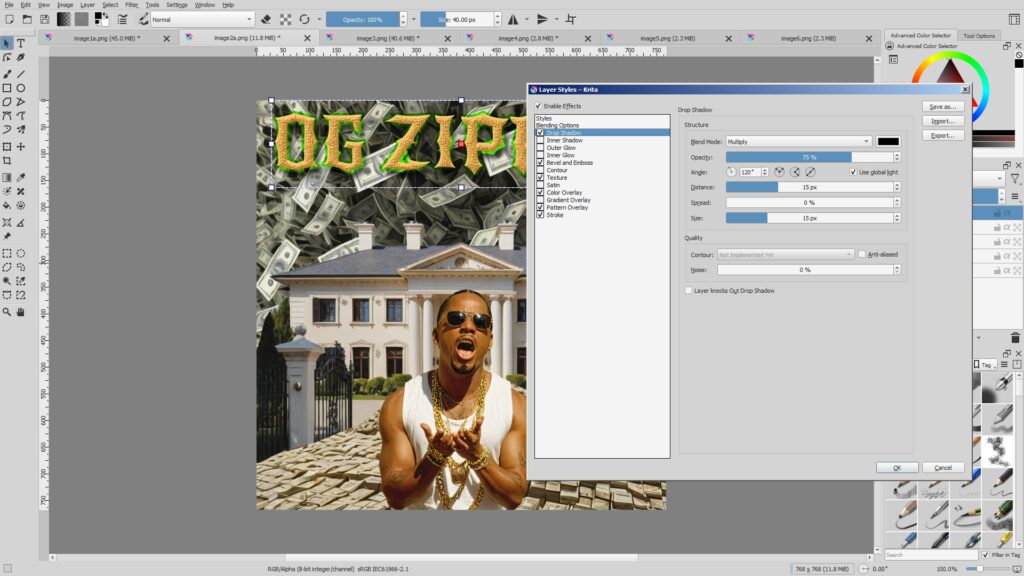
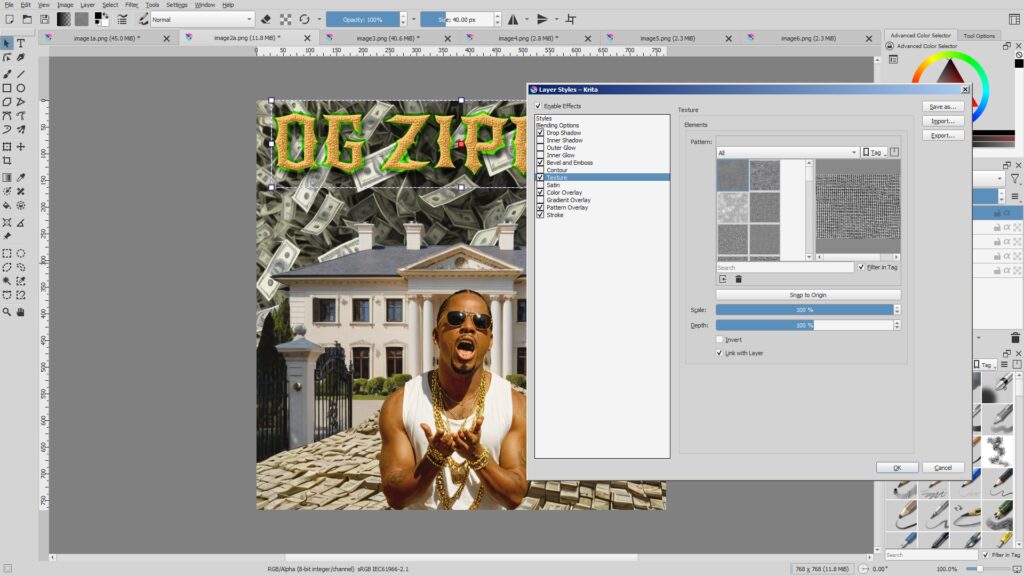
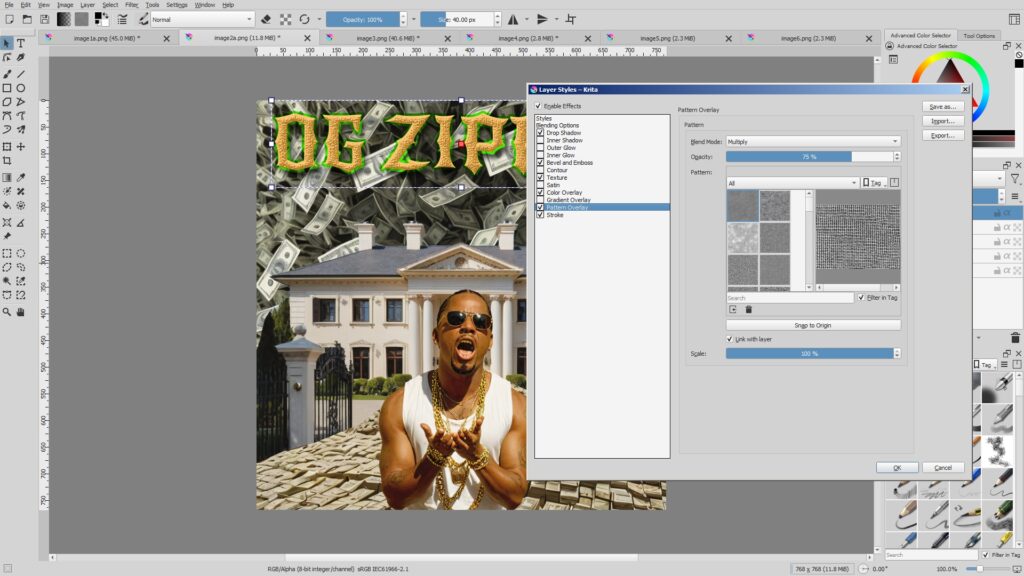
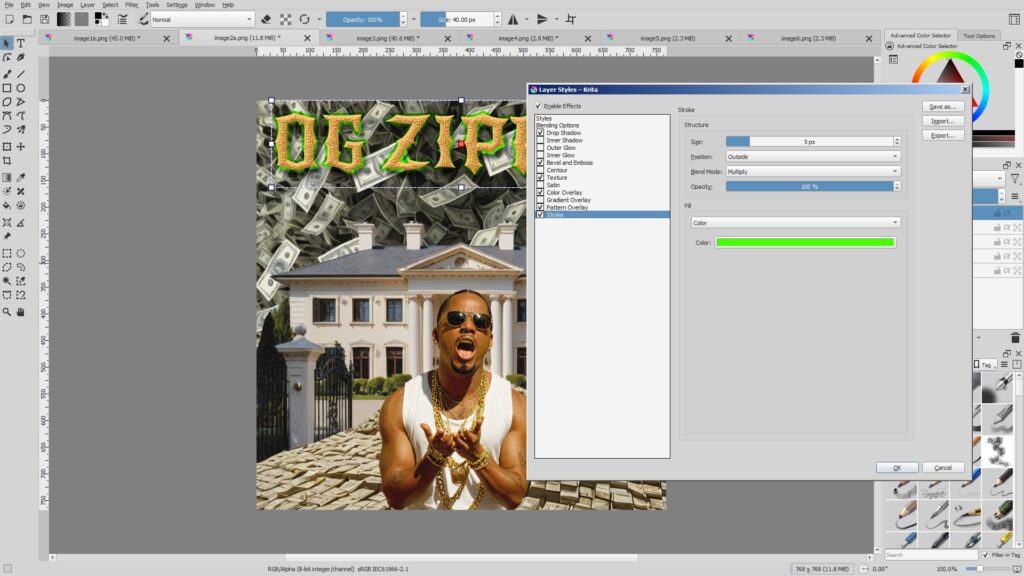
Then I added a new text object, and used the following Layer Styles. I’ll list all screenshots. Please remember to click the images to see the larger versions.
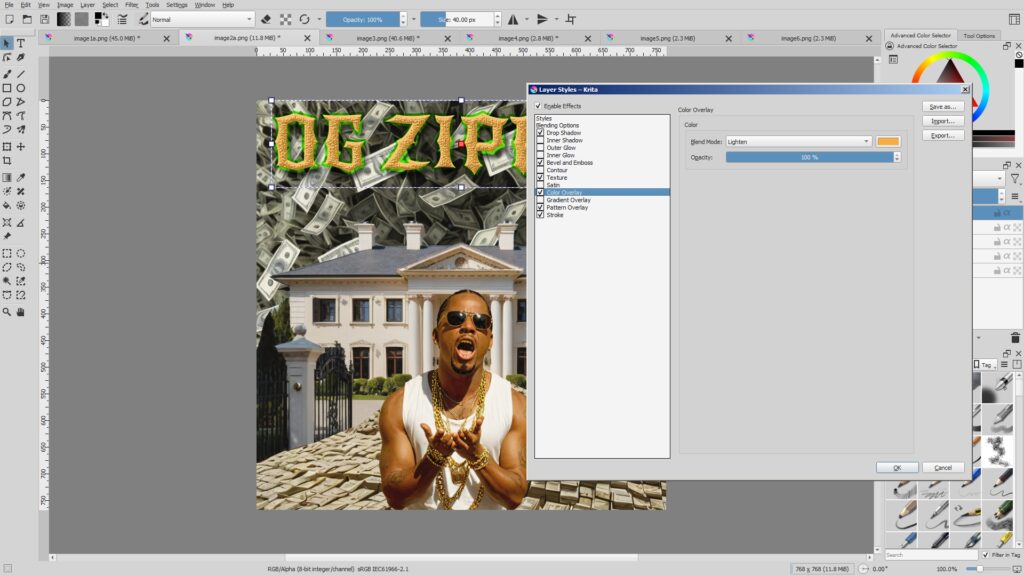
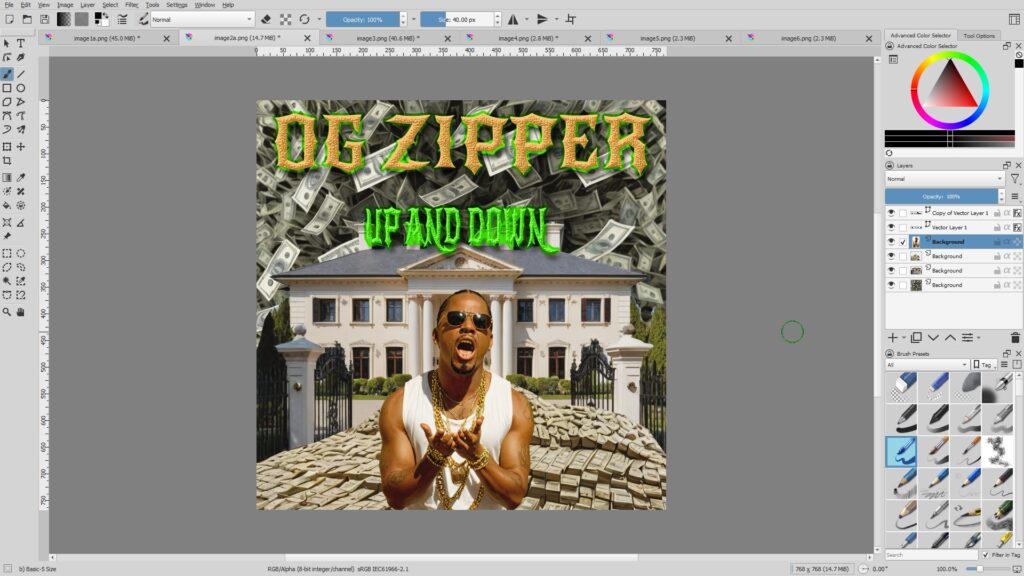
Then I duplicated a text object, and used the [Control + T] shortcut to resize it. Then I went to the Layer Styles to change the Color Overlay.
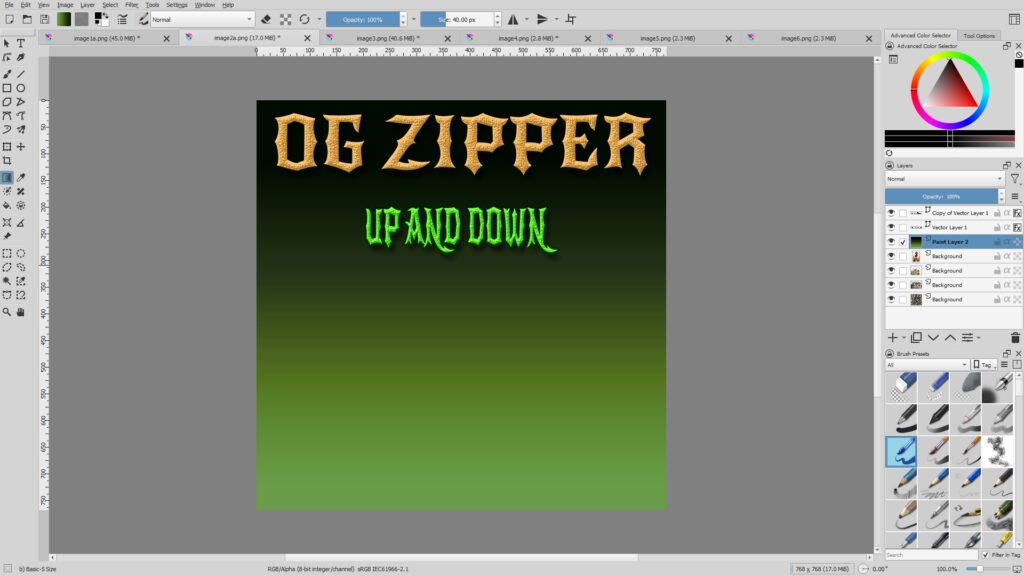
I added a new layer right above the Rapper and below the text objects, and filled it with green-to-black gradient.
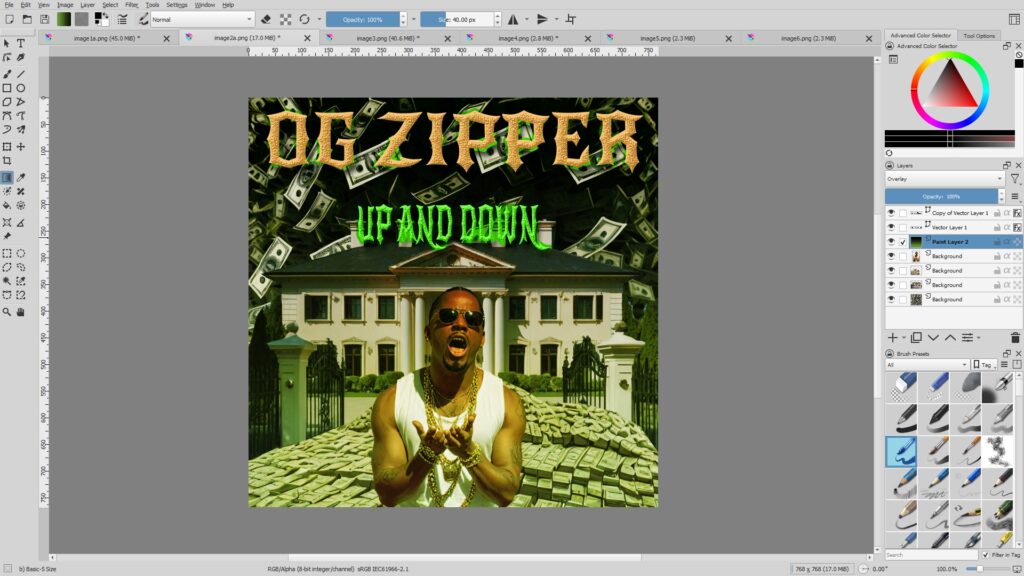
Then I changed the layer’s Blend Mode to Overlay, and that was it.
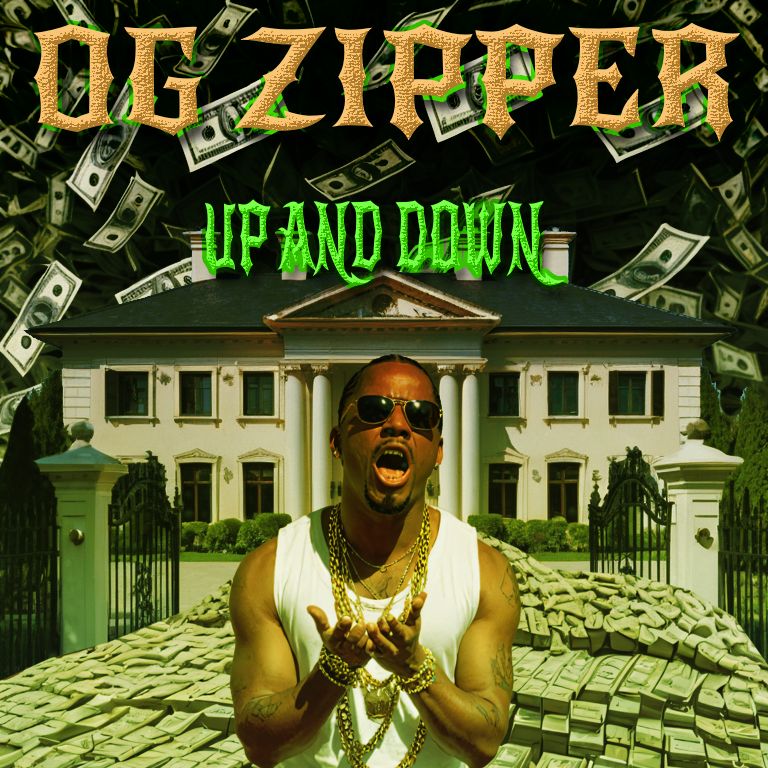
This was the final result, and this is the end of the tutorial. 🙂