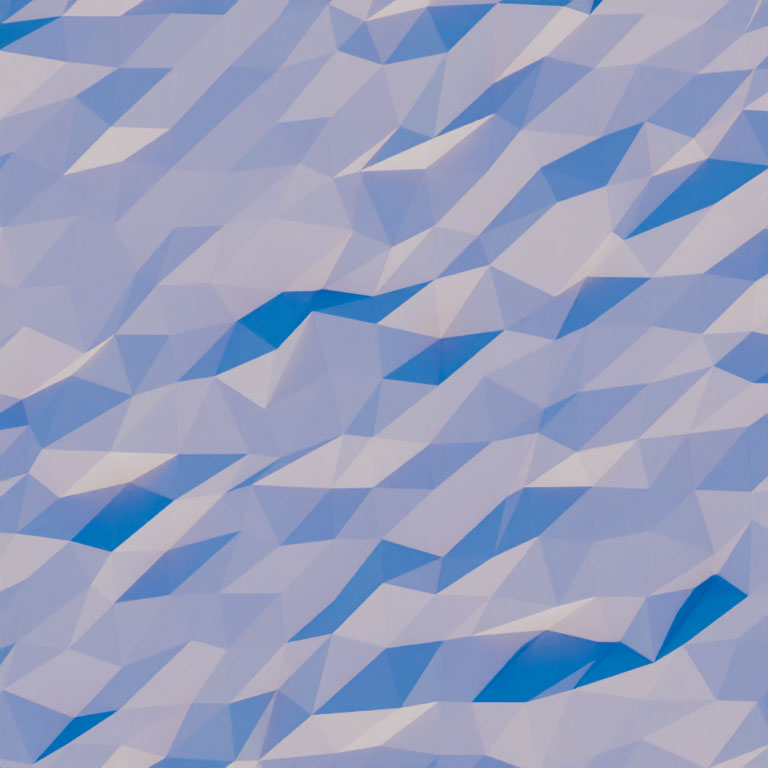


This image was created in Blender like this.
1. Created a new 768 x 768 document.
2. Created a plane.
3. [Tab] to go to Edit Mode.
4. [Right Click] and [S] to subdivide it 15 times.
5. [Mesh -> Transform -> Randomize] to randomize the mesh.
I used Sky Texture as the environment light, and the values were Elevation (35), Rotation (180), Intensity (0.1), and Strength (0.1).
The image was rendered by using the Cycles render engine.
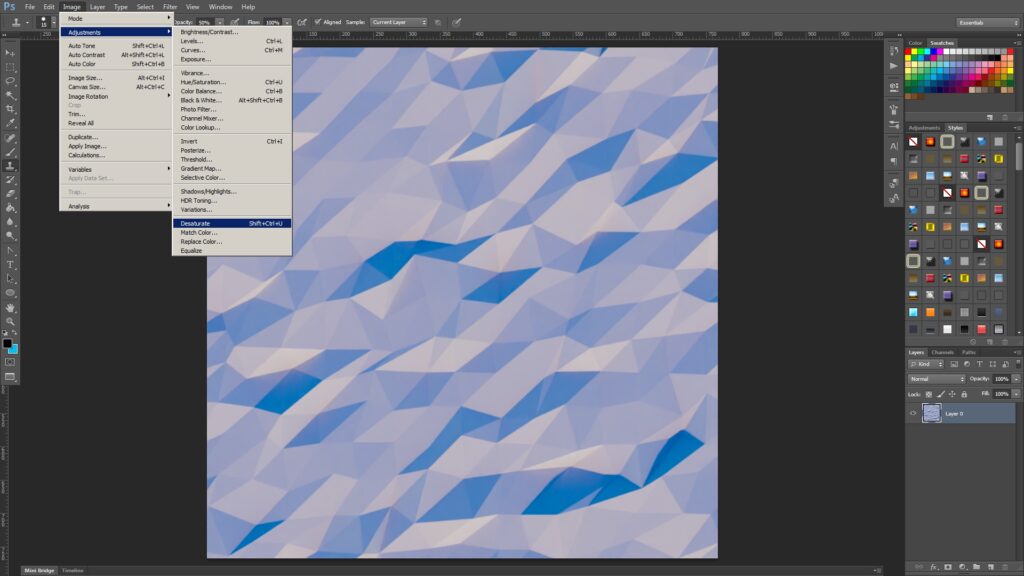
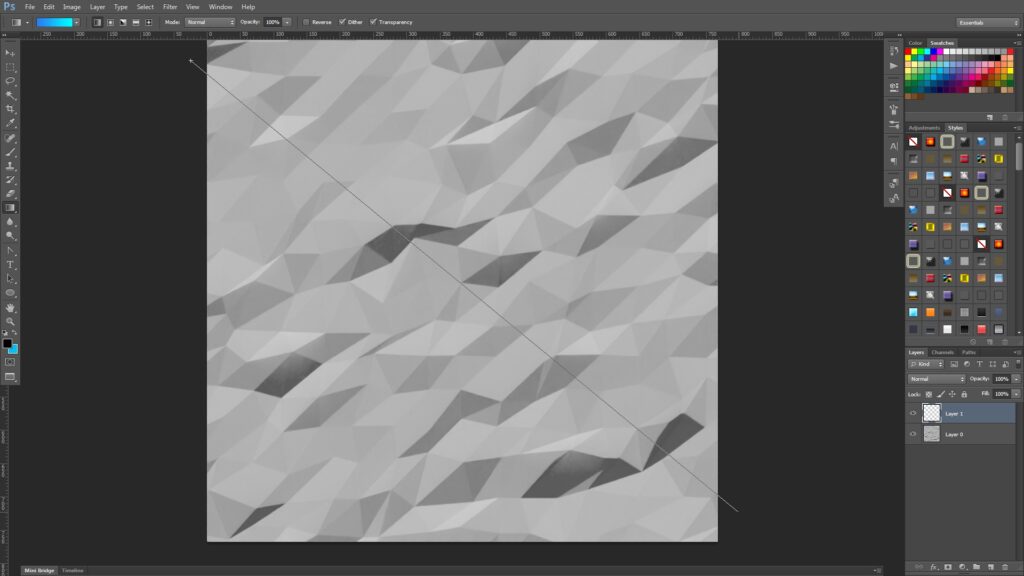
Let’s desaturate the image.
Create a new layer and use the blue gradient to gradient fill like this.
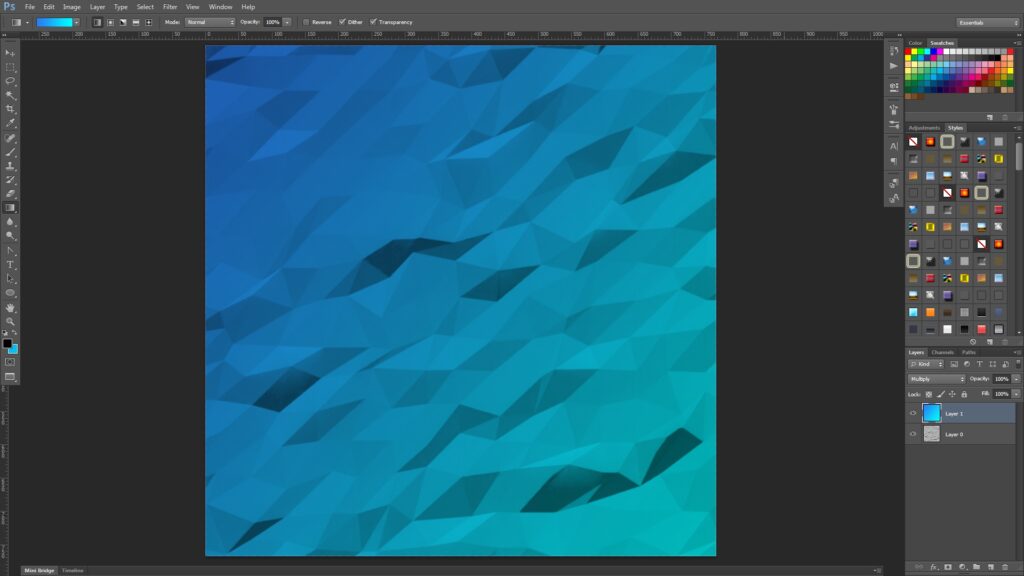
Change the layer blend mode to [Multiply] and merge all layers.
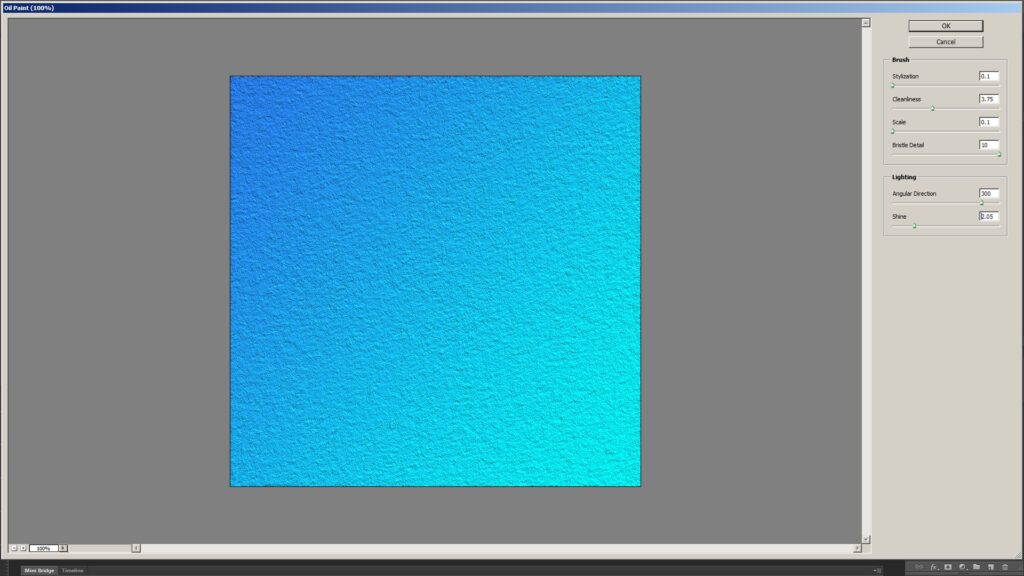
Go to [Filter -> Oil Paint] to create a new effect.
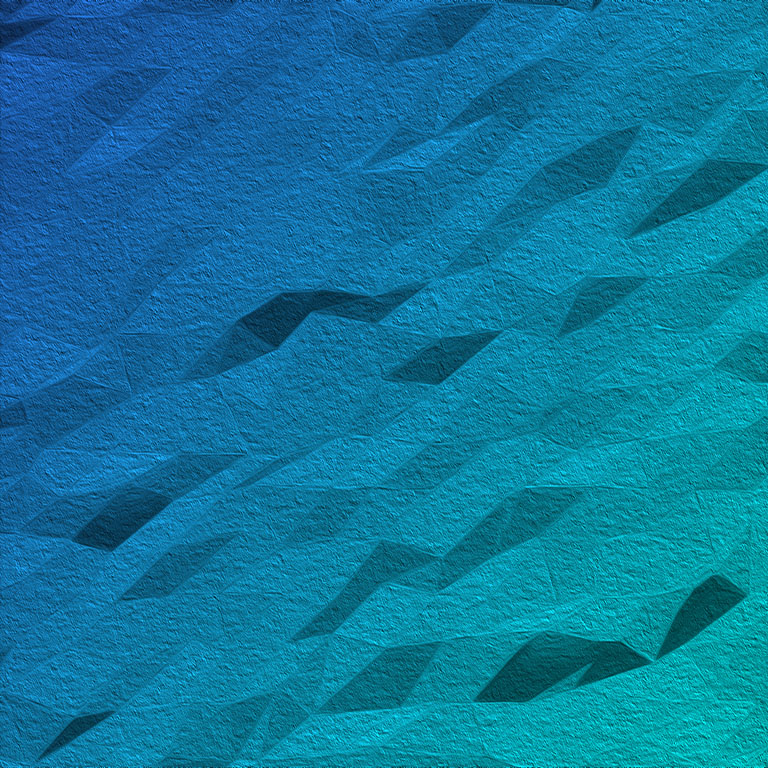
This was the result.

This is the end of the tutorial. 🙂