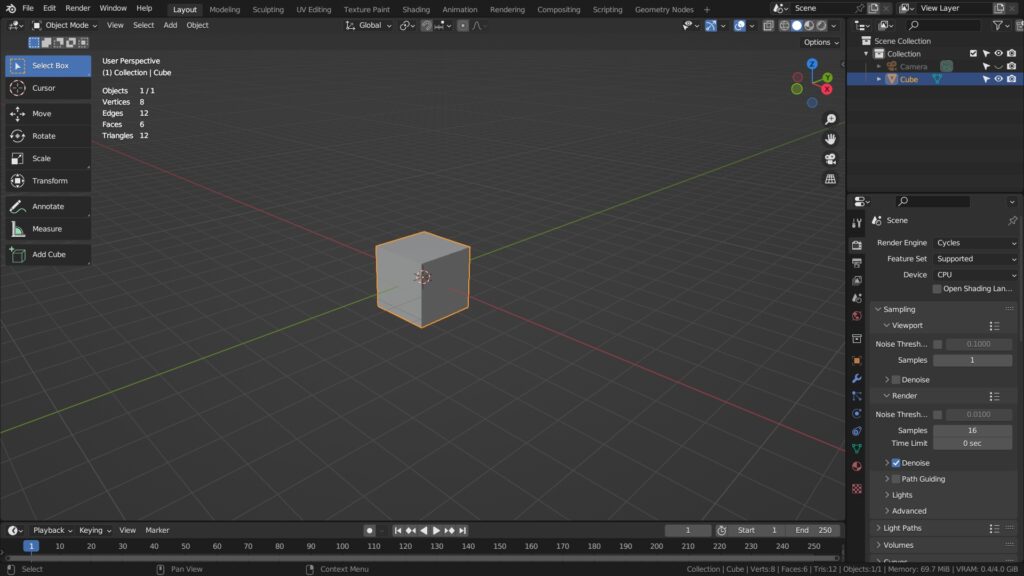


When you open Blender, and there should be a default cube.

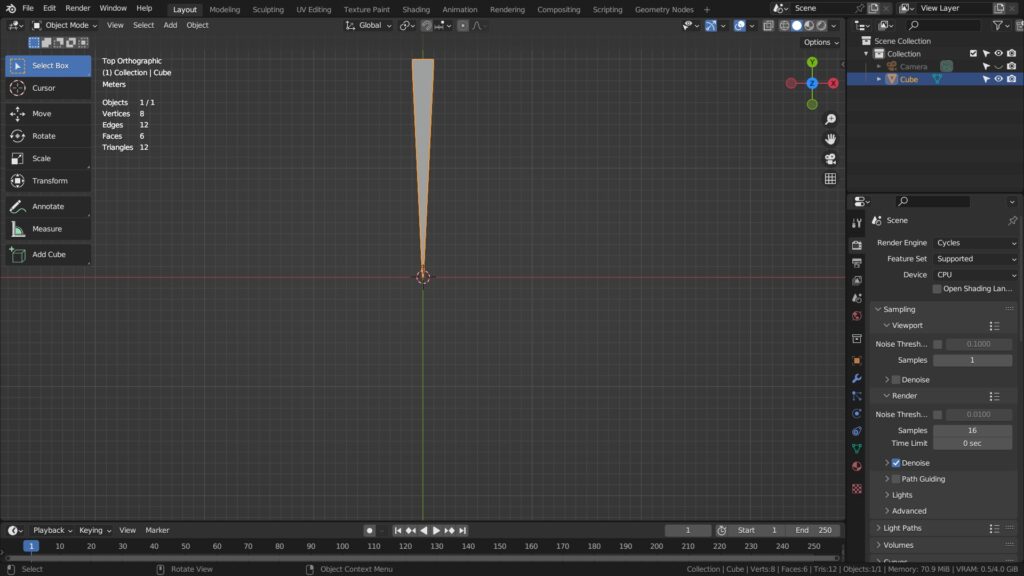
Press [Numpad 7] to go to the top viewport.
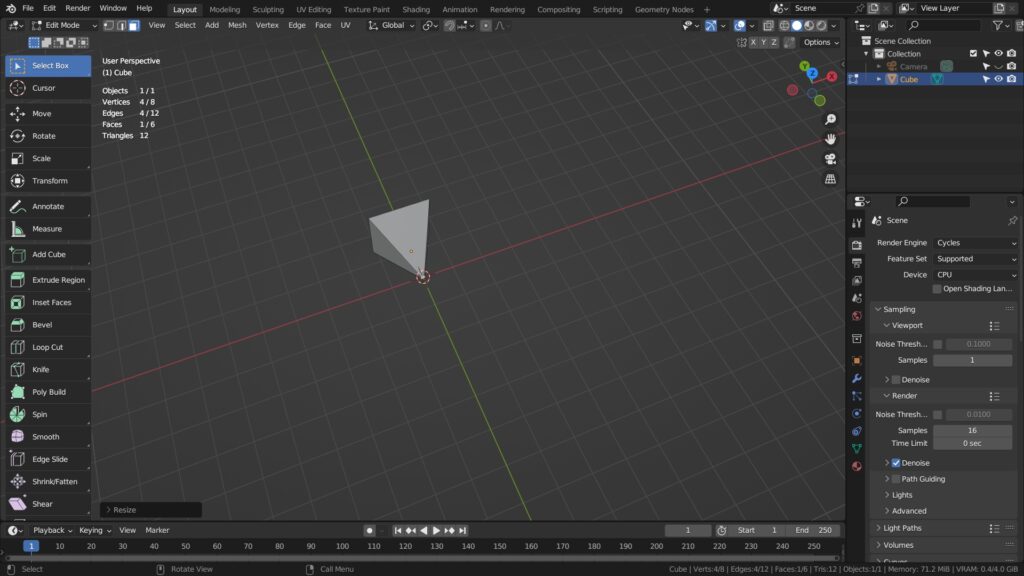
[Tab] to go to Edit Mode, [3] to face select. Select the bottom face, and type [S] to scale.
Type [G] to move the selected face upward like this.
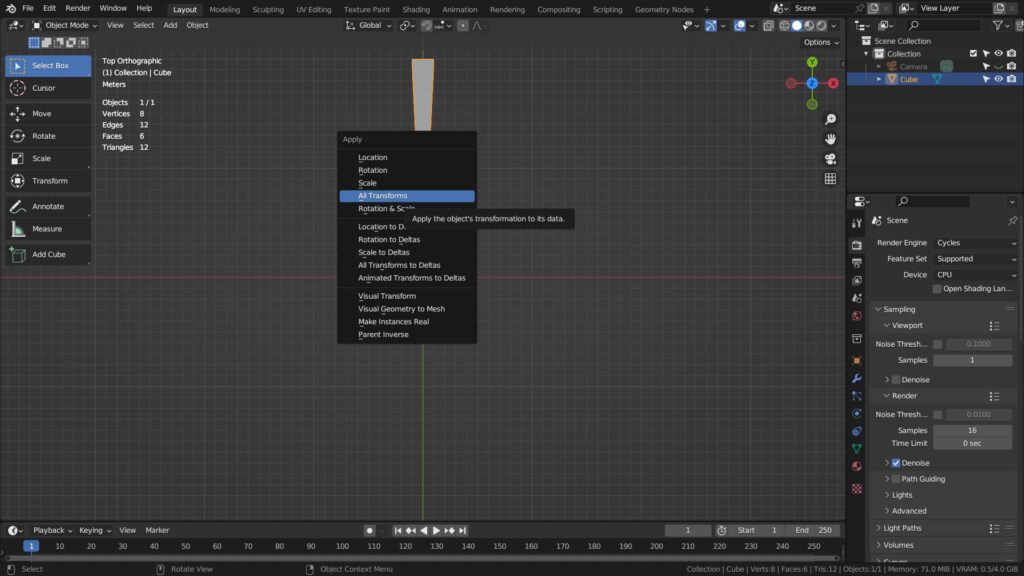
[Tab] to go to Object Mode, and press [Control + A] to Reset All Transforms.
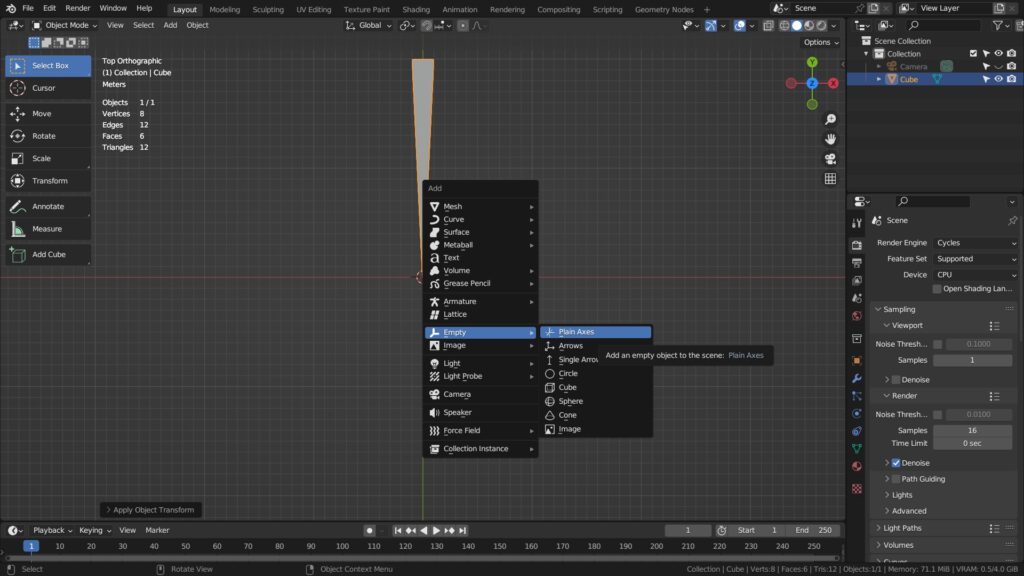
Press [Shift + A] and create a new empty object.
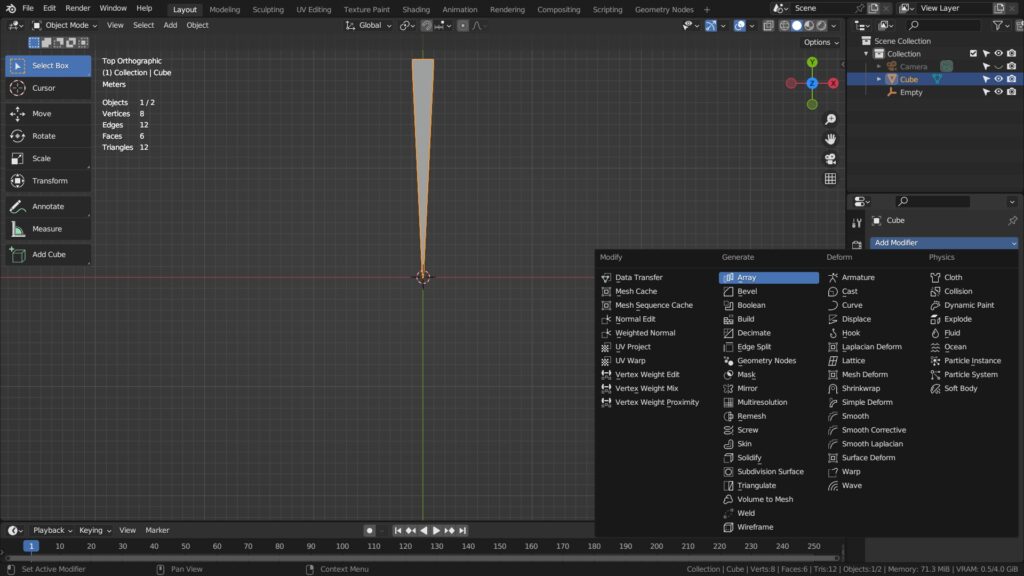
Select the cube, and add an array modifier.
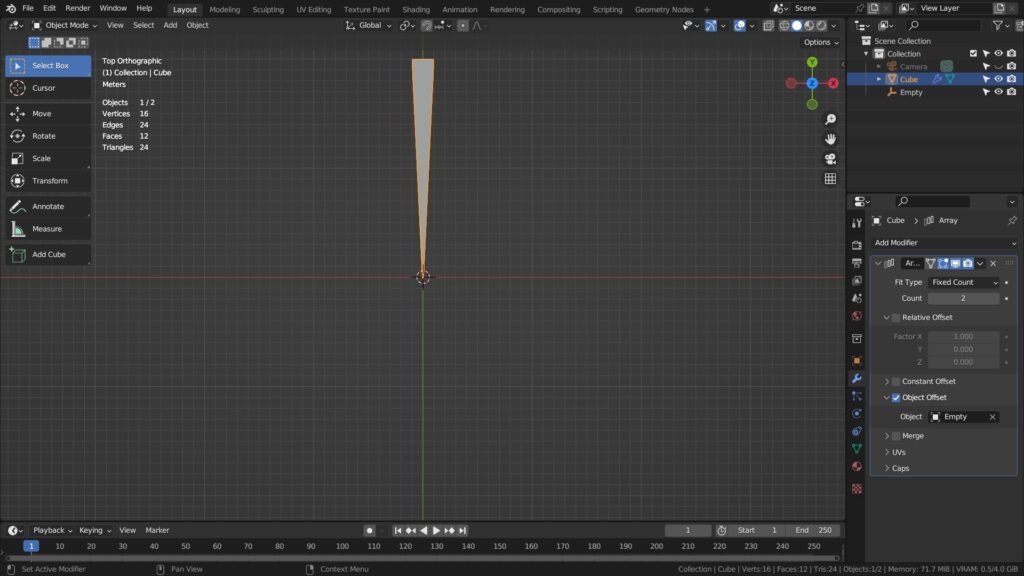
Select Object Offset, and select the empty object.
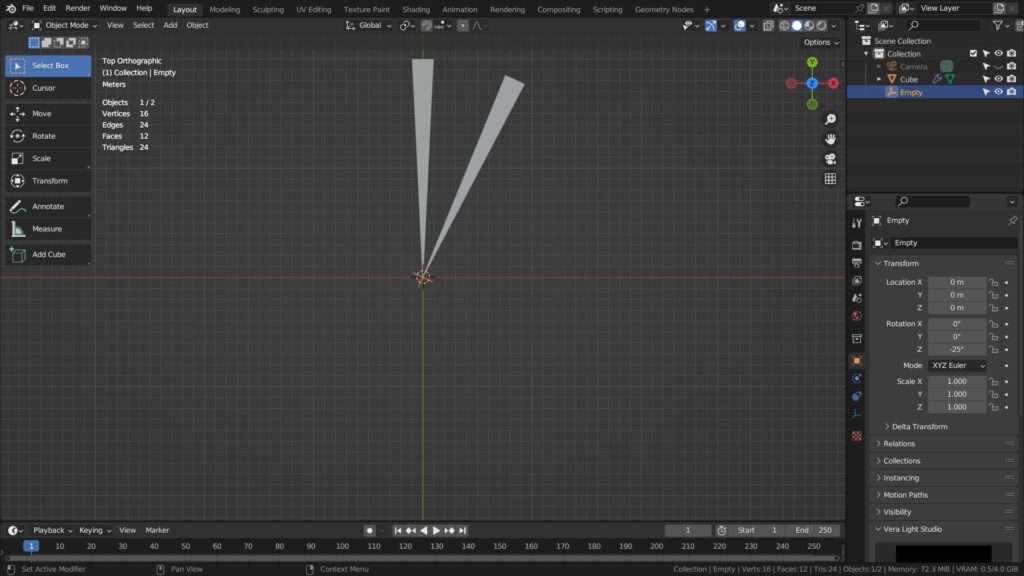
Select the empty object and go to its properties. Change the Z rotation to -25 degrees.

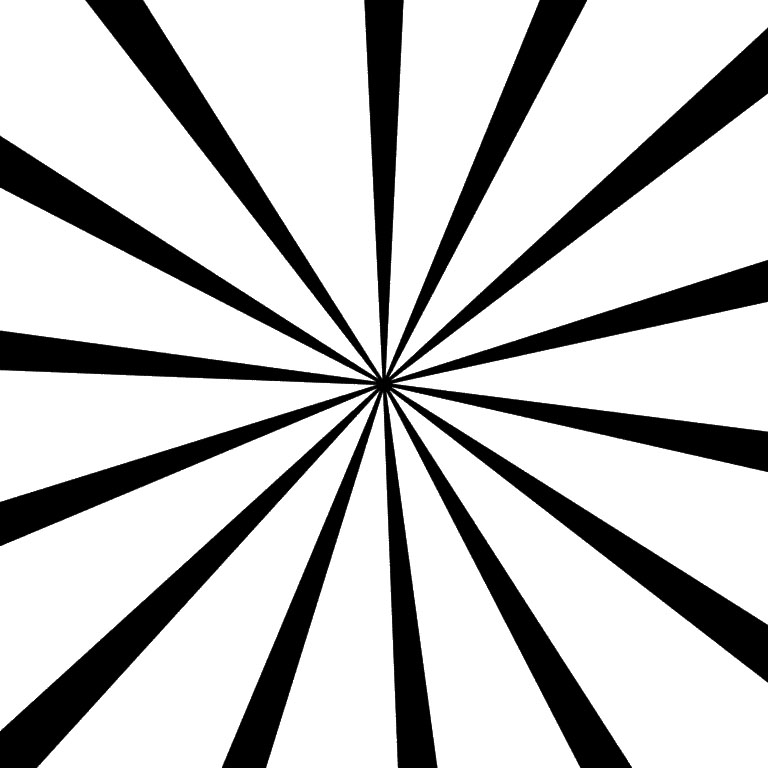
Select the cube, and increase the array modifier’s count to 14.
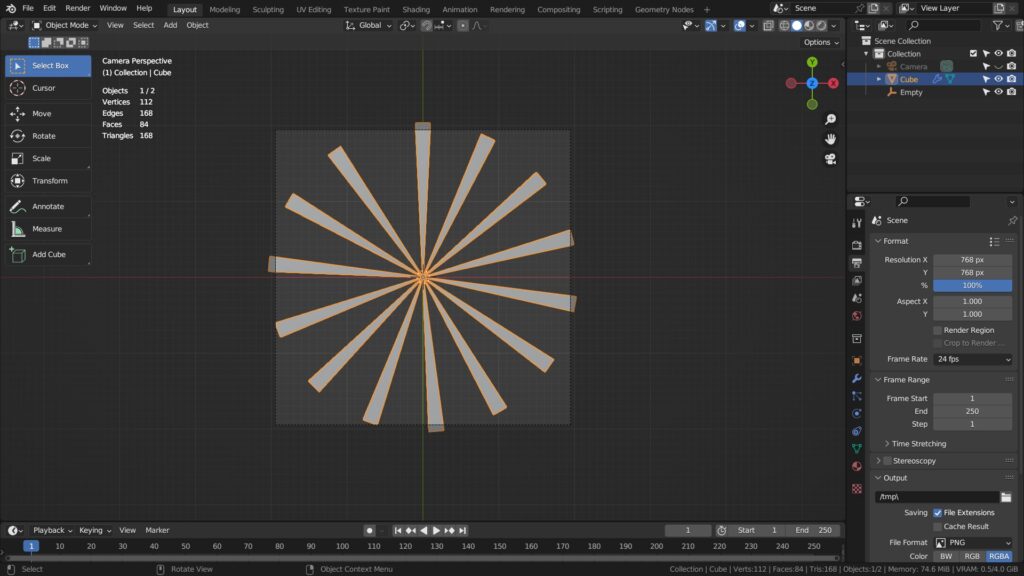
Press [Shift + Alt + Numpad Zero] to set the render region.
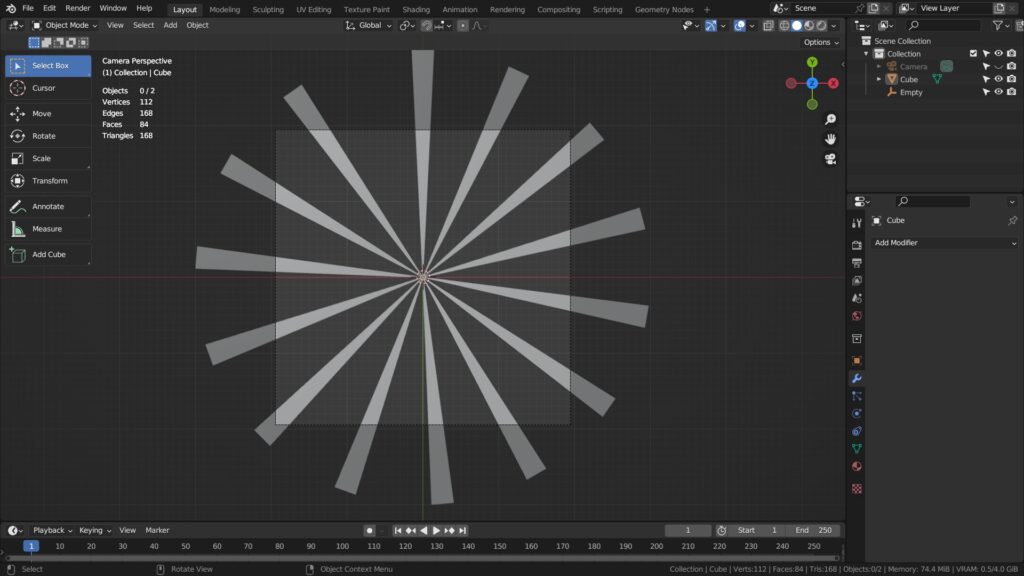
Press [F12] to render, and save the image as PNG.
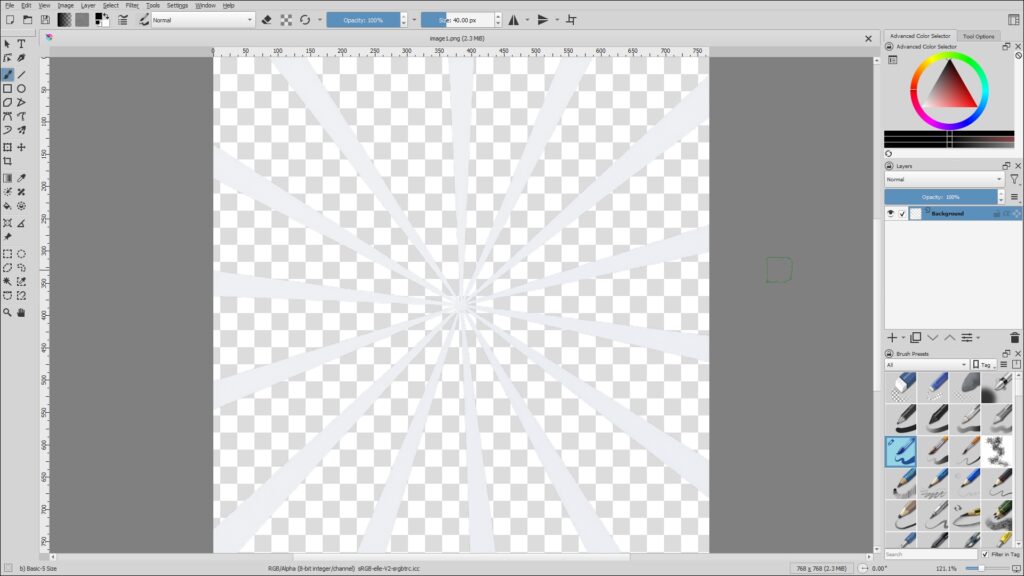
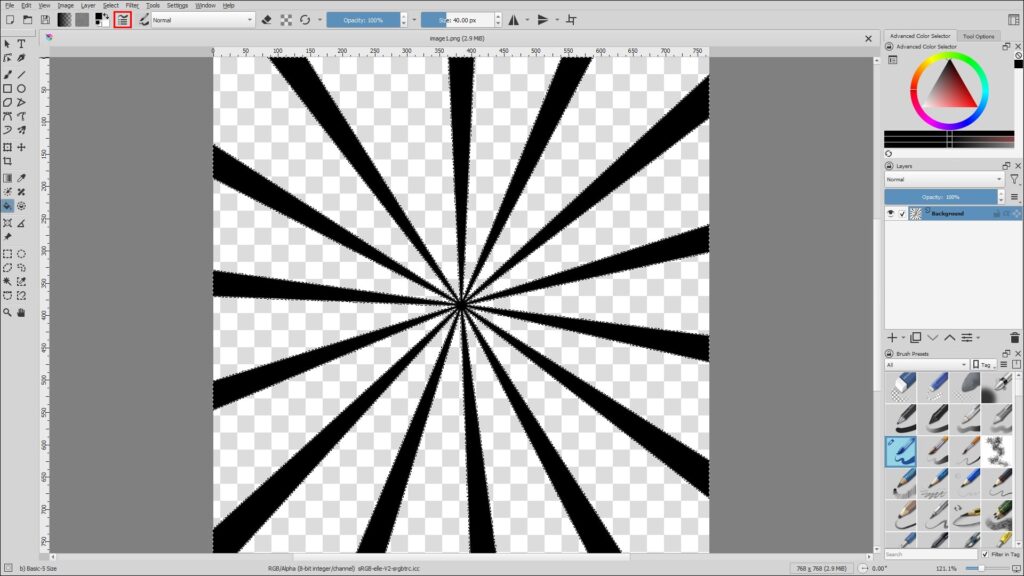
Open the rendered image in Krita and [Control + Click] the layer to select only the images.

Fill the image with Black and save the image.
Click [Edit Brush Settings].
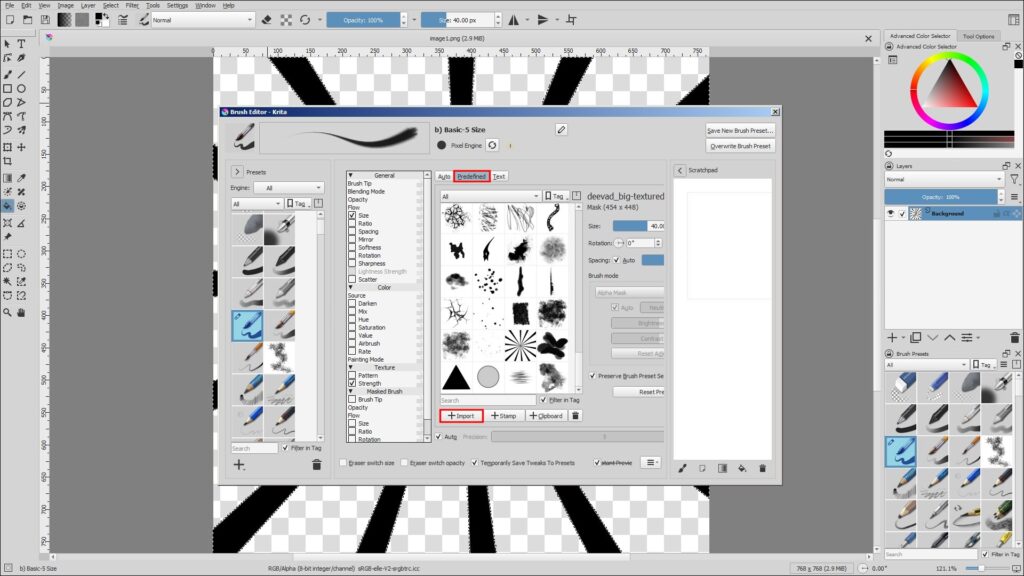
Under [Predefined], click [Import].
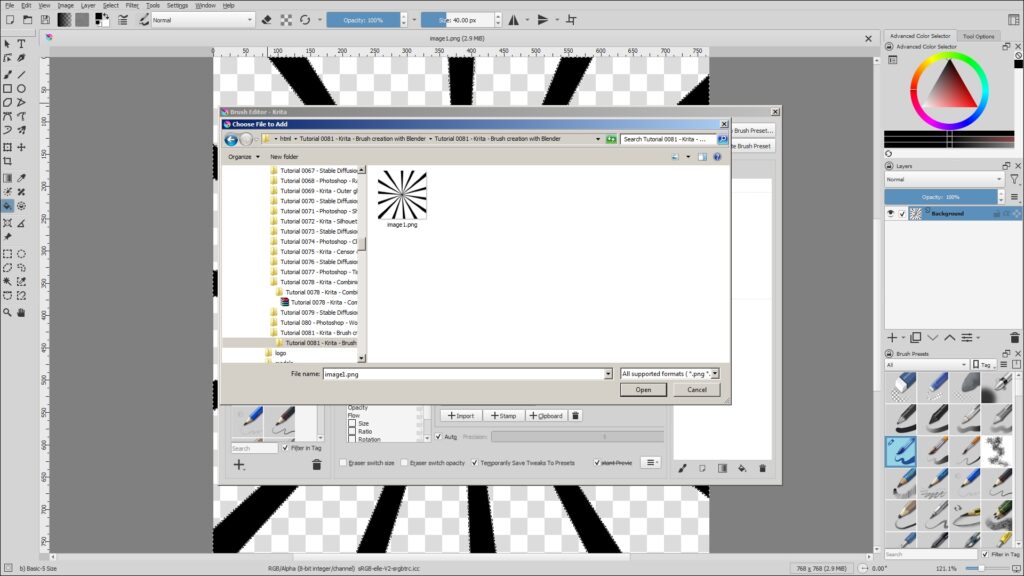
Select the saved image.

That’s how we create a new brush in Krita. 🙂
This is the end of the tutorial. 🙂