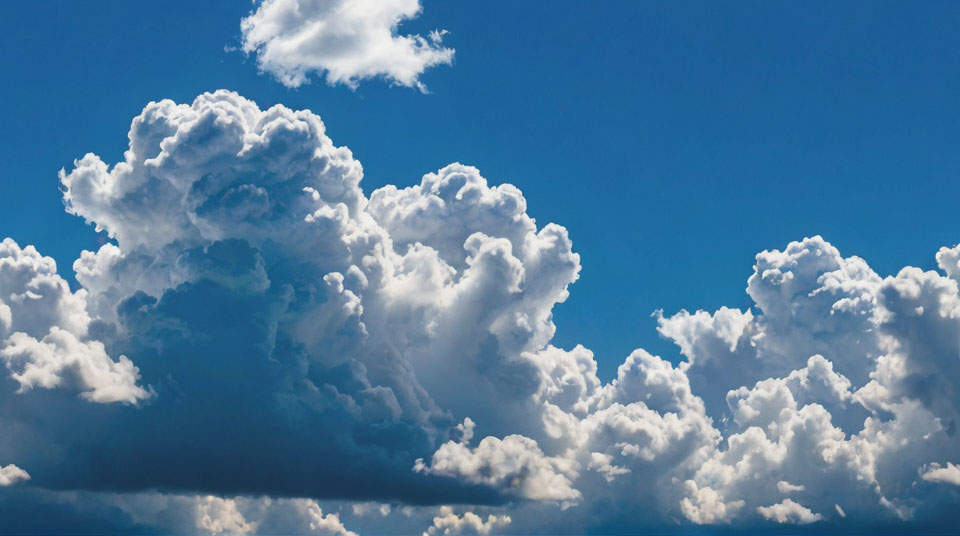


This image was generated by using the following prompt:
Prompt: plain blue sky background and beautiful clouds, dramatic light.
Negative prompt: (worst quality, low quality, normal quality:1.8).
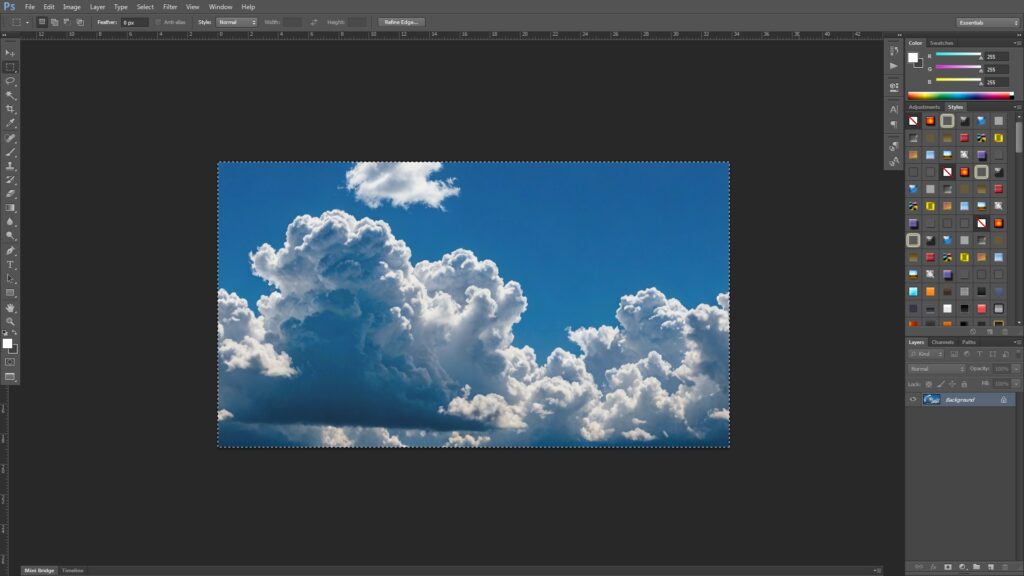
[Control + A] to select all and [Control + C] to copy.
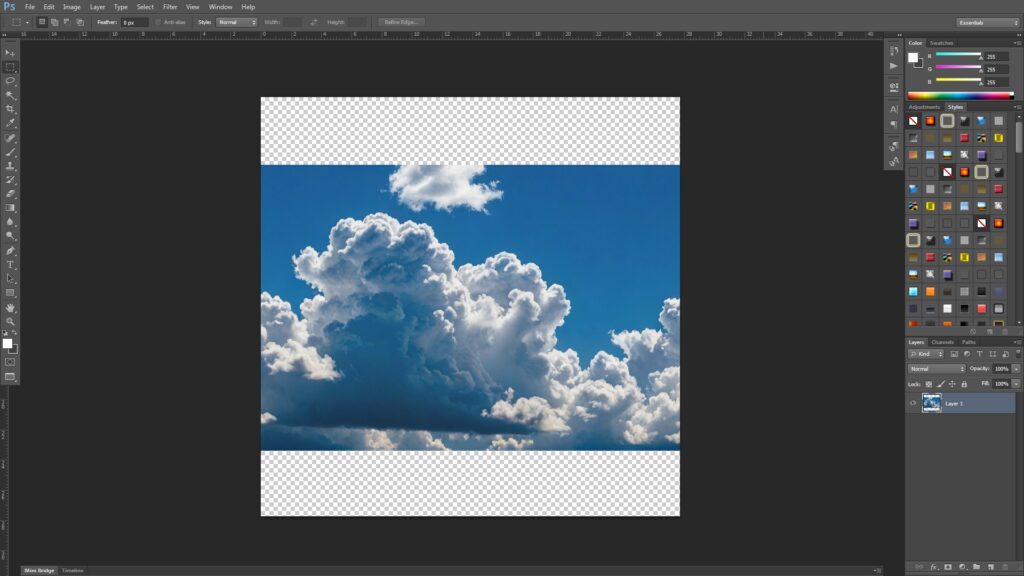
Create a new 768 x 768 document and [Control + V] to paste.
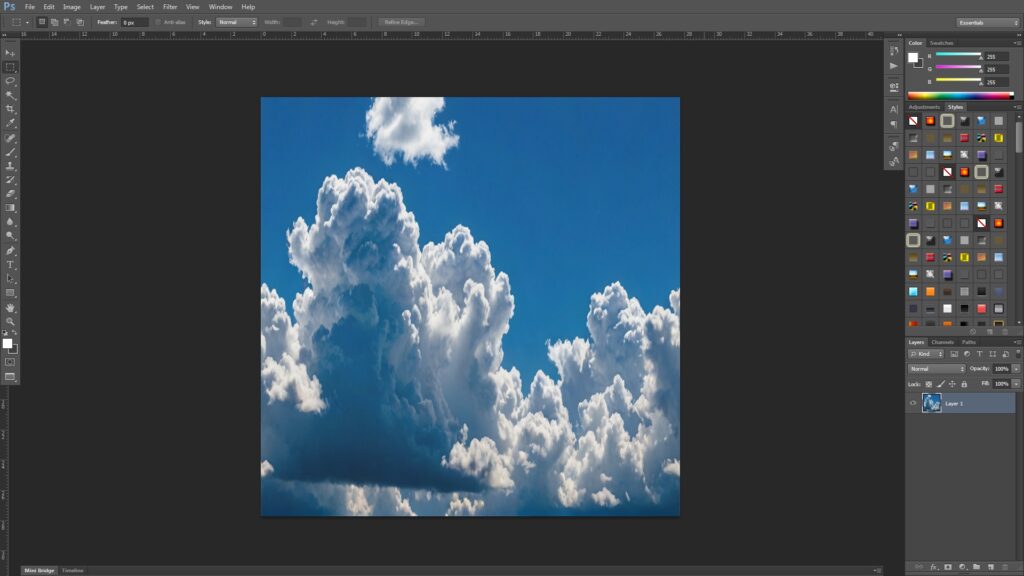
[Control + T] to fit the image into the new standard definition document.
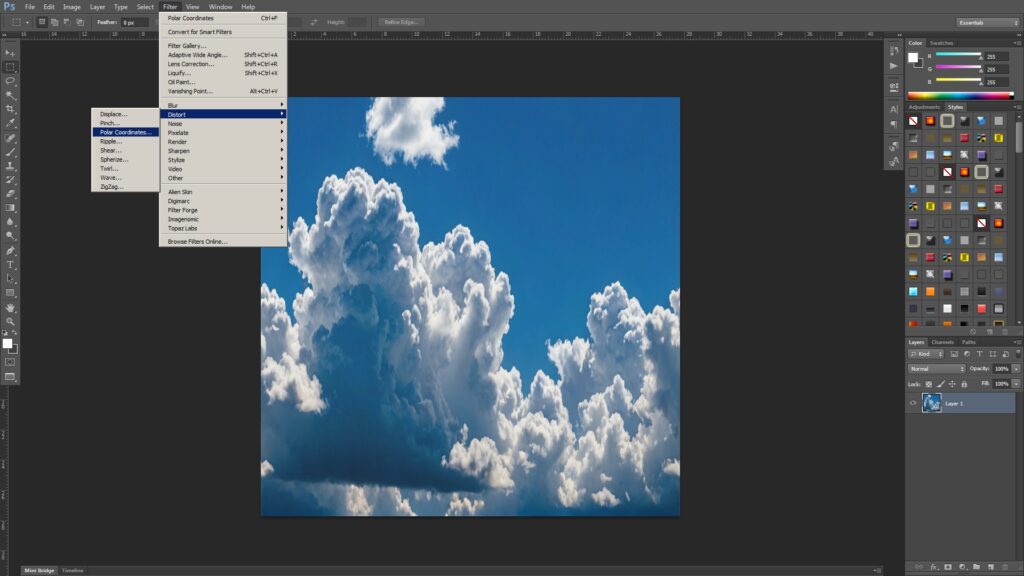
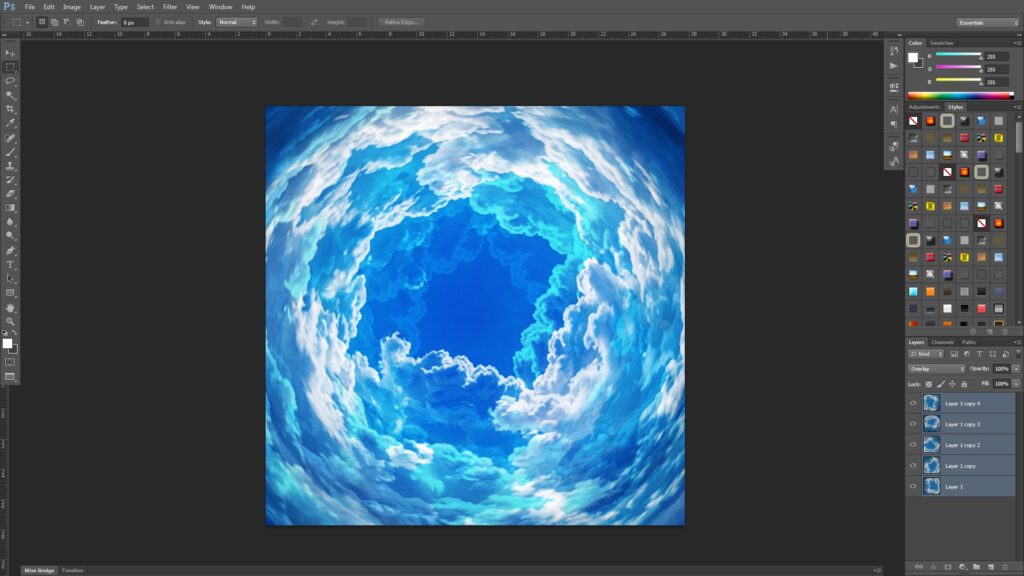
Go to [Filter -> Distort -> Polar coordinates].

Click [OK].

Select the seam line and other unwanted details.
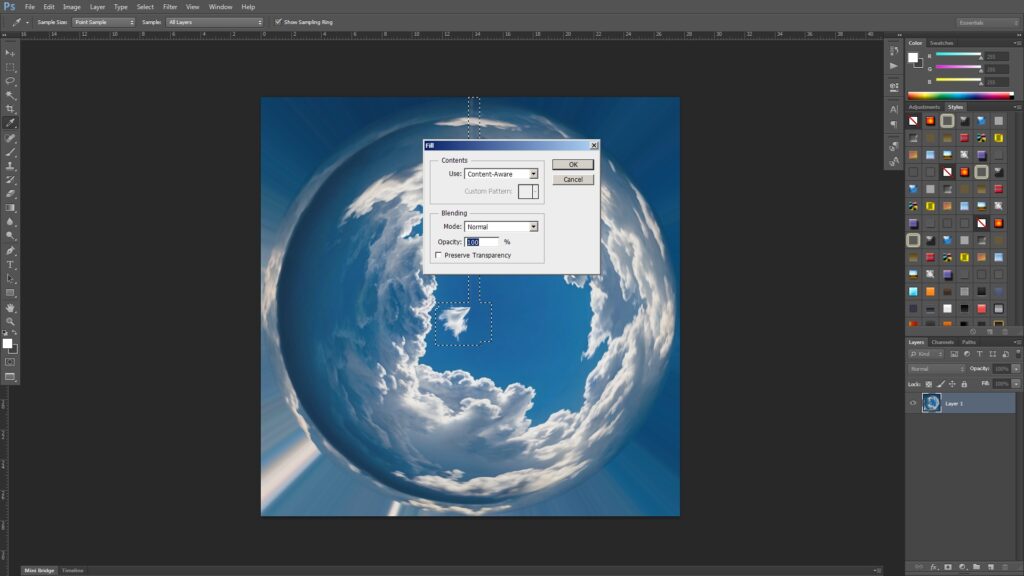
Go to [Edit] and Content Aware Fill to remove the selected images.
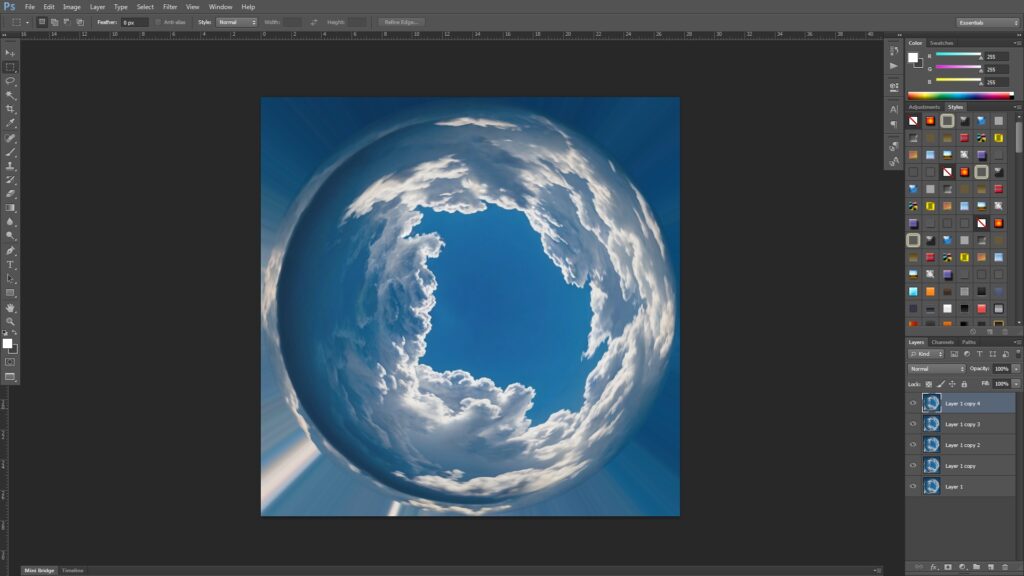
Select the layer, and press [Control + J] multiple times to duplicate the layer.
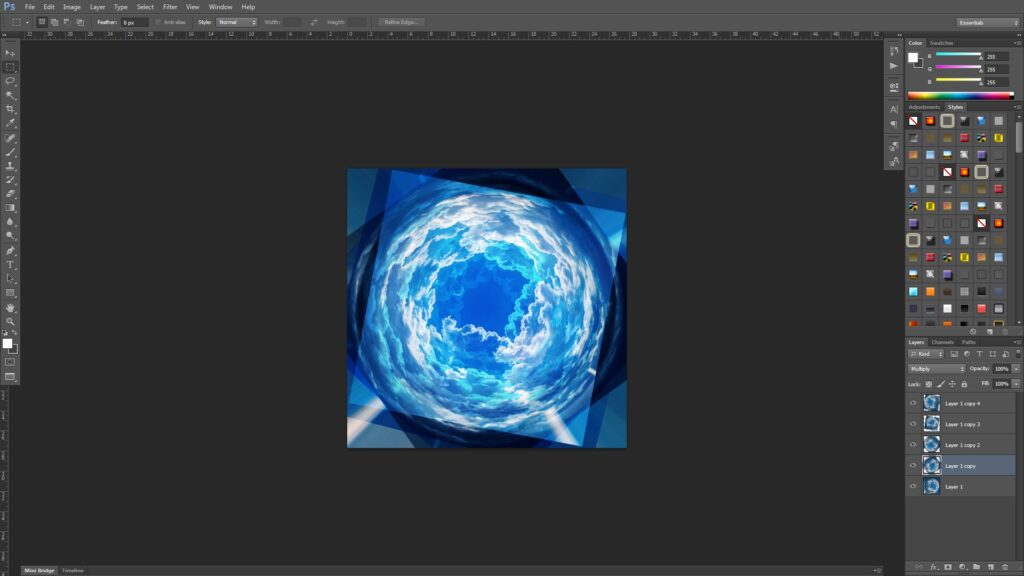
Select each layer, press [Control + T] to resize or rotate it, and adjust the blending mode of layer 2 and later to either [Screen] or [Multiply].
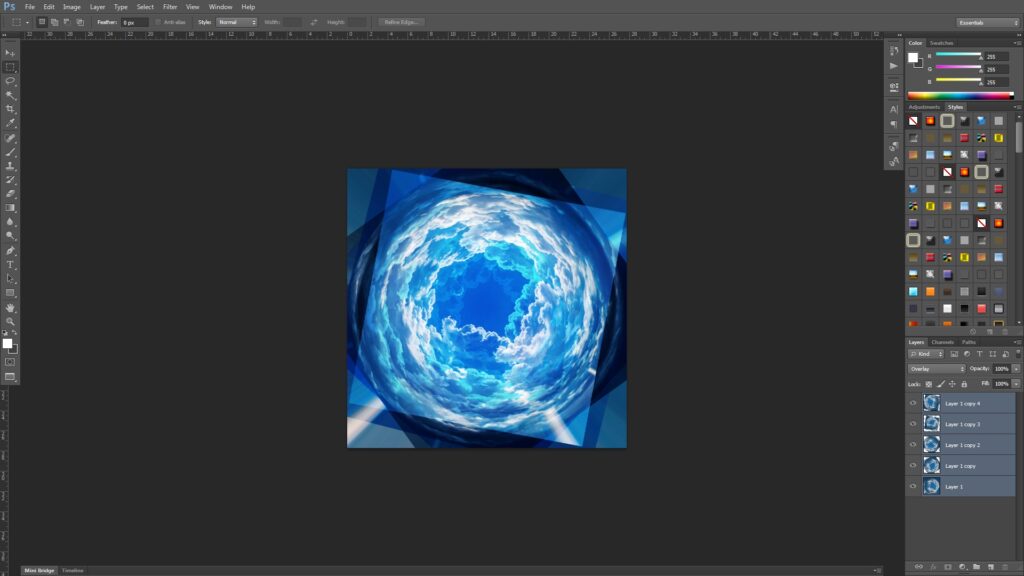
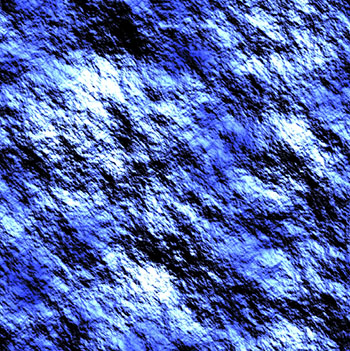
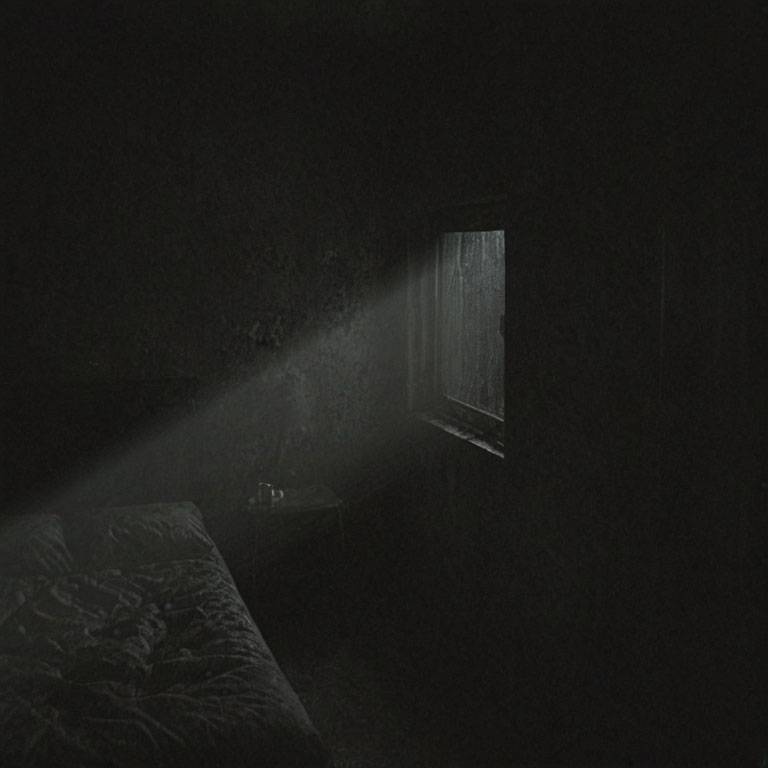
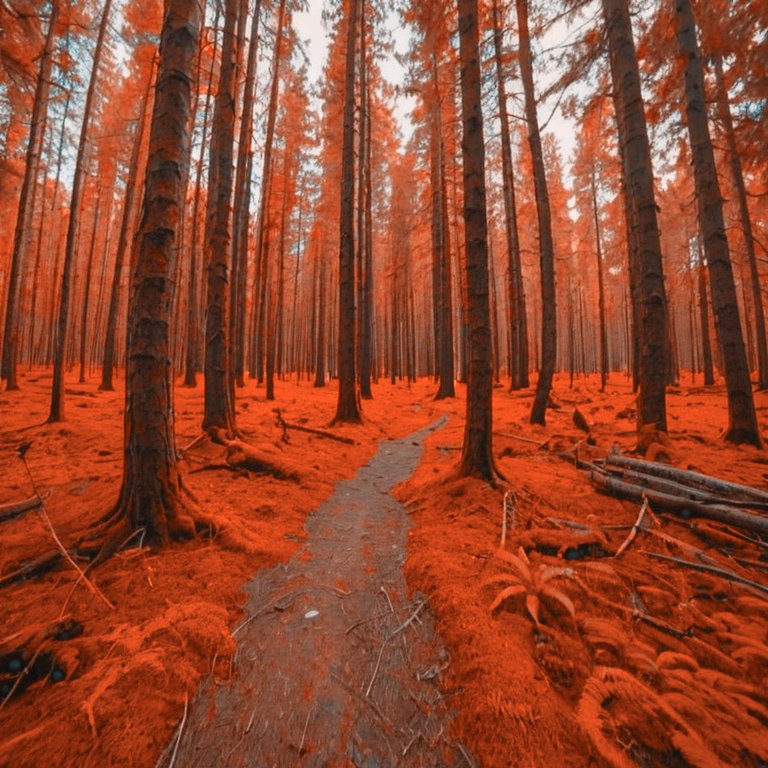
It should look like this, when the blending modes are correctly assigned.
[Shift + Select] all layers, and [Control + T] to resize.

This is the end of the tutorial. 🙂