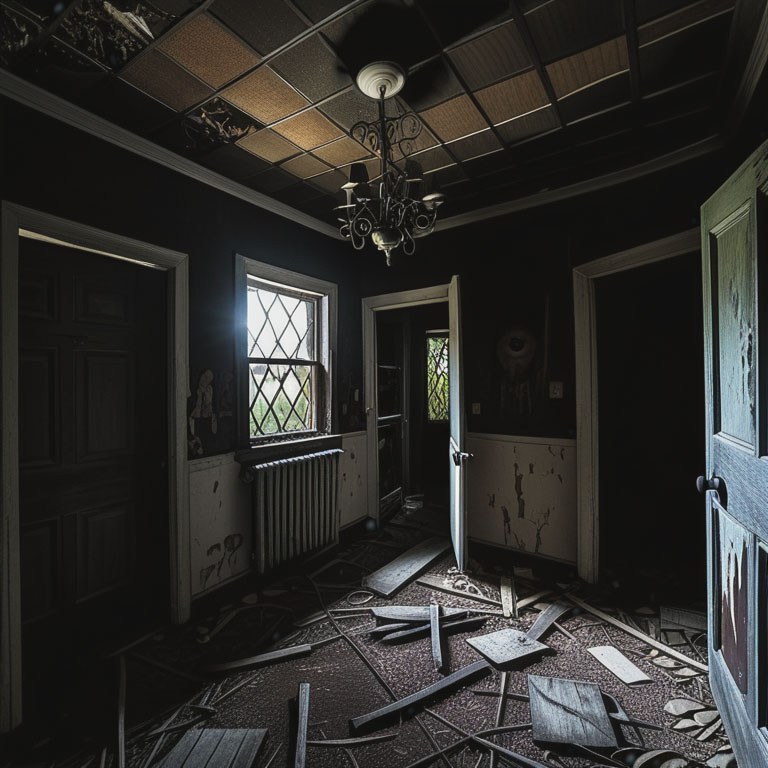


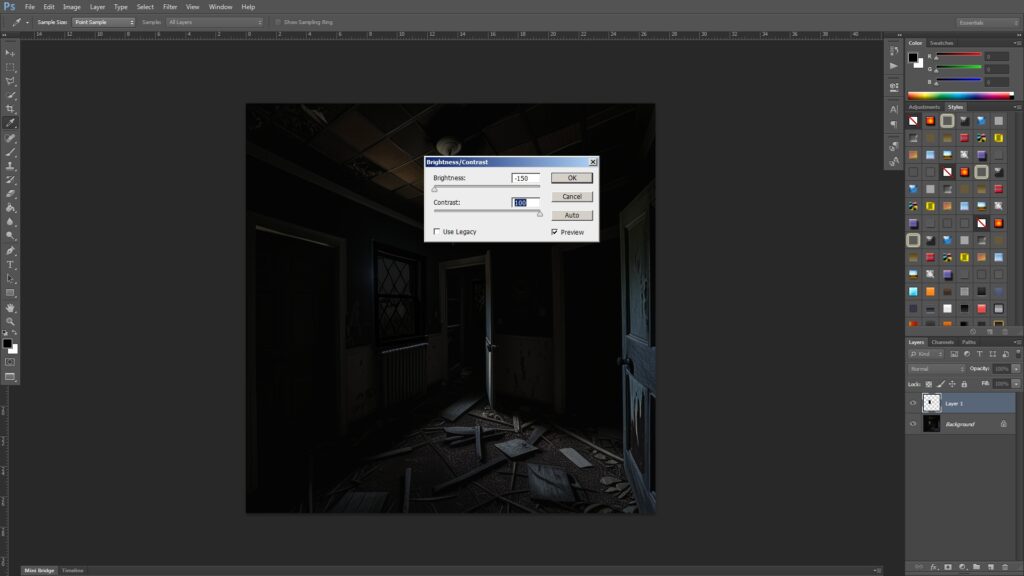
This image was generated by using the following prompt:
Prompt: inside the haunted house, dark and scary, very old abandoned house.
Negative prompt: (worst quality, low quality, normal quality:1.8).

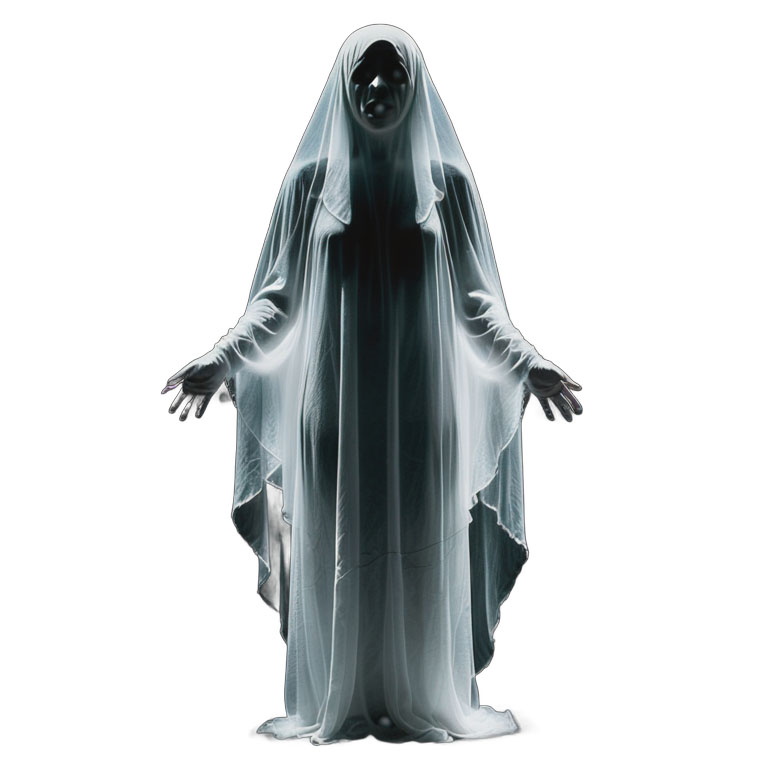
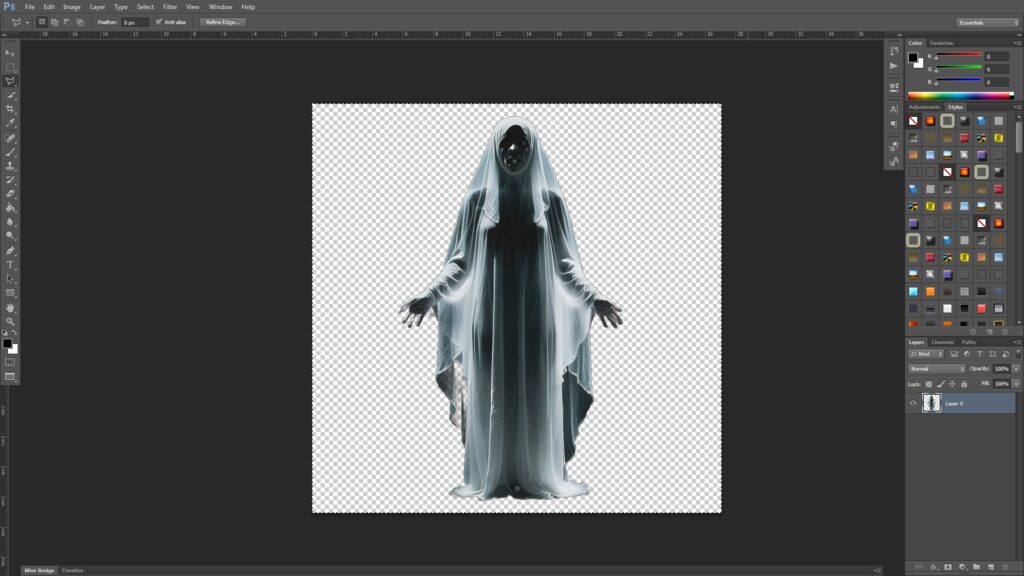
This image was generated by using the following prompt:
Prompt: ghost woman standing in the darkness, all white ghost, transparent, darkness, at night, showing full body.
Negative prompt: (worst quality, low quality, normal quality:1.8).
Let’s [remove the background].
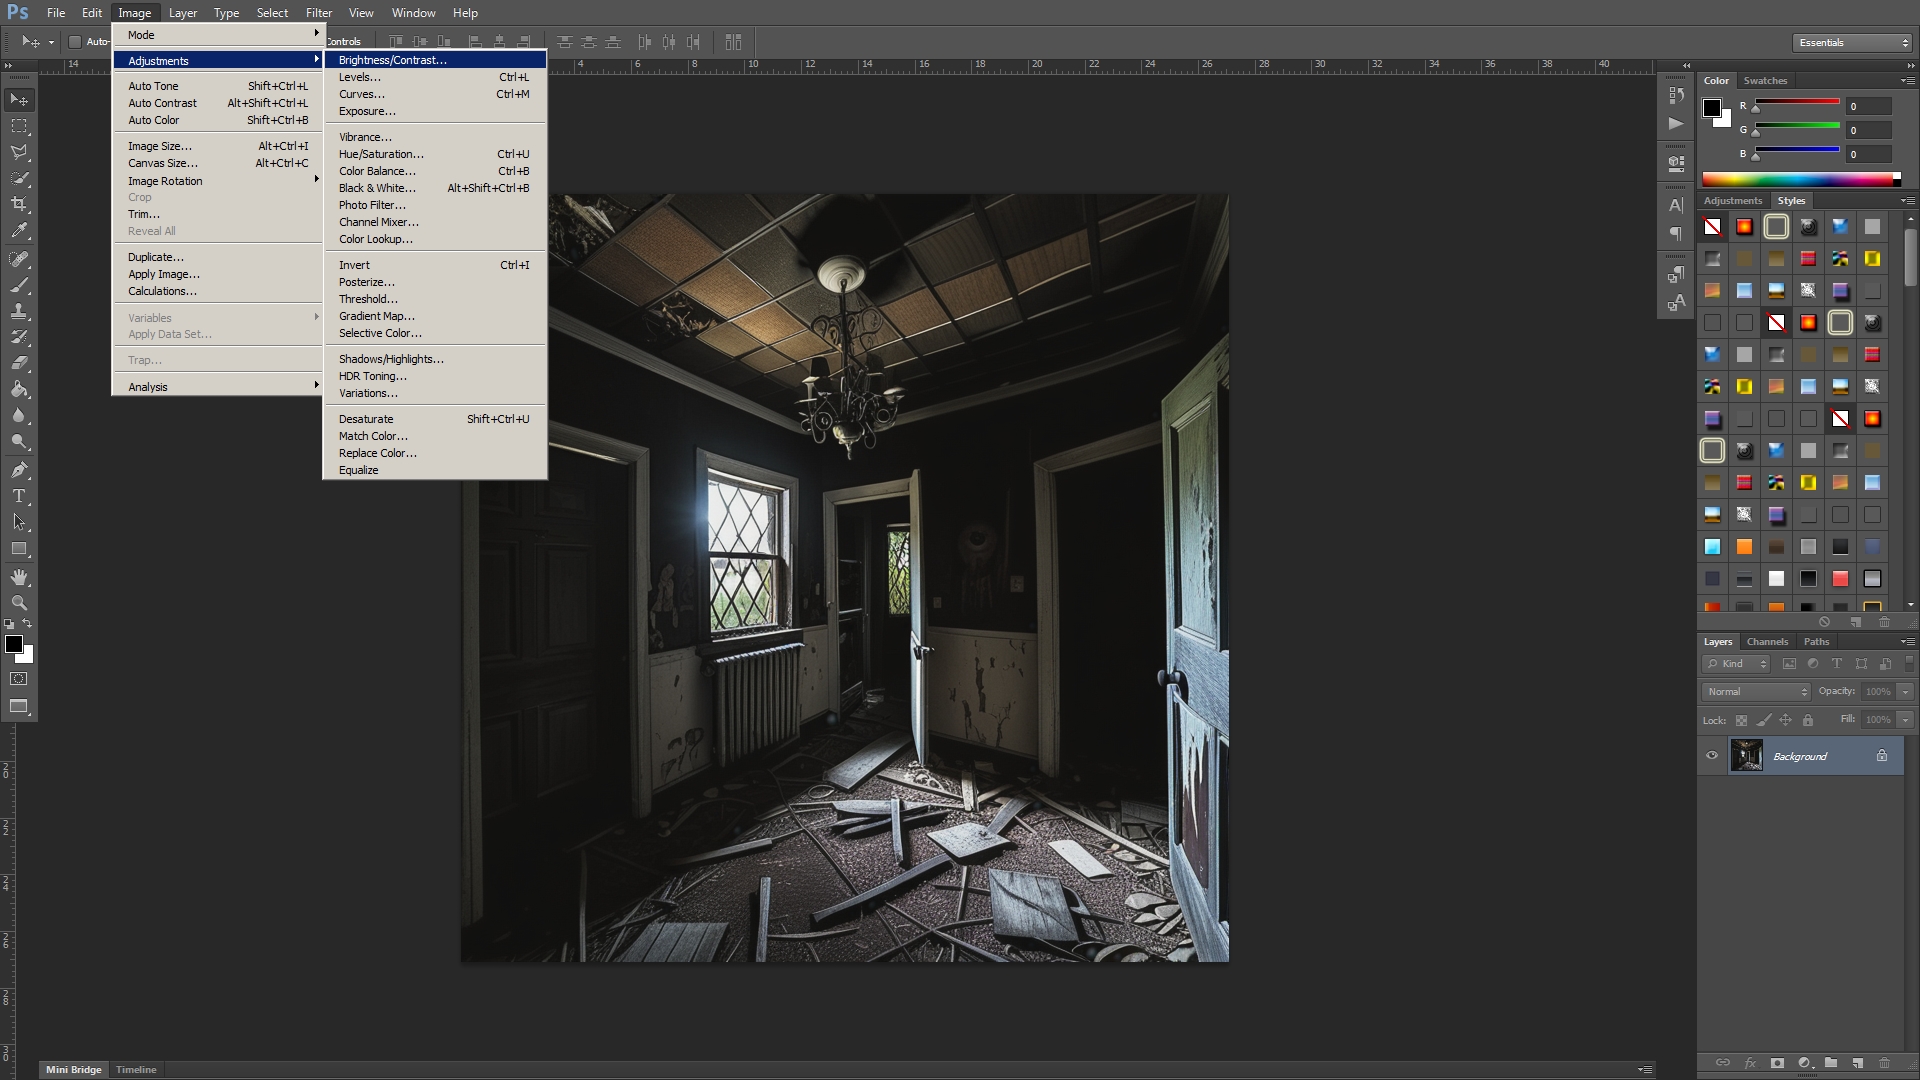
In Photoshop, let’s open the first image and lower its brightness and contrast.

I’ll use these values.
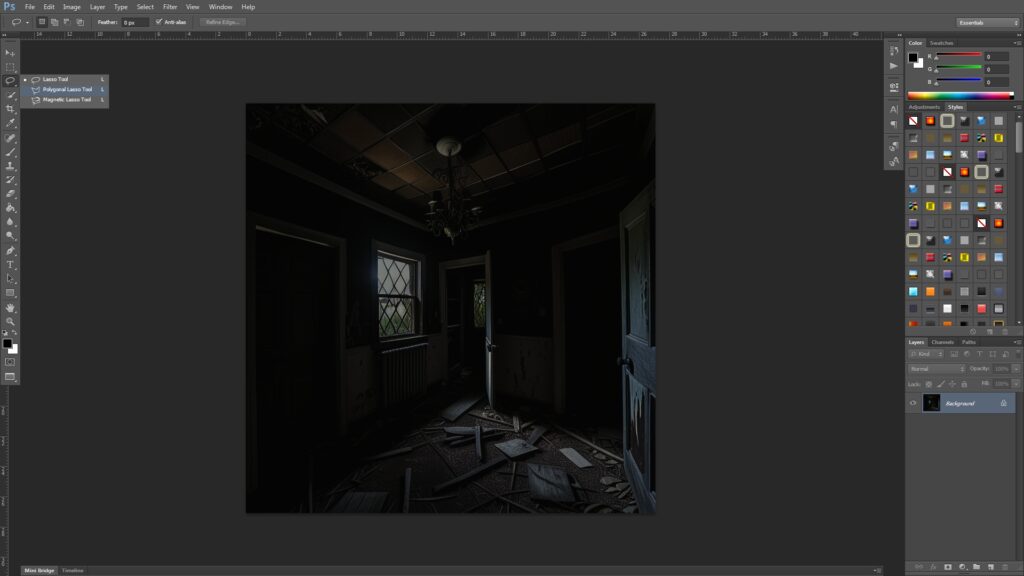
Use the polygonal lasso tool to select the windows. Please remember to press Shift before selecting the second window.

Now that the windows are selected, [Control + C] to copy them and [Control + Shift + V] to paste the windows.
Let’s adjust the brightness and contrast for the windows.
Open the second image, [Control + A] to select all, and [Control + C] to copy it.
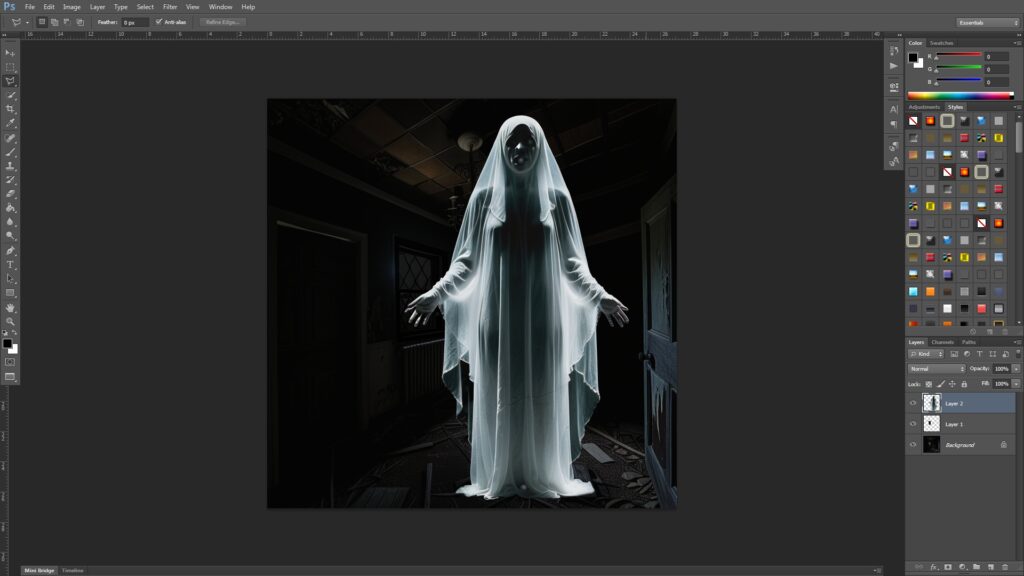
Go to the first image, and [Control + V] to paste.
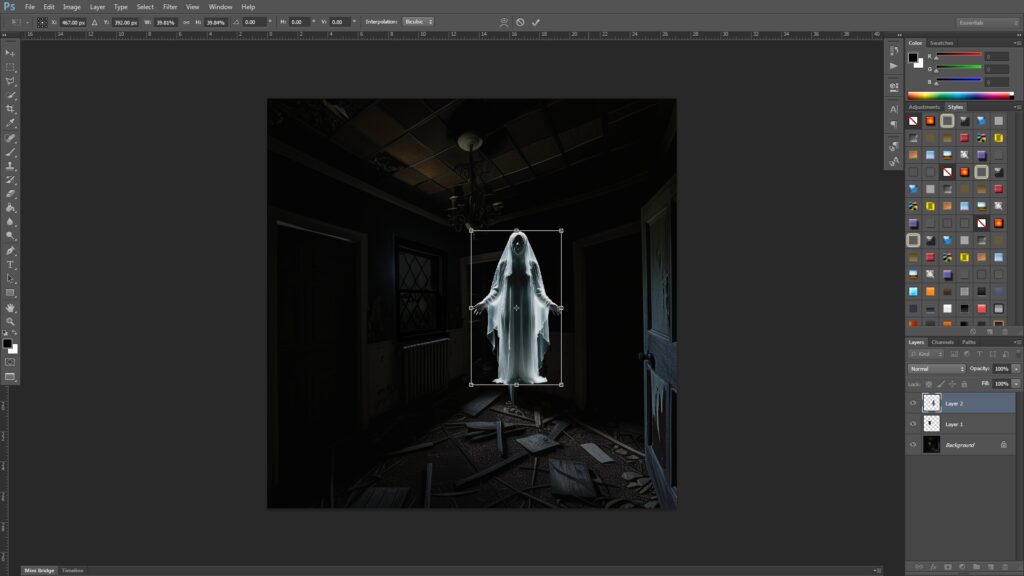
[Control + T] to adjust the size of the second image.
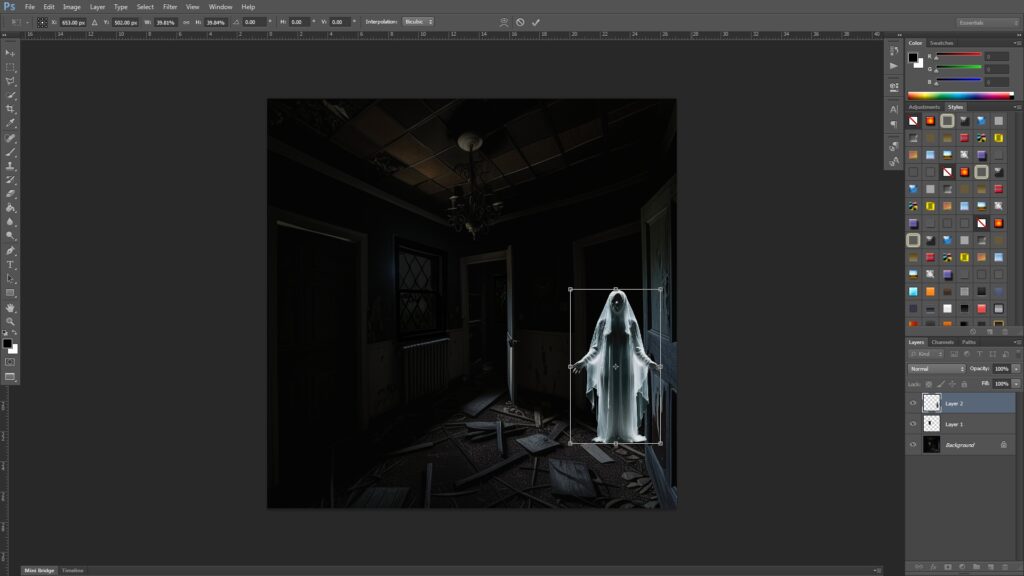
Let’s place the image right here.
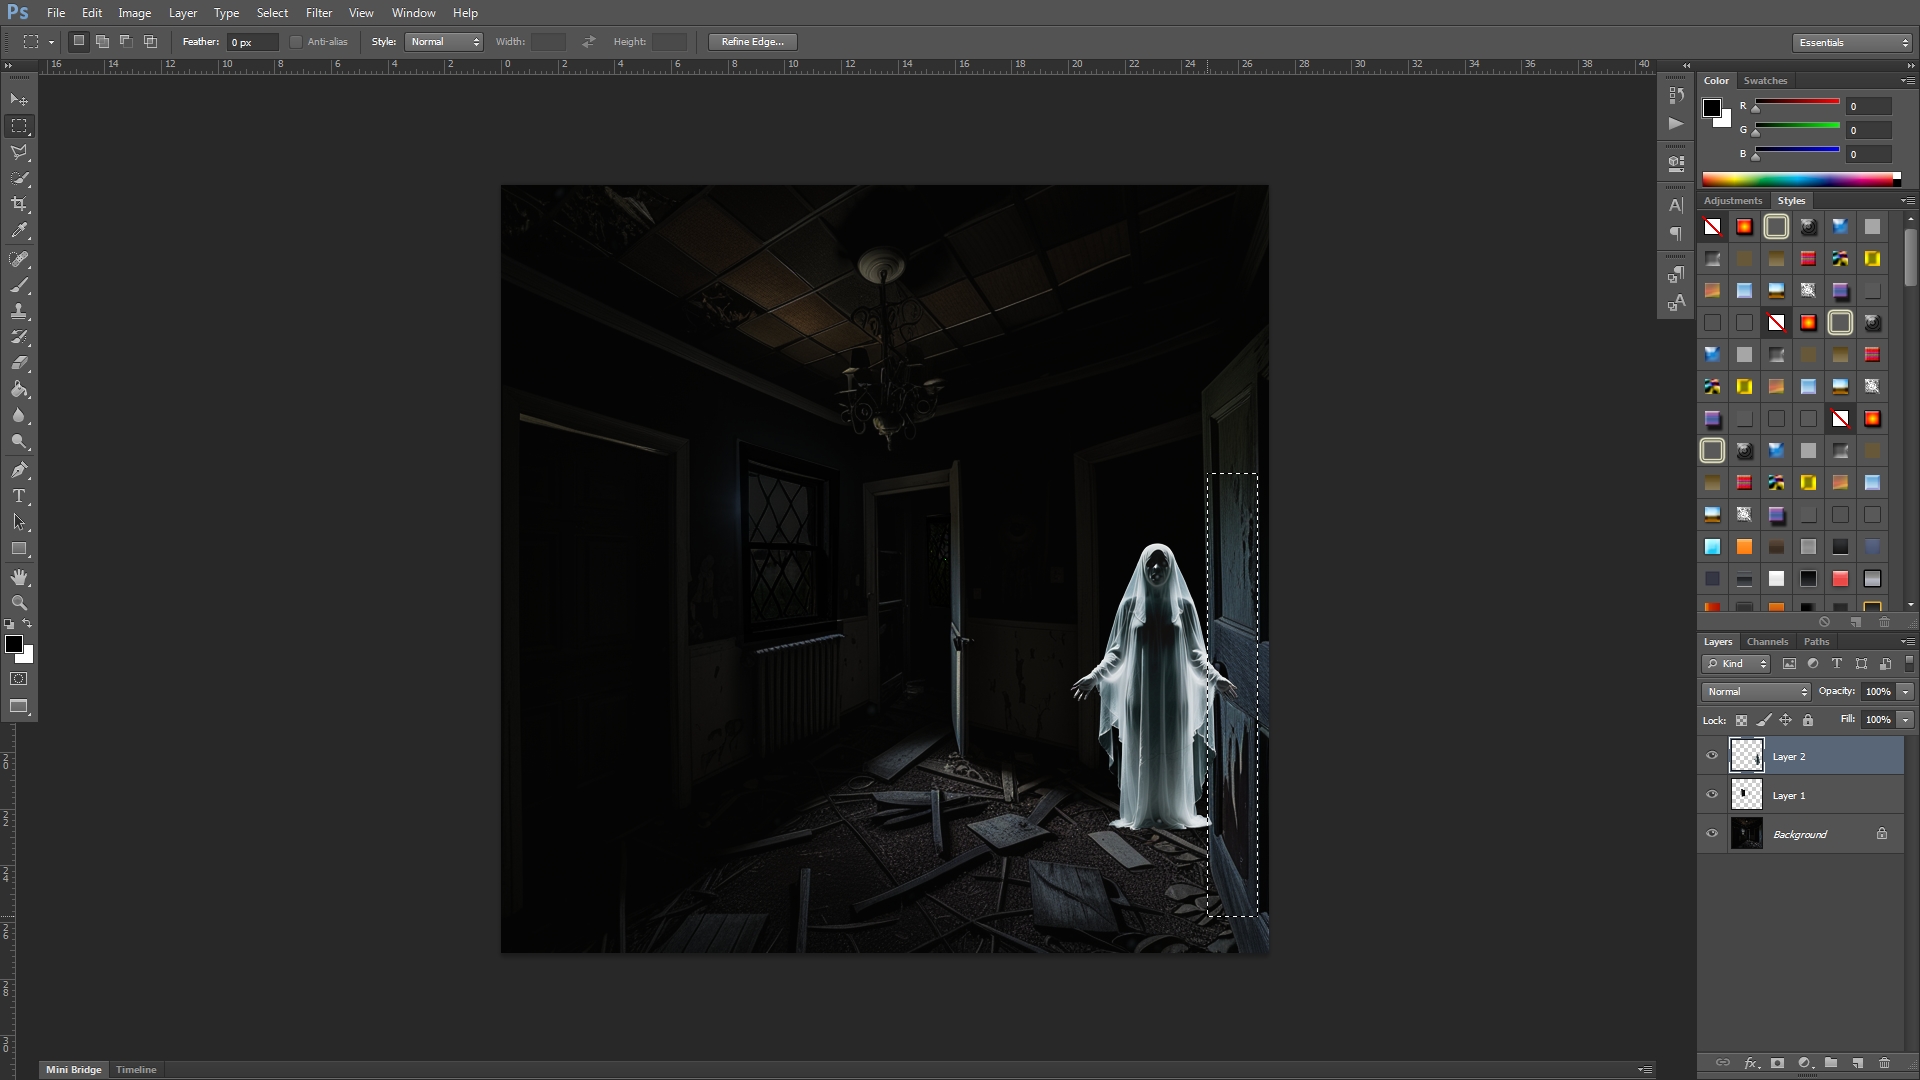
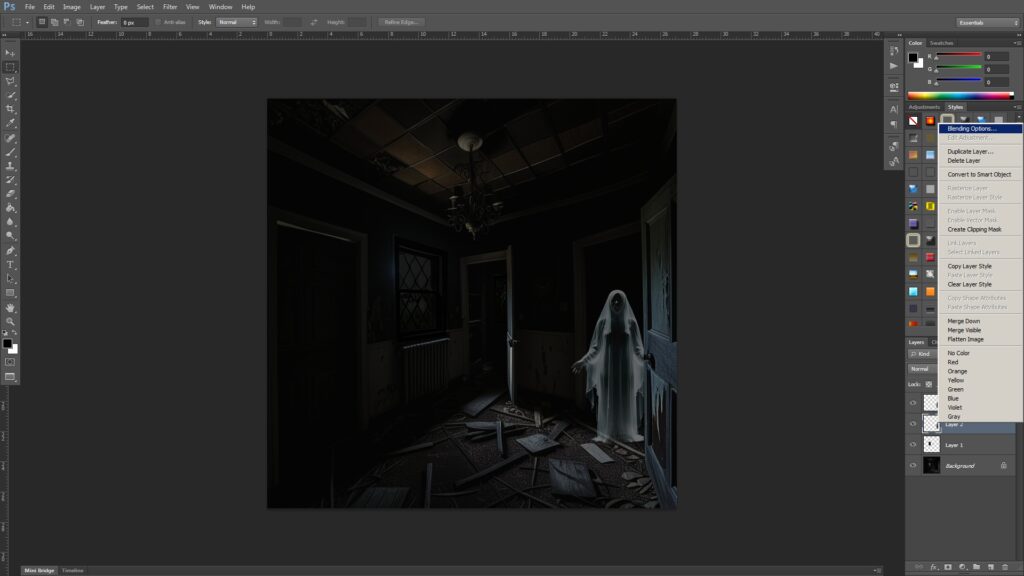
Let’s hide the left arm portion, by selecting and deleting them.
This was the result.

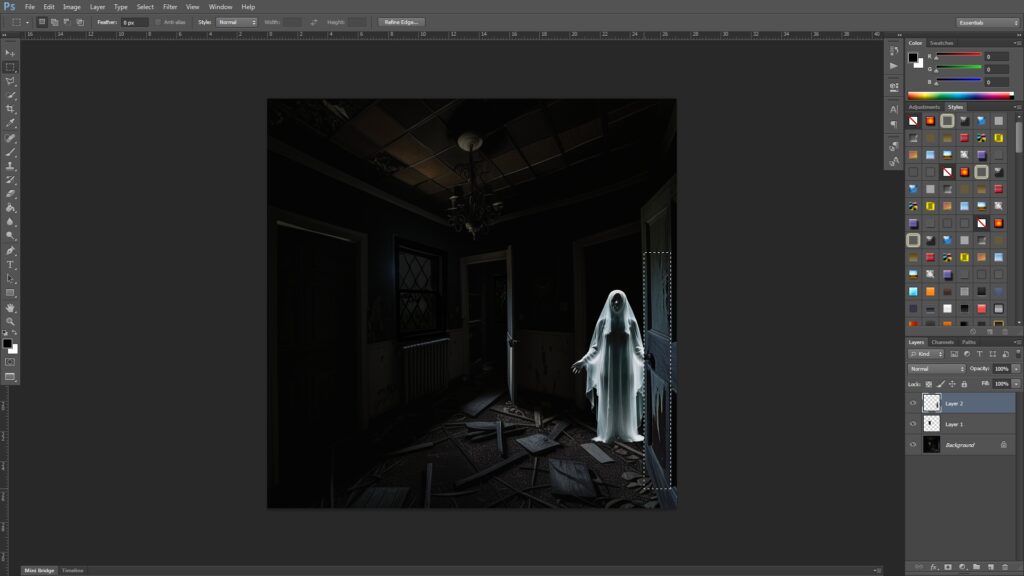
Adjust the opacity of the ghost layer to make it half invisible.
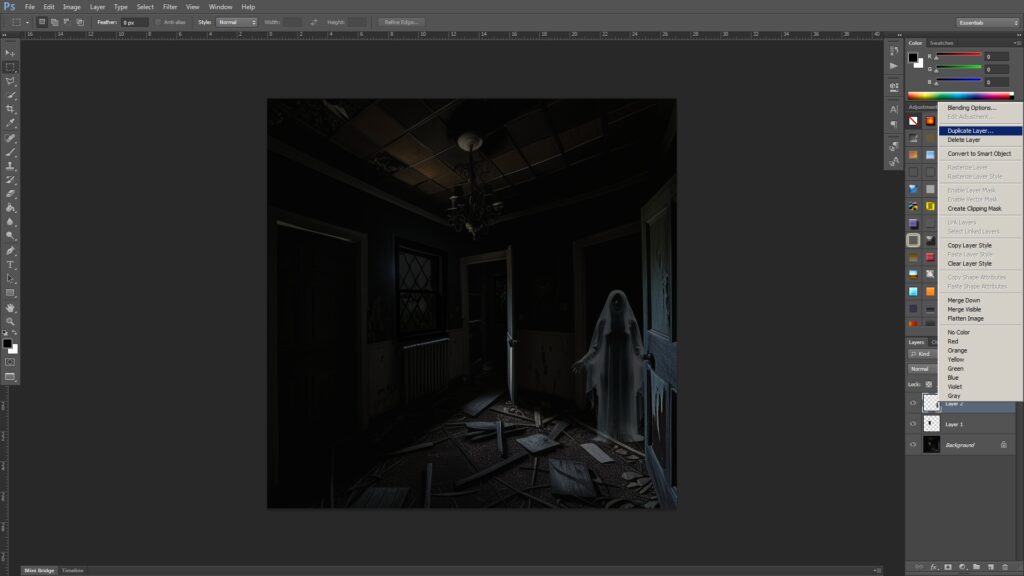
Right click the ghost layer, and duplicate it.
Right click the ghost layer to duplicate it once again.

Go to the first ghost layer, and add Outer Glow by Right Clicking and selecting Blending Options.

Here are my settings.
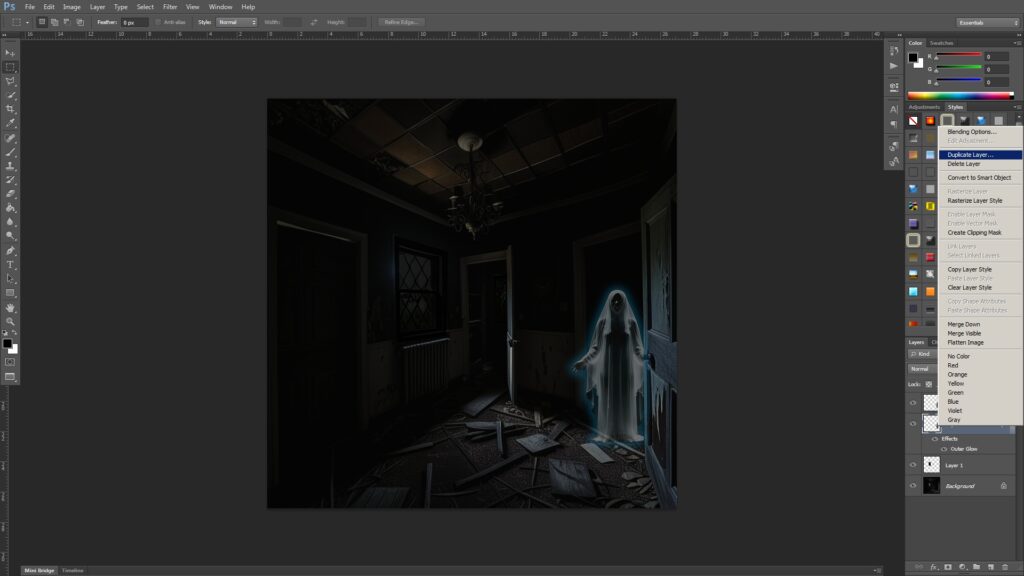
Let’s duplicate the outer glow layer twice more.

Please adjust the opacity setting for each ghost layer to finalize the image.
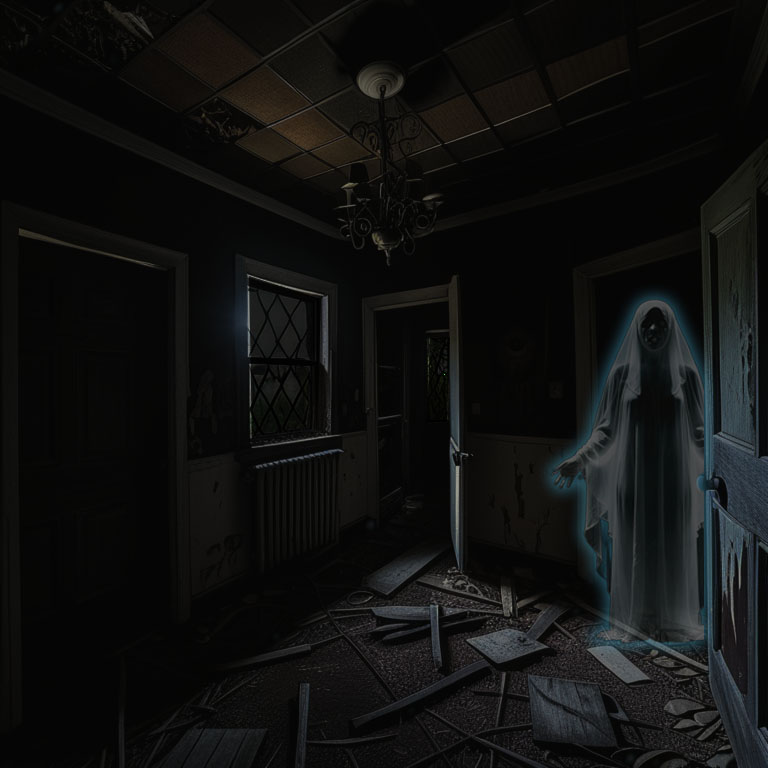
This is the end of the tutorial. 🙂