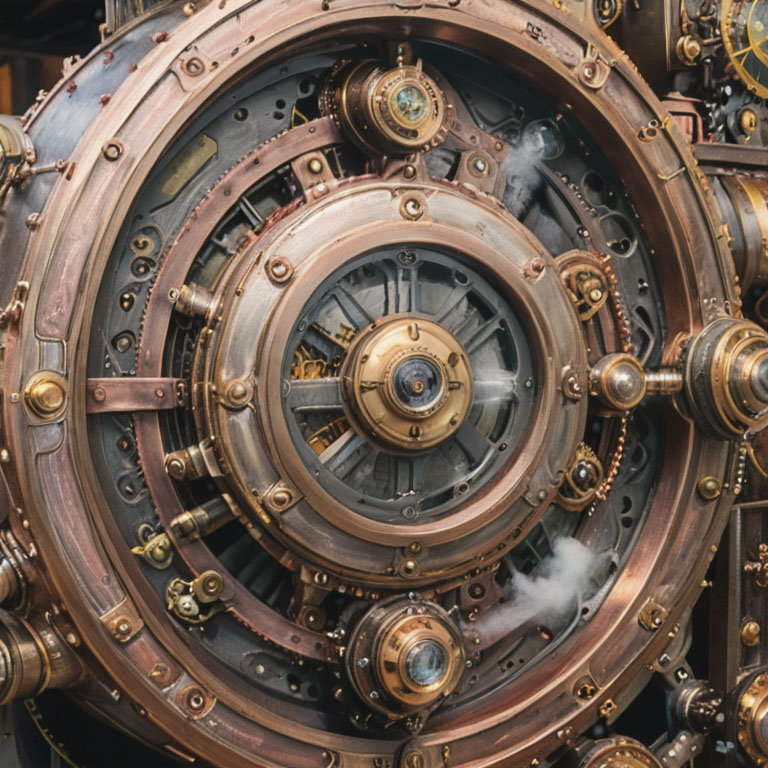


This image was created by Stable Diffusion with the following prompt:
Prompt – sophisticated metal work, steam punk, post processing, cinematic, post production, detailed and intricate, tone mapping, hyper realistic, photorealistic, ultra photoreal, ultra-detailed, intricate details, 8k, super detailed, full color, surrealism, full detail, ray tracing, best quality, extremely detailed
Negative prompts – (worst quality, low quality, normal quality:1.8)
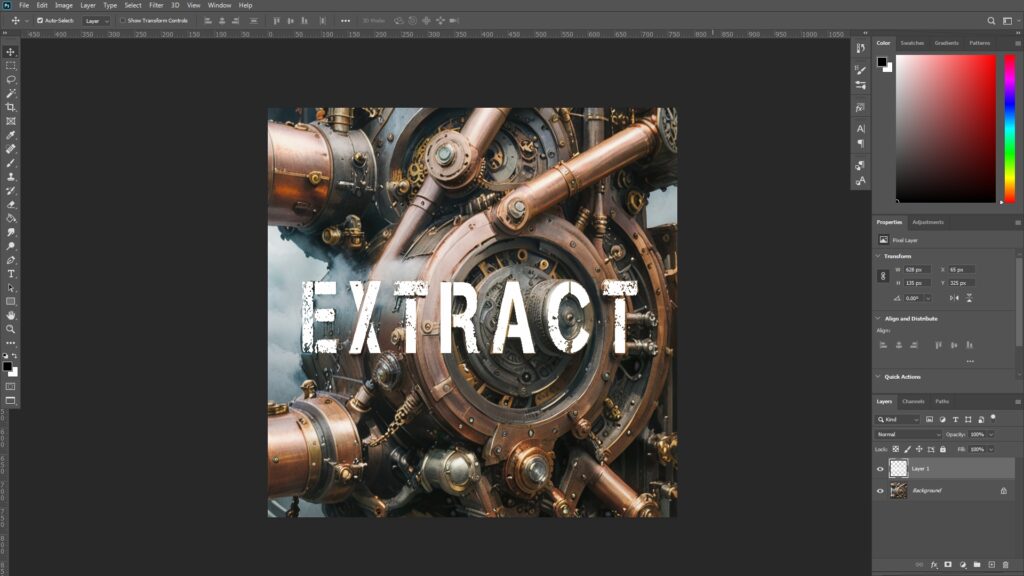
Create a new text on the image.

- [Control + Click] the text layer to select the text region.
- Create a new layer underneath the text layer, and fill it with black.
- Save this image, import it in Stable Diffusion as ControlNet depth image, and create a new stable diffusion image based on this text.
- Copy and paste the newly created text based image to the original image that contained the text.
- [Control + Click] the text layer to select the text region of the new image at the top layer.
- [Control + C] to copy and [Control + Shift + V] to paste in a new layer.
- Either delete or hide the newly generated text based stable diffusion image.
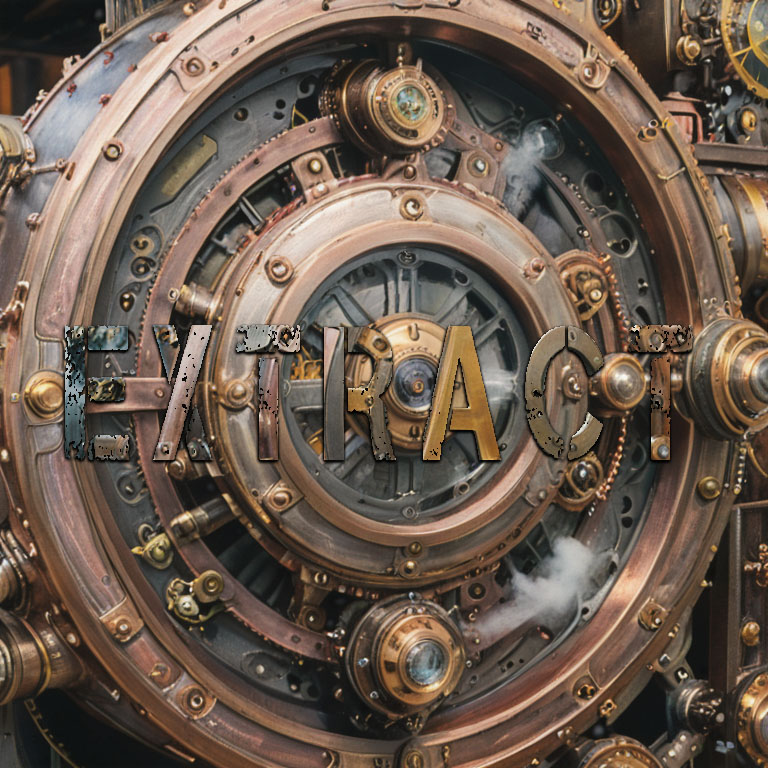
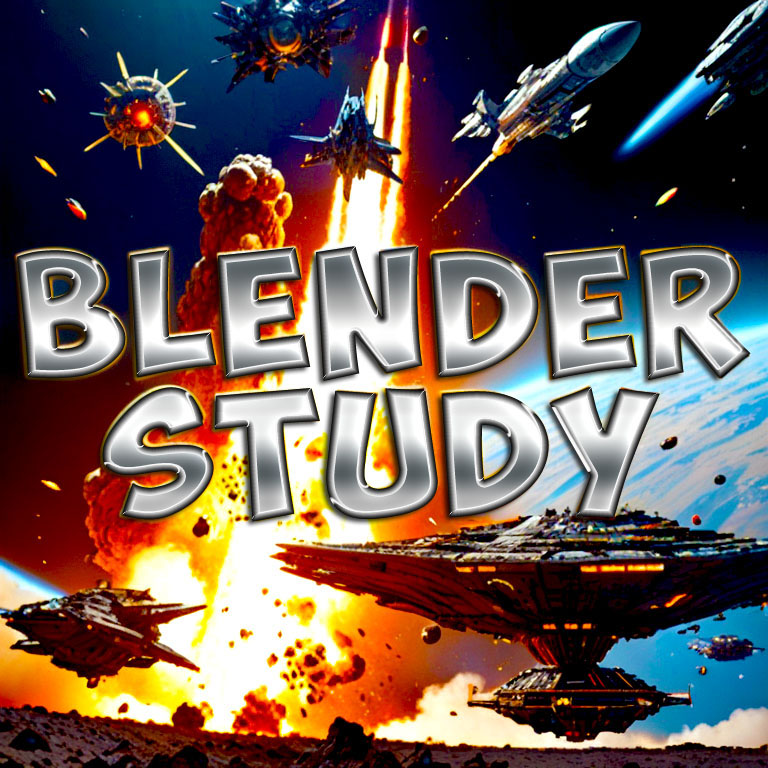
The result should look something like this. The basic idea is to save the original image’s text region, and use the second stable diffusion image as the text object’s material.

By adding layer styles, we can create an interesting looking results.

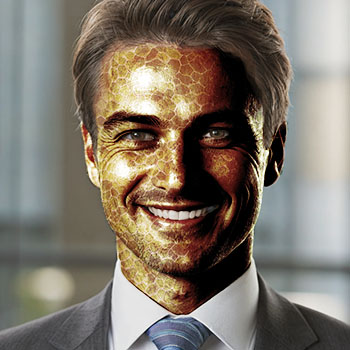
Here is another example.
This is the end of the tutorial. 🙂