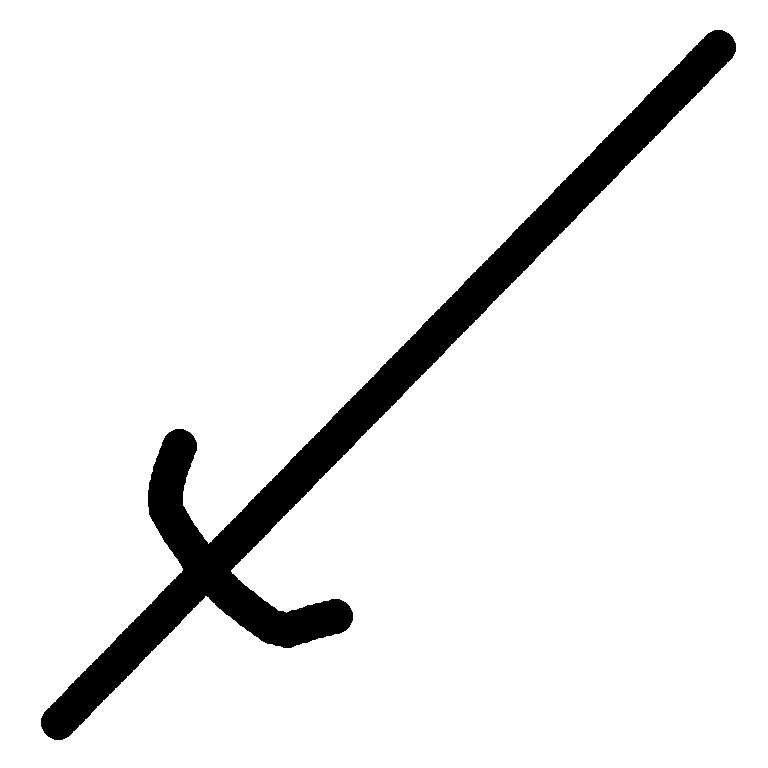


I have used a Photoshop to create this simple sword image and used it as a ControlNet image to create the sword image below.
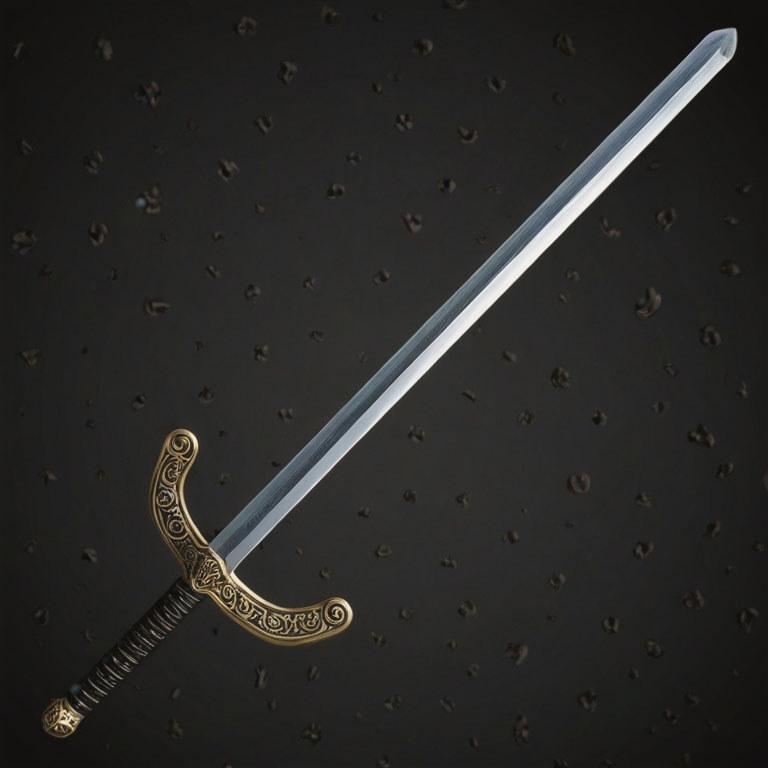
This image was created by Stable Diffusion with the following prompt:
Prompt – (sword), (shows the full sword), isolated black background, post processing, cinematic, post production, detailed and intricate, tone mapping, hyper realistic, photorealistic, ultra photoreal, ultra-detailed, intricate details, 8k, super detailed, full color, surrealism, full detail, ray tracing, best quality, extremely detailed
Negative prompts – (worst quality, low quality, normal quality:1.8)

Let’s open the image in Photoshop.
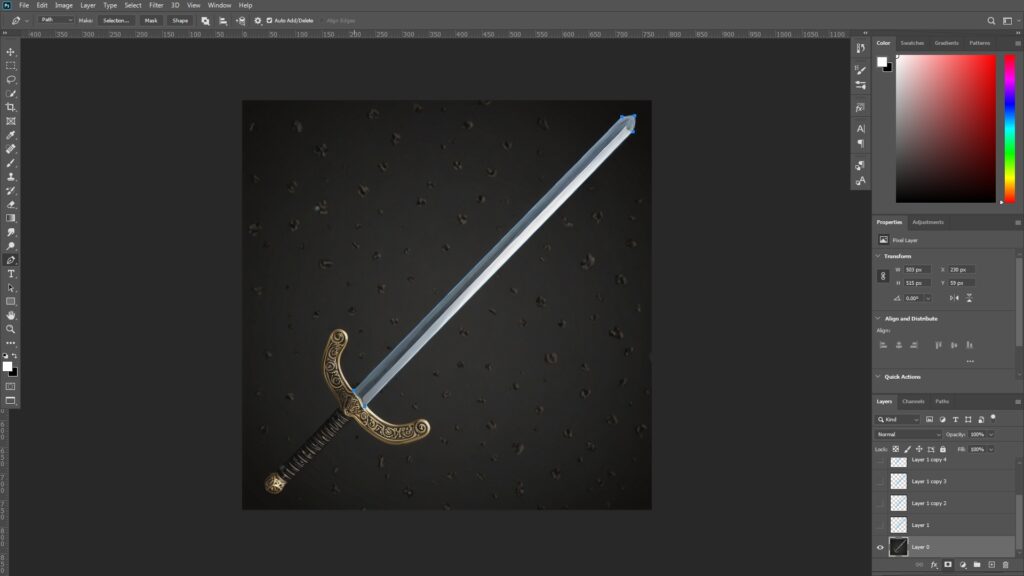
Use the Pen Tool to outline just the blade like this.
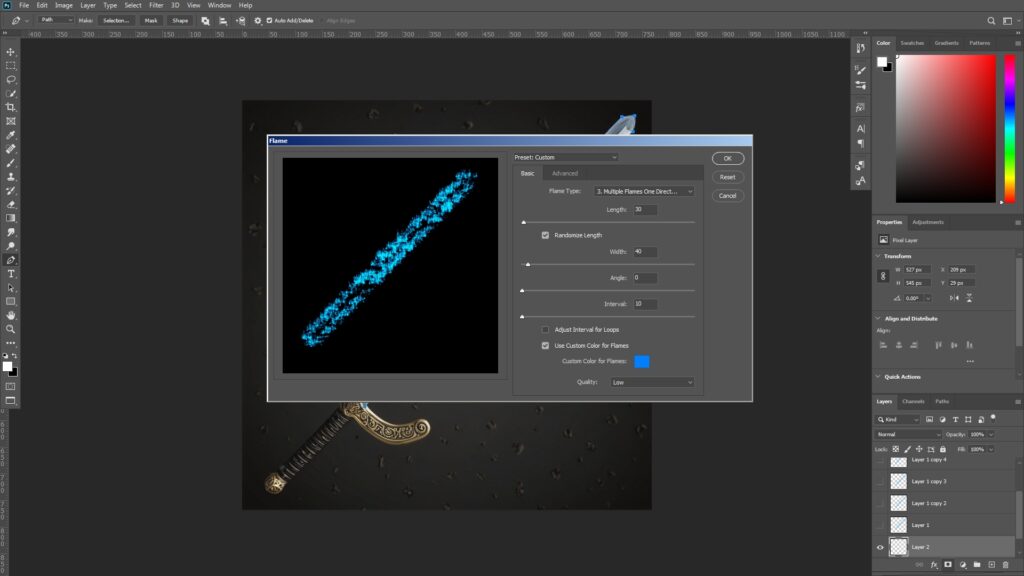
Create a new layer, and go to [Filter -> Render -> Flame].
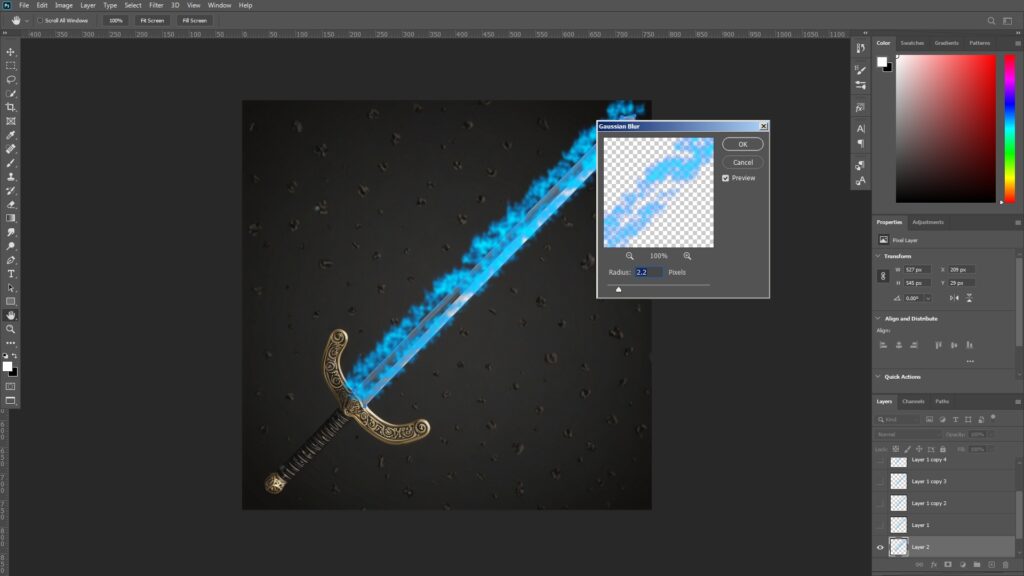
Go to [Filter -> Blur -> Gaussian Blur].
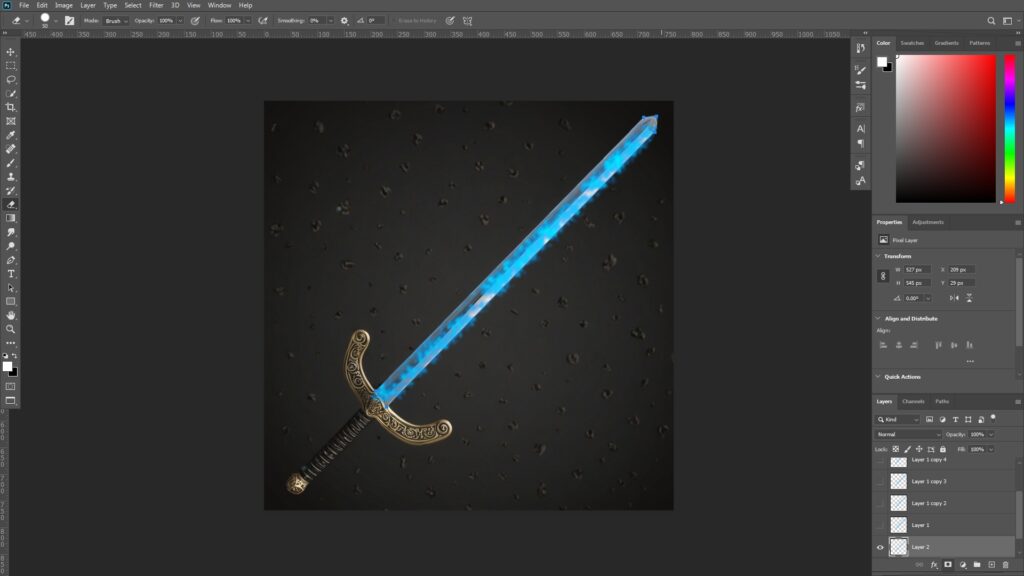
Press [Delete] to remove the blade curve outline, and use the eraser tool to remove the excess flame regions around the blade.
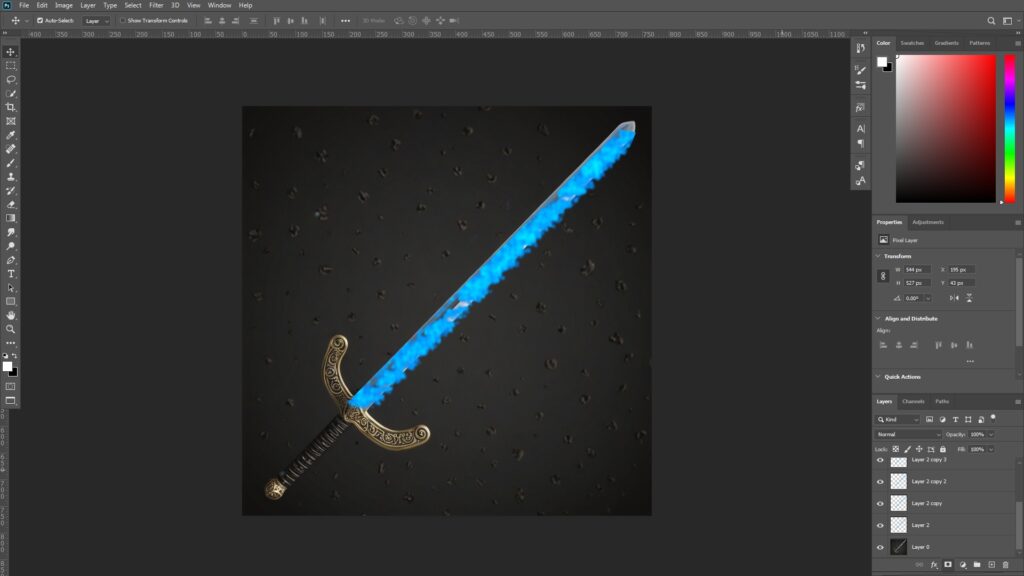
[Control + J] four times to duplicate the layers 4 times.
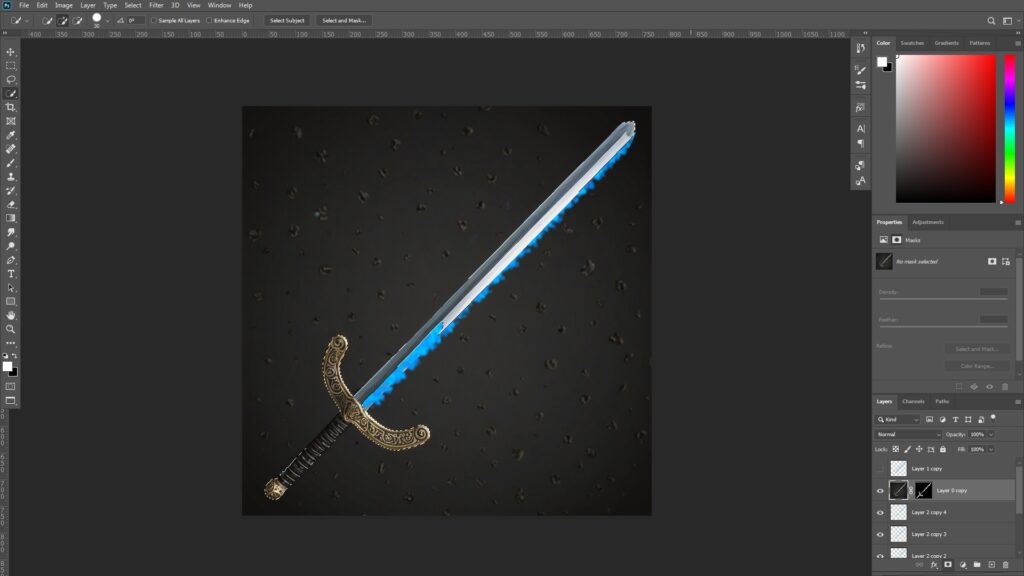
Use the Quick Selection Tool to select the sword and create a new layer mask like this.

Duplicate one more flame layer and place the layer above the mask layer.
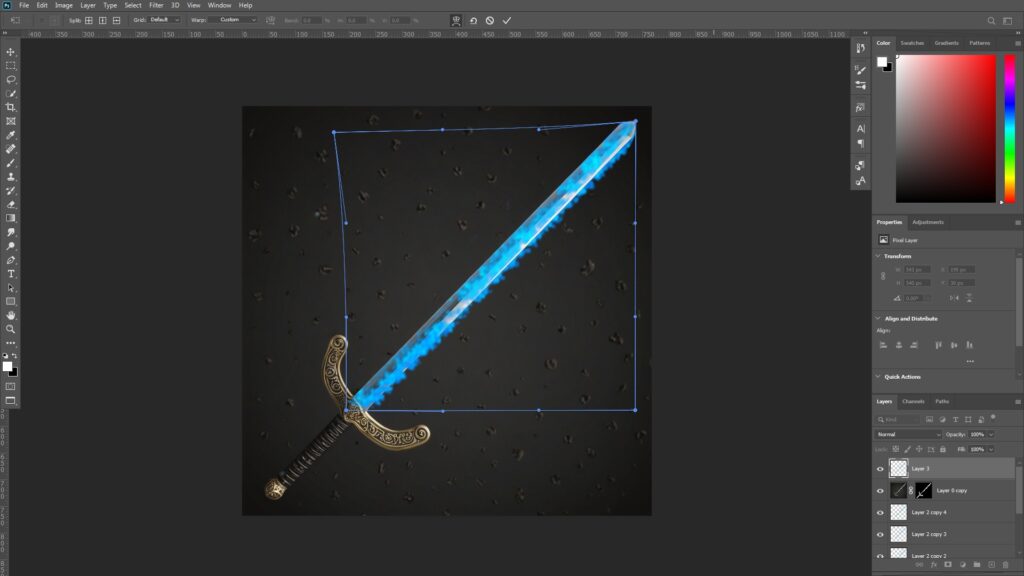
[Control + T and Right Click to select Warp] and arrange the flame to show only on the blade.
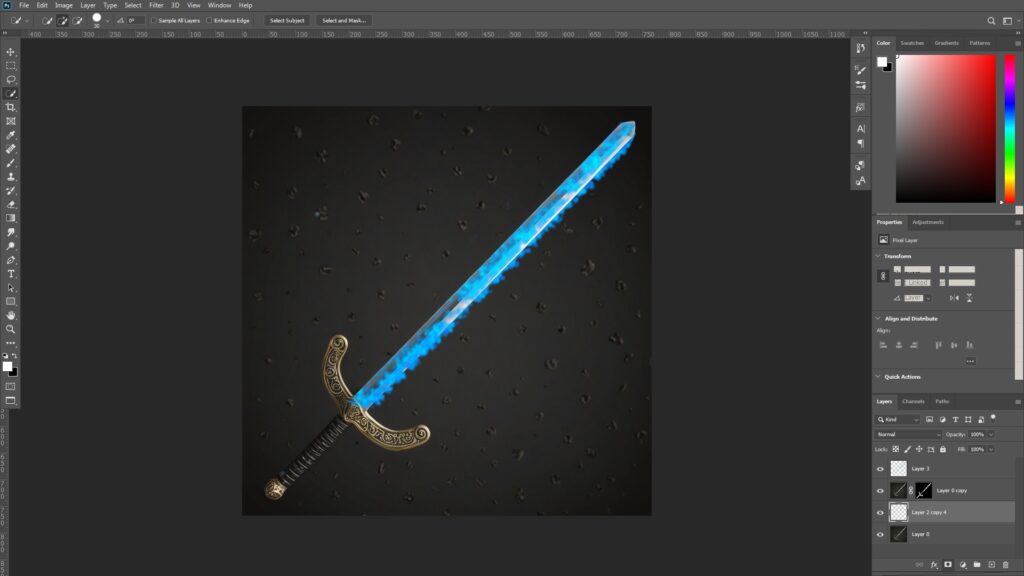
Select the flame layers underneath the mask, and merge them by right clicking the layers.
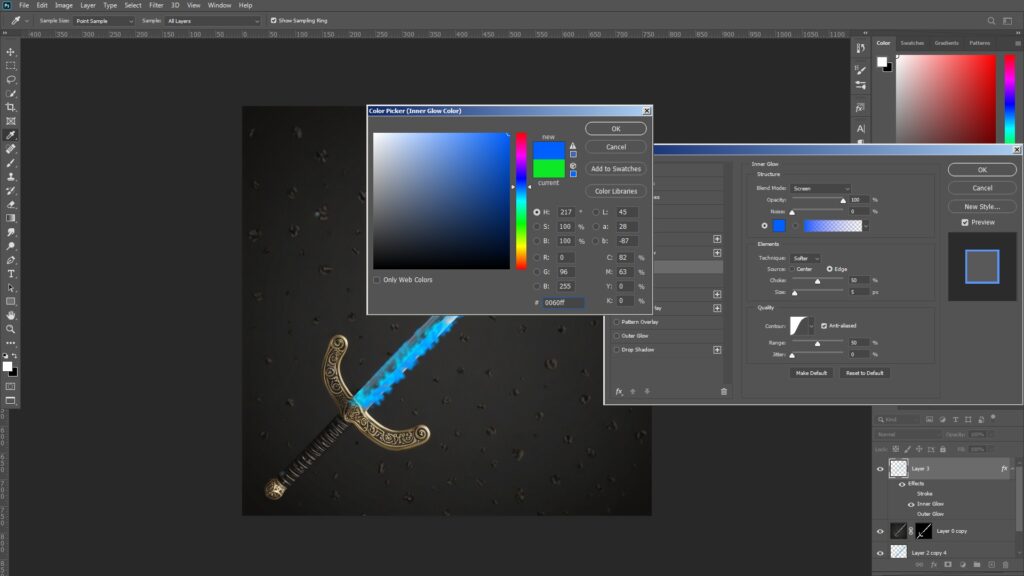
This is optional, but we can also apply the additional layer styles to the flame layers.

Also, we can copy and duplicate the layer styles like this, and apply blur and sharp to the flames to make it look more interesting.
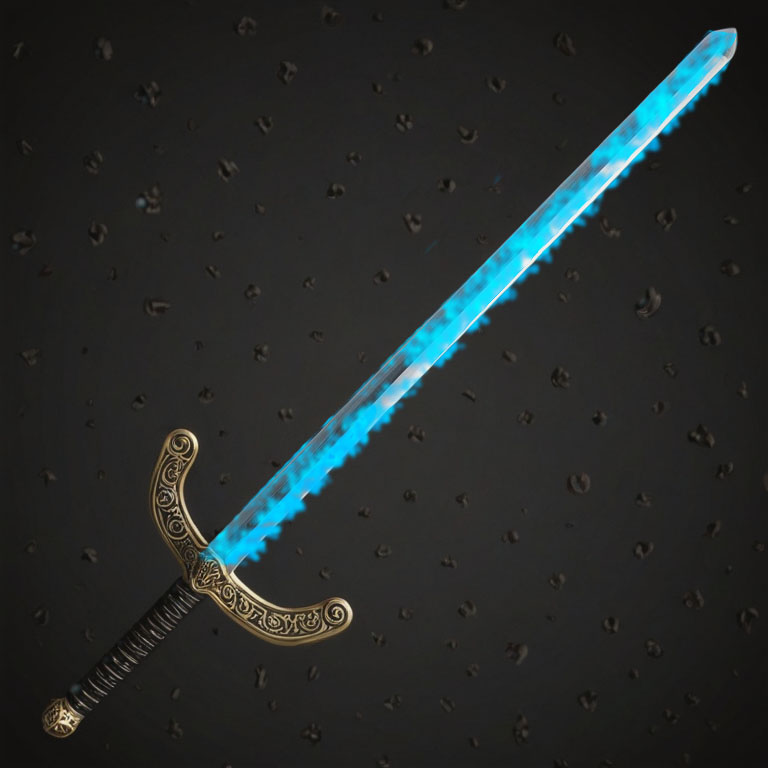
This is the end of the tutorial. 🙂