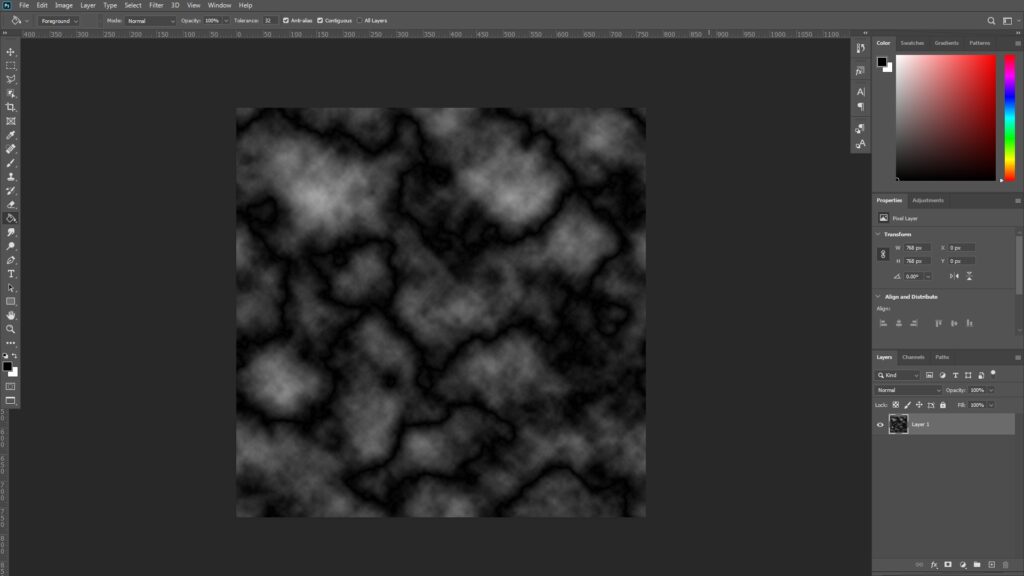


Fill the image with black color. Go to [Filter -> Render -> Different Clouds].
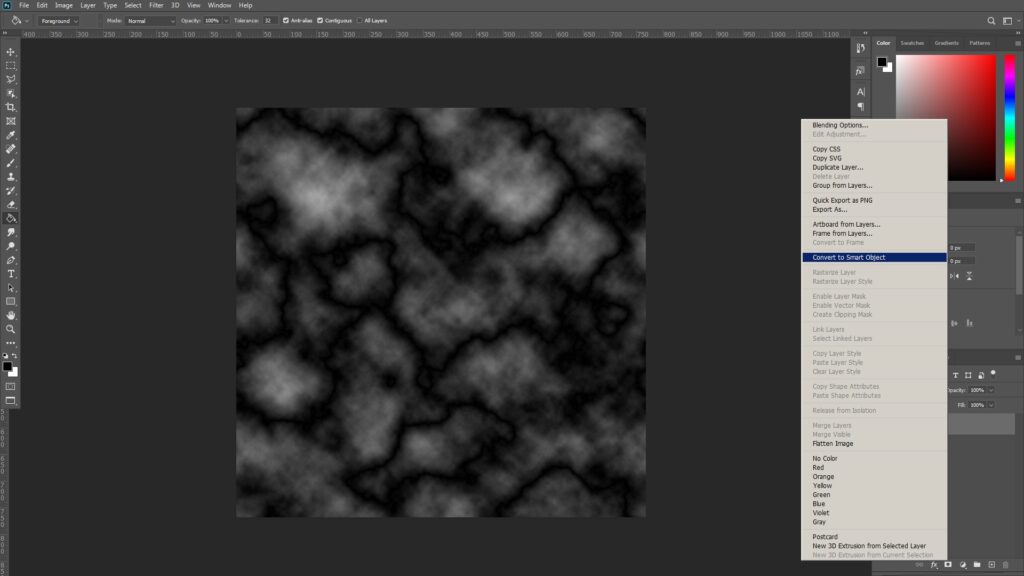
Convert to Smart Object.
Go to [Image -> Adjustments -> Invert].
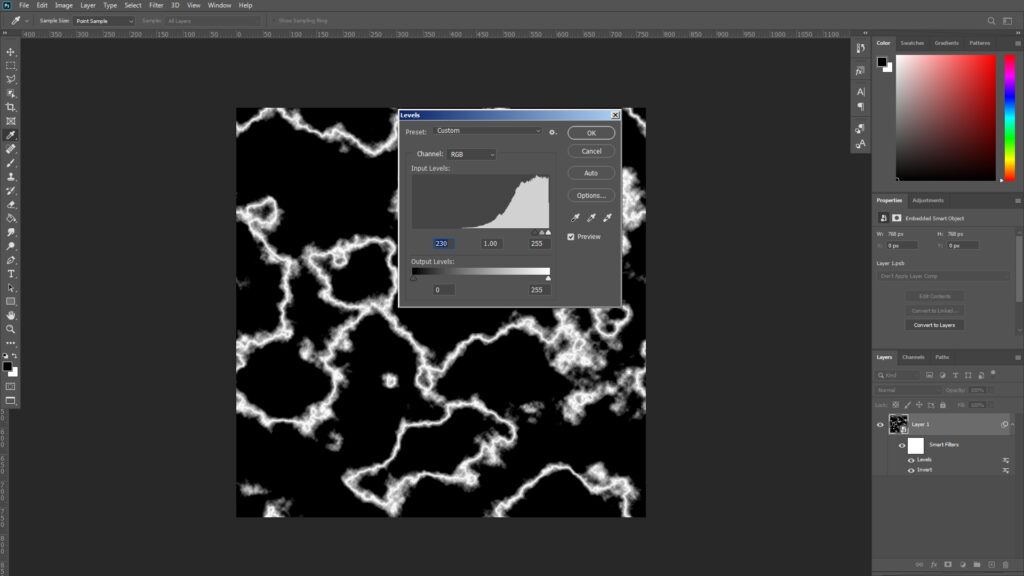
Go to [Image -> Adjustments -> Levels].
Add a Brightness/Contrast adjustment layer. Please match my settings.
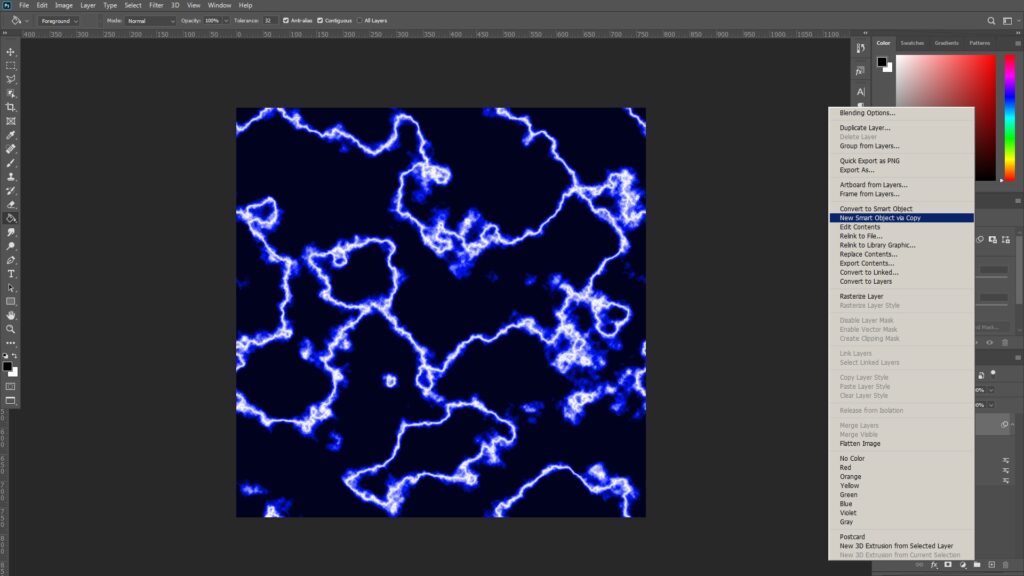
Right click the layer and select New Smart Object via Copy.
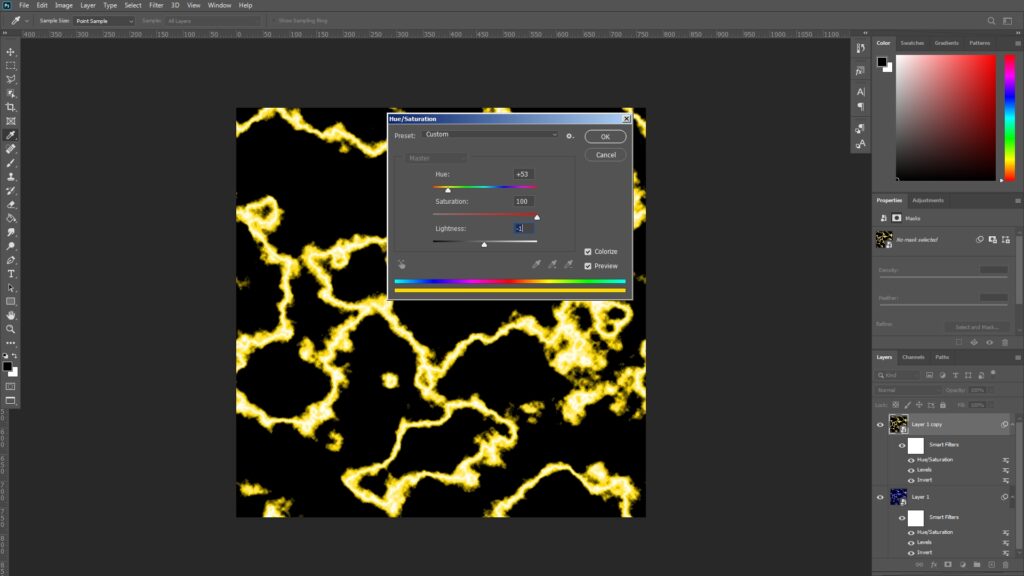
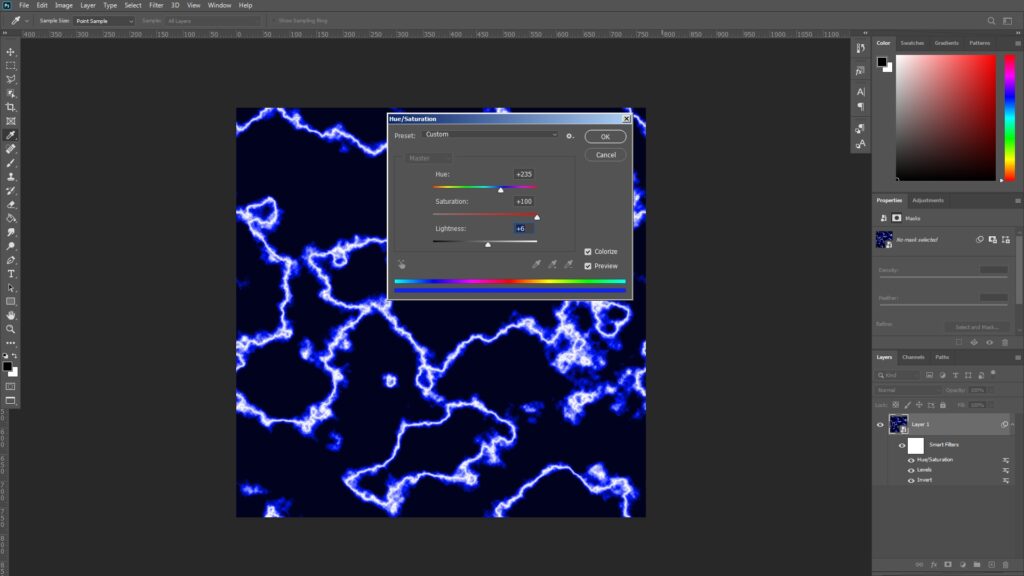
Change the Hue/Saturation color like this.
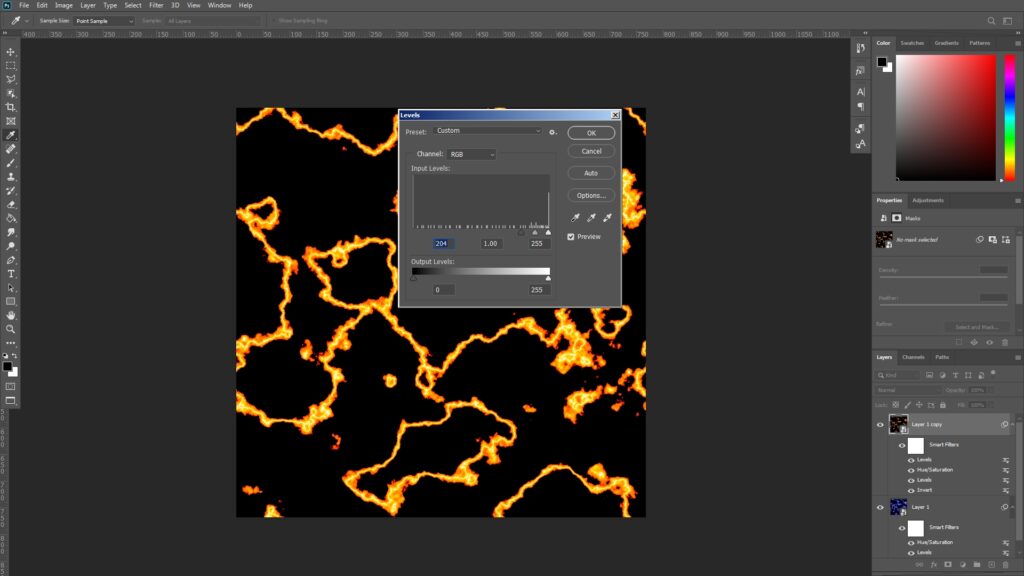
Adjust the levels.
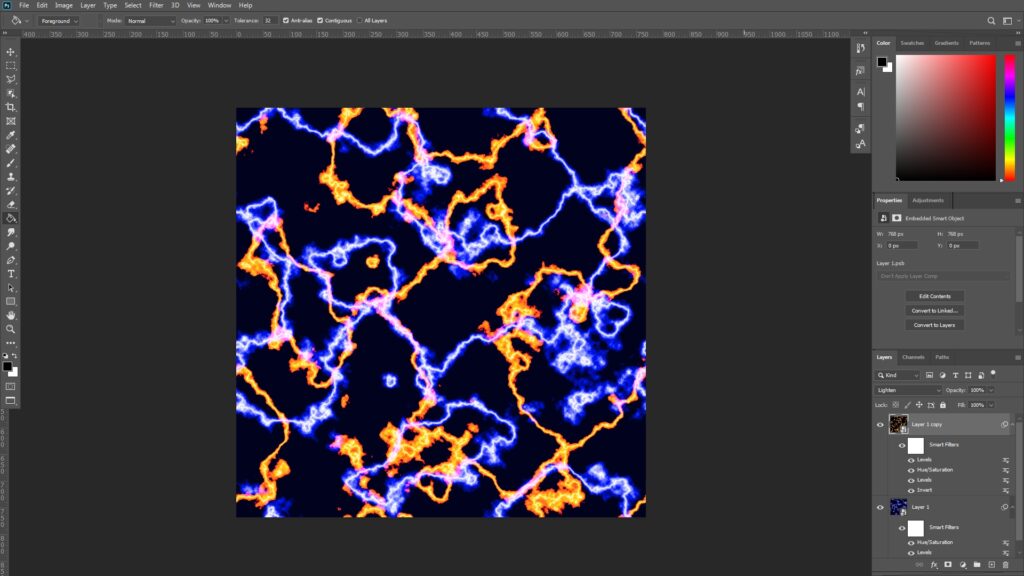
[Control + T] to rotate the image. Set the layer’s blend mode to Lighten.
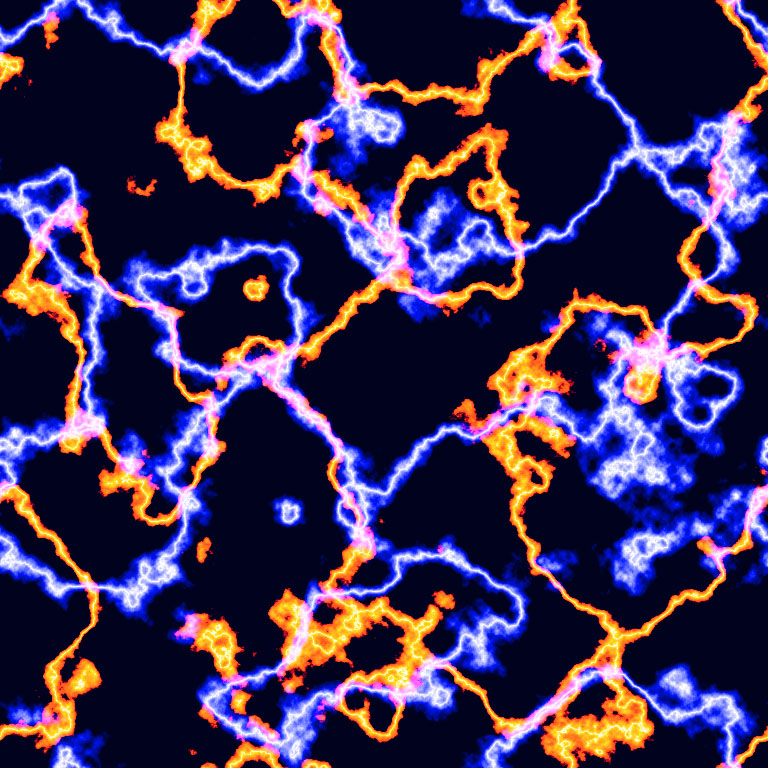
This is the end of the tutorial. 🙂