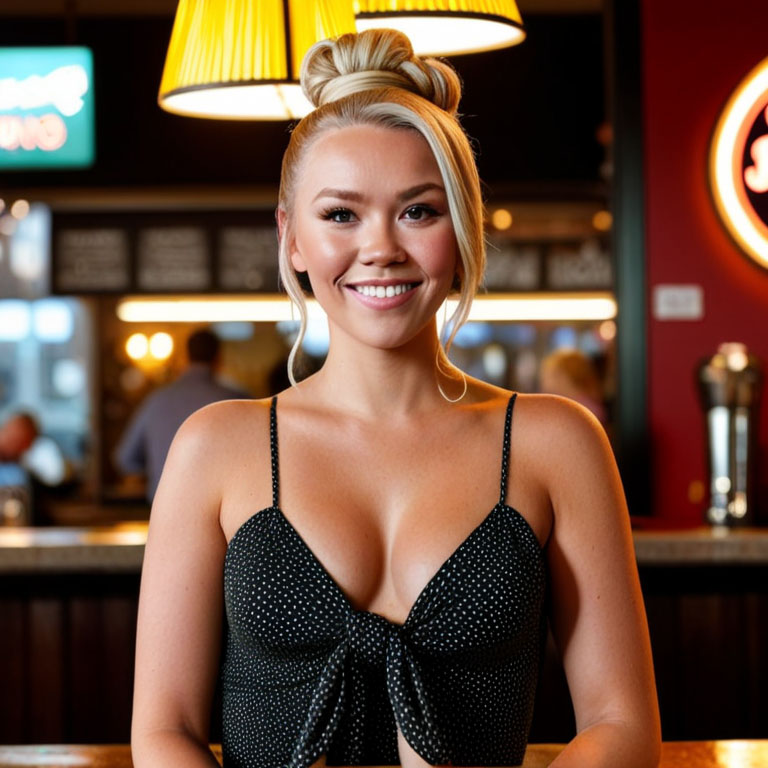


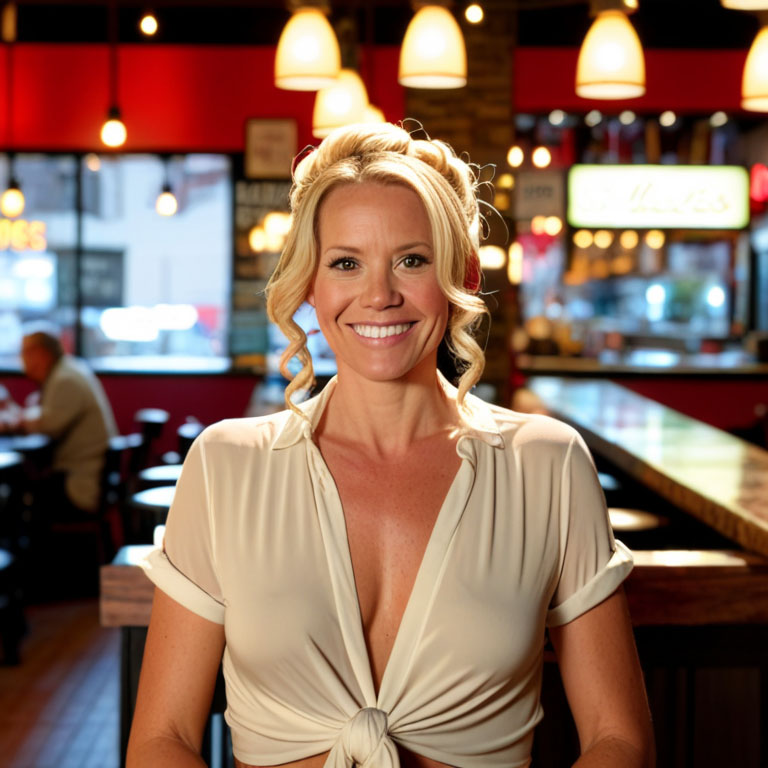
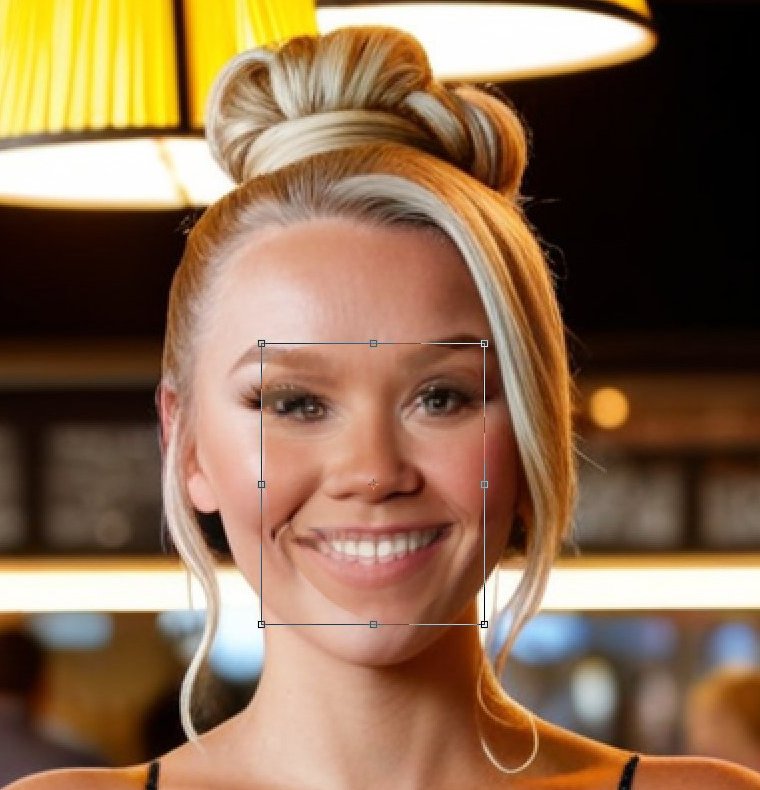
This image was created by Stable Diffusion with the following prompt:
Prompt – (((Beautiful blonde woman named Kaylynn Omelia Johansson with tied bop up hair))), facing the camera, smiling in front of restaurant, high quality, crystal clear, 8K UHD, highly detailed, rim lighting, studio lighting, looking at the camera, dslr, ultra quality, sharp focus, tack sharp, dof, film grain
Negative prompts – (worst quality, low quality, normal quality:1.8)
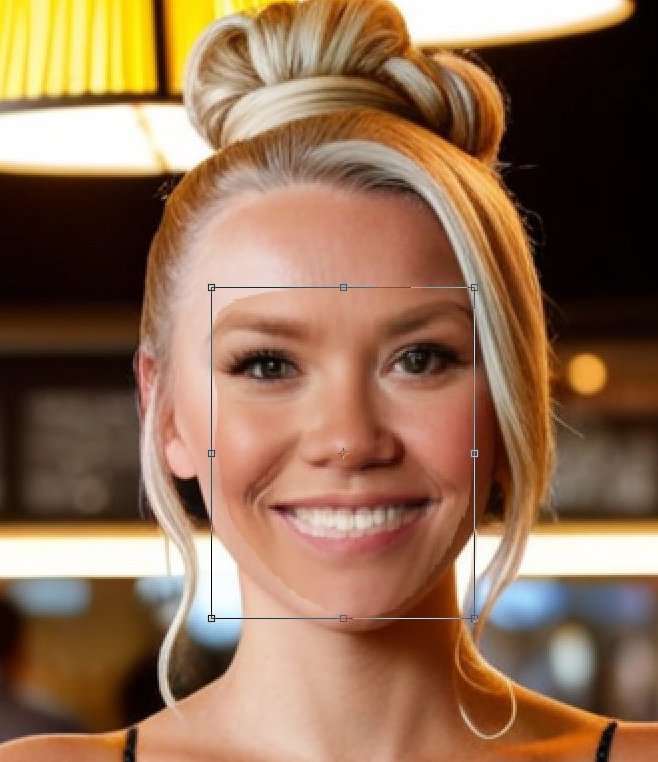
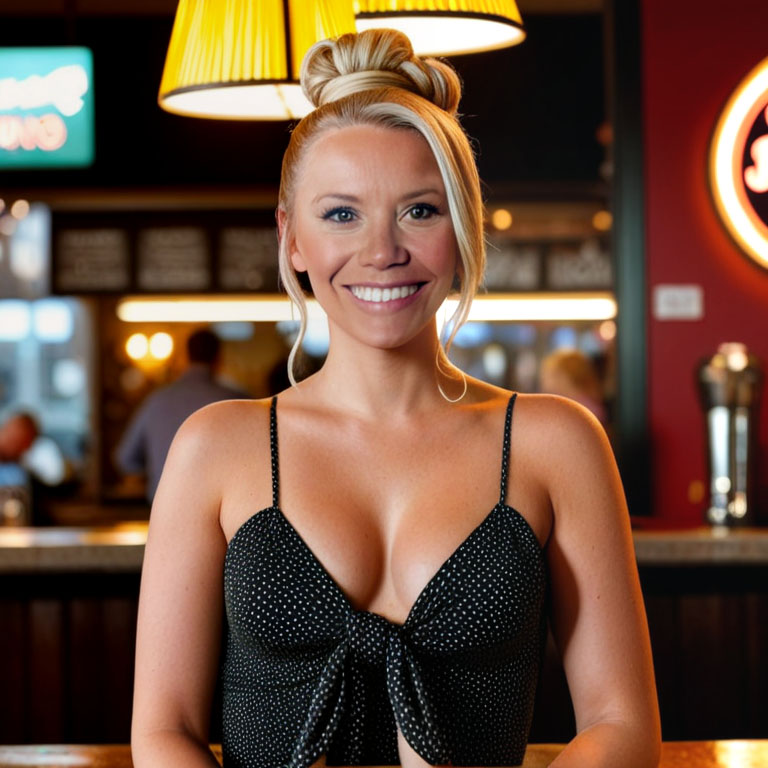
This image was created by Stable Diffusion with the following prompt:
Prompt – (((Beautiful blonde woman named Ignes Melissa Azinger with tied bop up hair))), facing the camera, smiling in front of restaurant, high quality, crystal clear, 8K UHD, highly detailed, rim lighting, studio lighting, looking at the camera, dslr, ultra quality, sharp focus, tack sharp, dof, film grain
Negative prompts – (worst quality, low quality, normal quality:1.8)
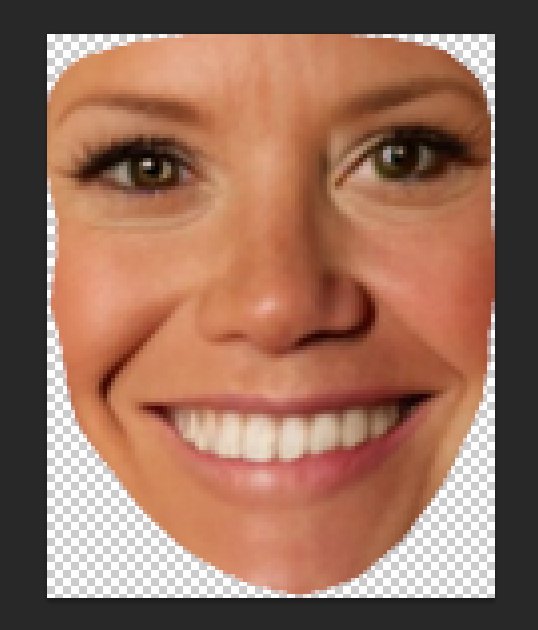
Use the Lasso Tool to cut out (with Control + X) the face region of the second woman.
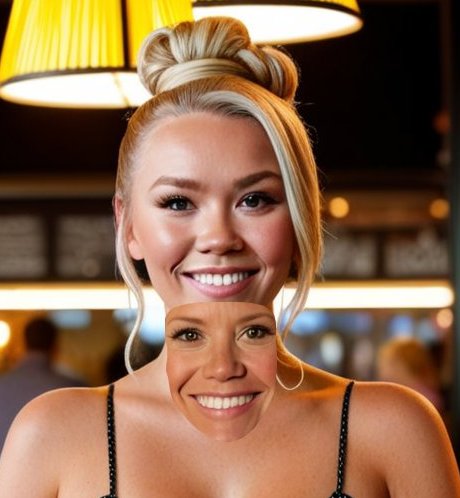
Paste it into the second image.
Lower the opacity of the second image, so it’s easier to stack two faces.
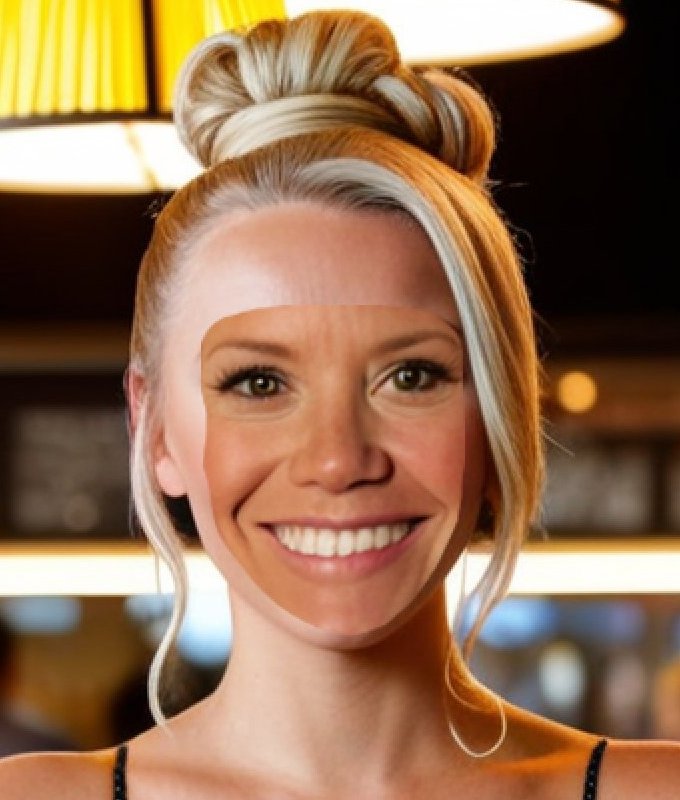
Use [Control + T] to scale and move the face, so that the eyes, the nose, and the mouth stack without any issues.
This was the result.
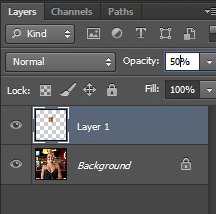
Restore the opacity of the second layer to 100%.
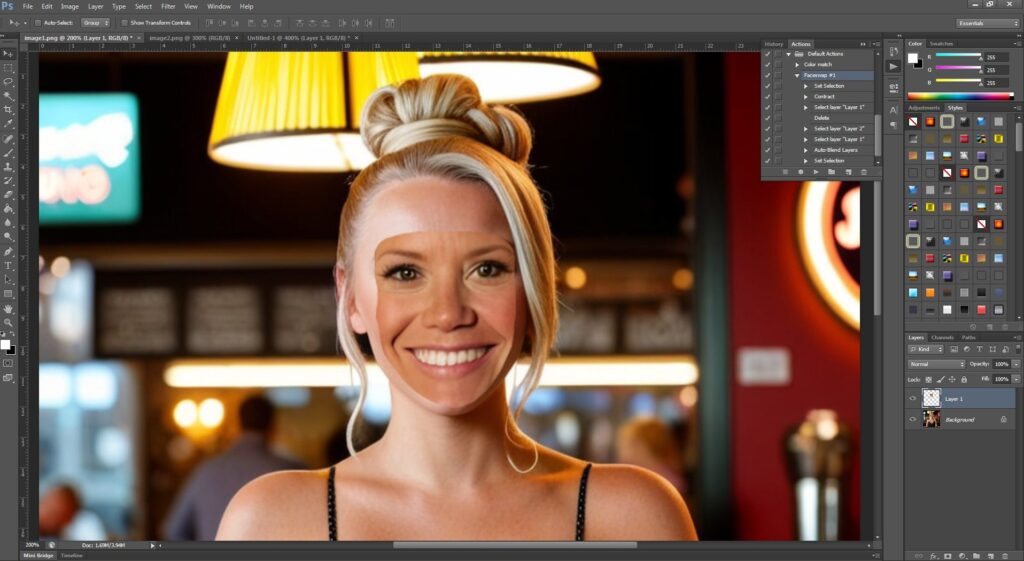
Download and import the Face Swap action file. Before running the action, change the first layer name to [Layer 1], and the second layer name to [Layer 2]. If we don’t change the layer names, the action won’t work.
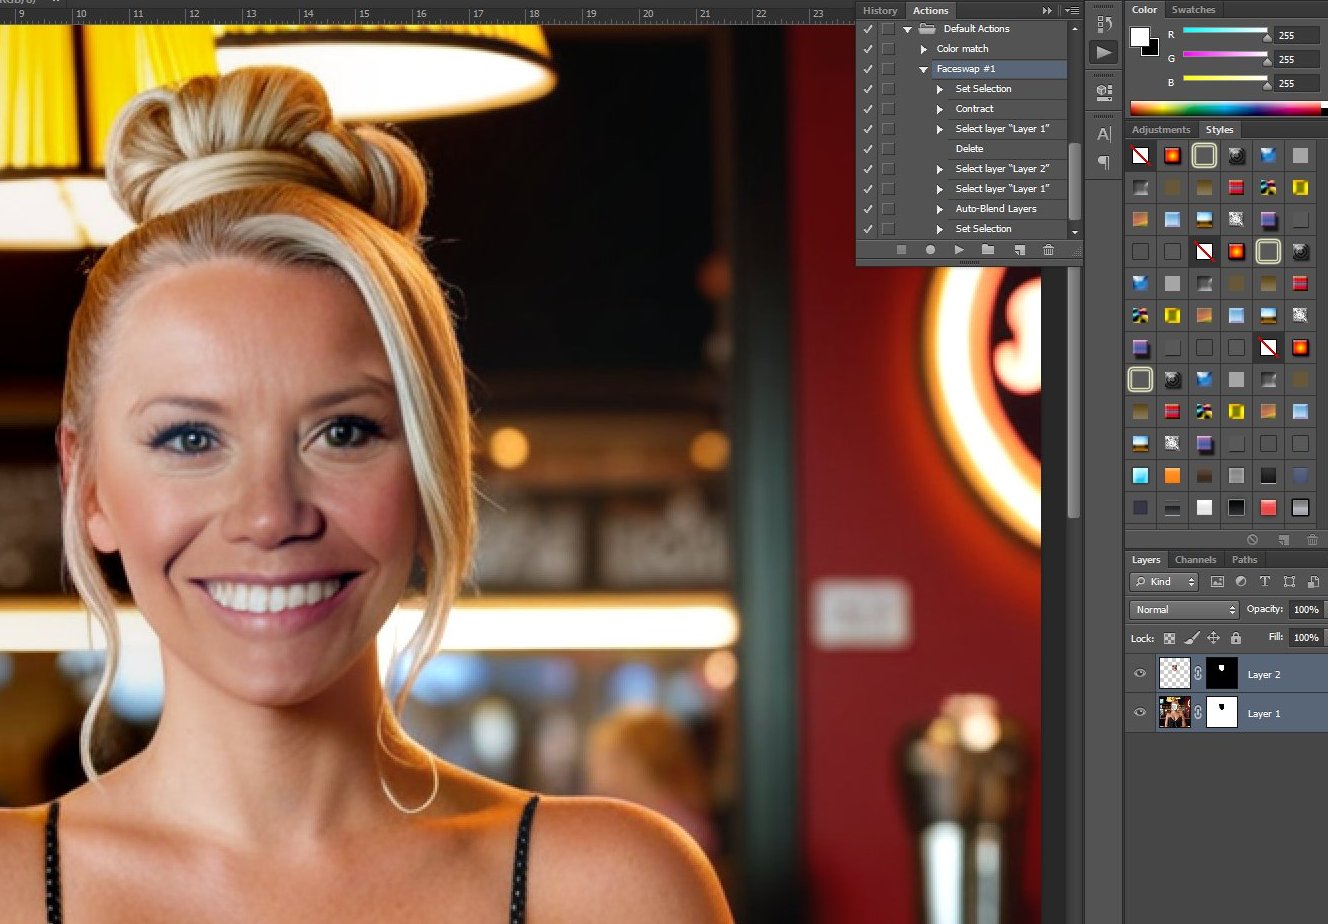
This is the result.
This is the end of the tutorial. 🙂