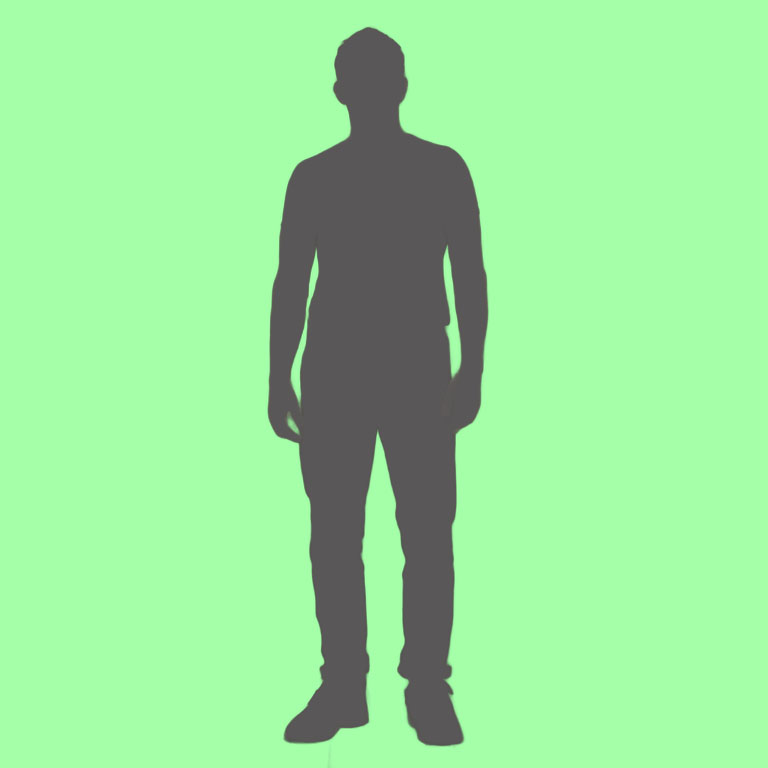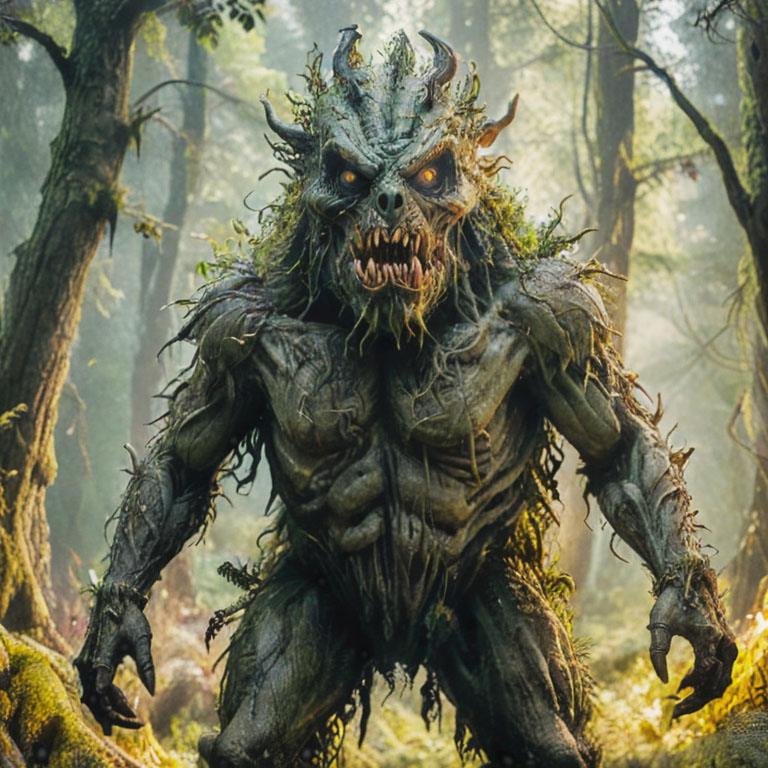


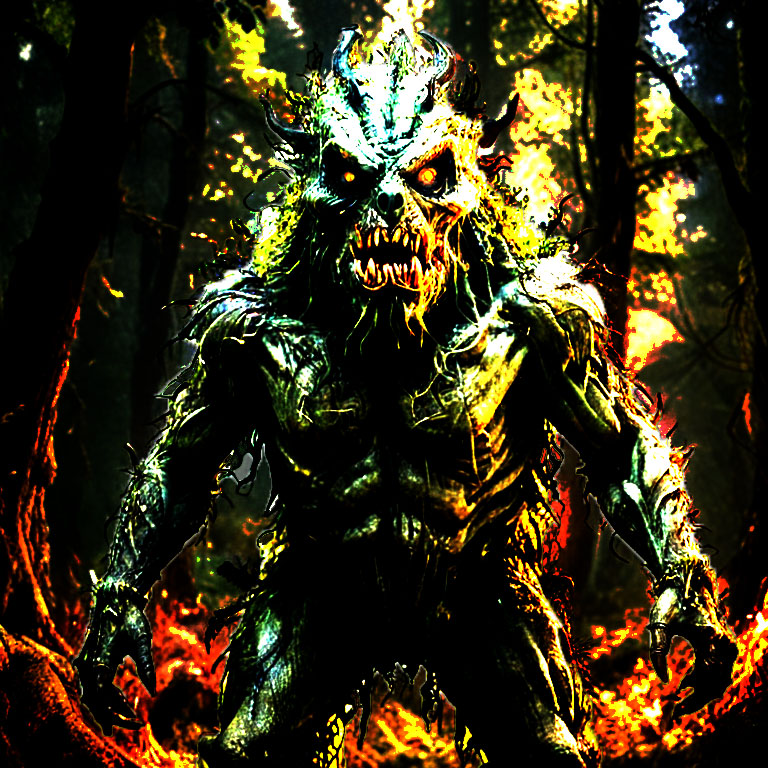
This image was created by Stable Diffusion with the following prompt:
Prompt – scary monster is standing in the dark forest looking at the camera, post processing, cinematic, post production, detailed and intricate, tone mapping, hyper realistic, photorealistic, ultra photoreal, ultra-detailed, intricate details, 8k, super detailed, full color, surrealism, full detail, ray tracing, best quality, extremely detailed
Negative prompts – (worst quality, low quality, normal quality:1.8)
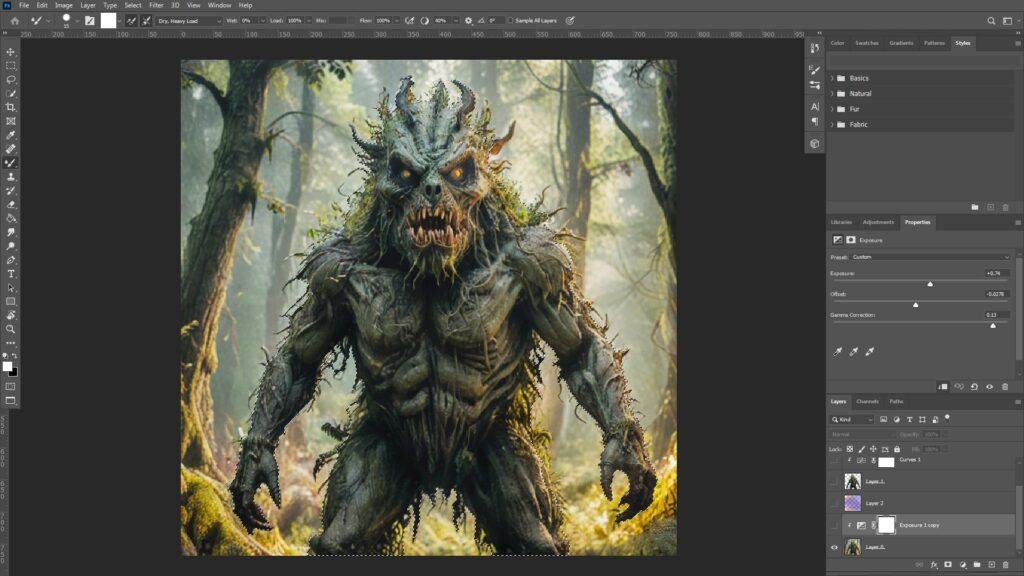
The background was removed in Stable Diffusion, by using an extension called [stable-diffusion-webui-rembg].
I opened the background removed image, pressed [Control + A] to select all, [Control + C] to copy, went to the original image, and [Control + Shift + V] to paste in place.
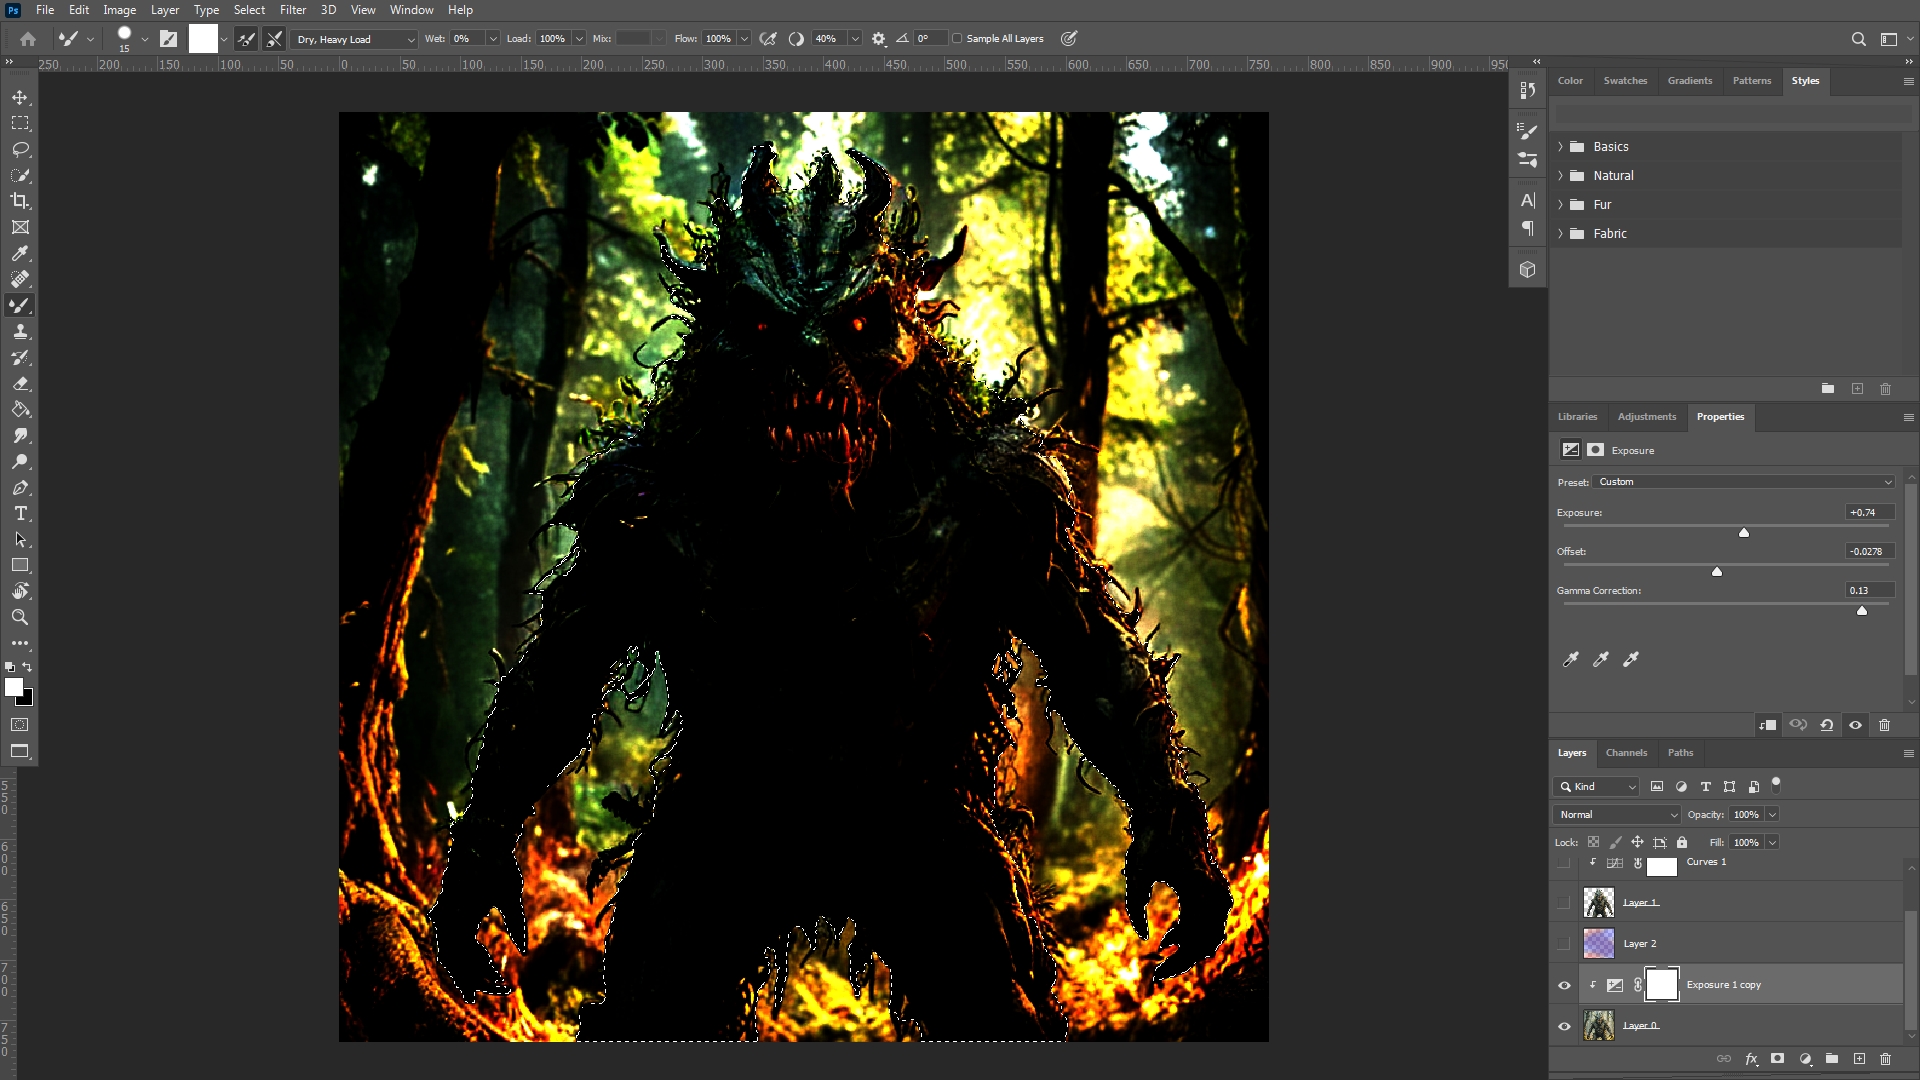
Let’s add an Exposure adjustment layer. Please match my settings.
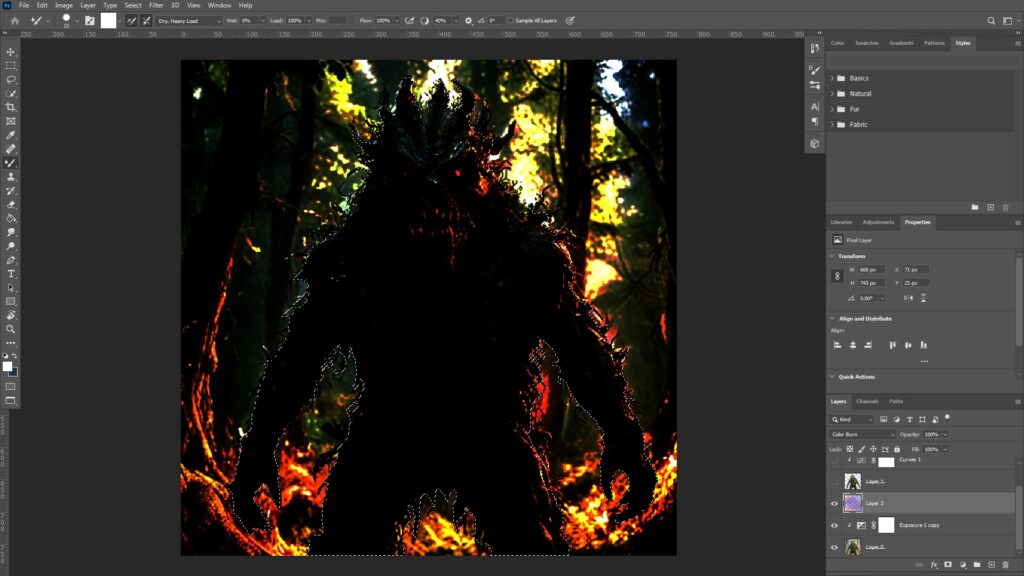
This is optional, but I have added a new layer, painted with a low opacity brush, and set the layer’s blend mode to Color Burn.
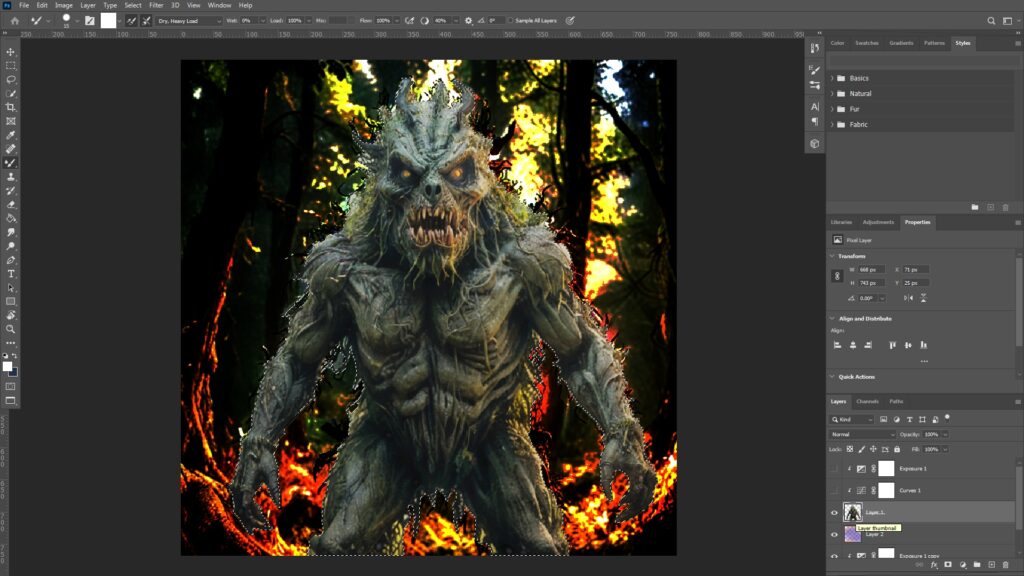
The background remove monster’s layer needs to be placed above the exposure adjustment layer.
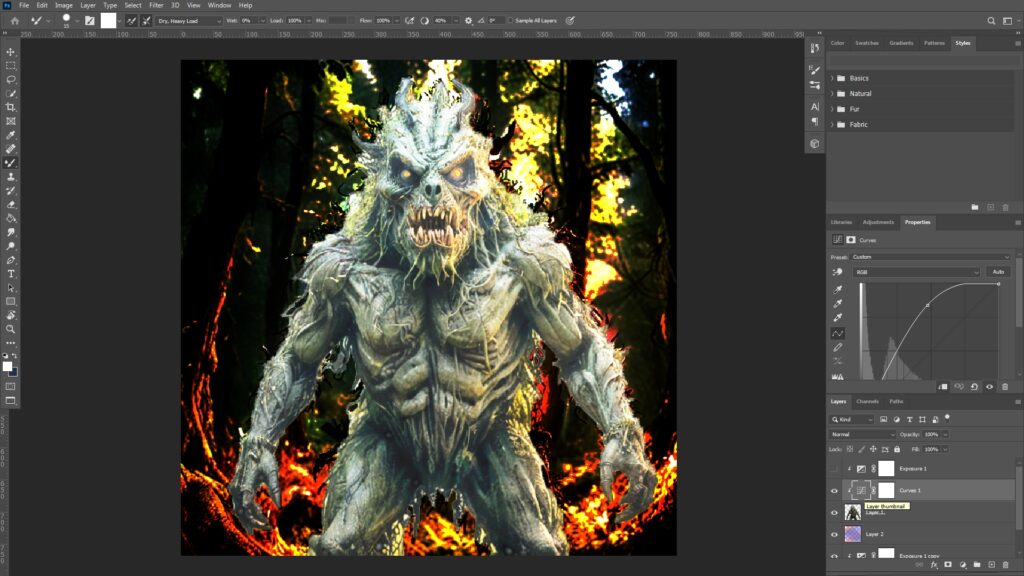
Let’s add a Curves adjustment layer. Please match my settings. Remember to right click the layer to create a clipping mask, otherwise the curves will be applied to all the layers below.
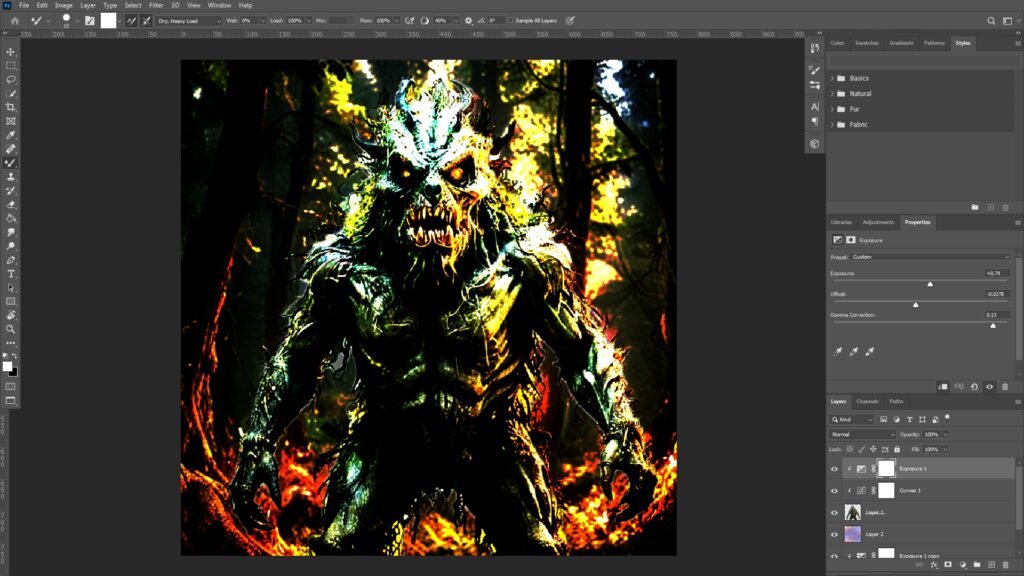
Finally, let’s add an Exposure adjustment layer. Please match my settings.
This is the end of the tutorial. 🙂