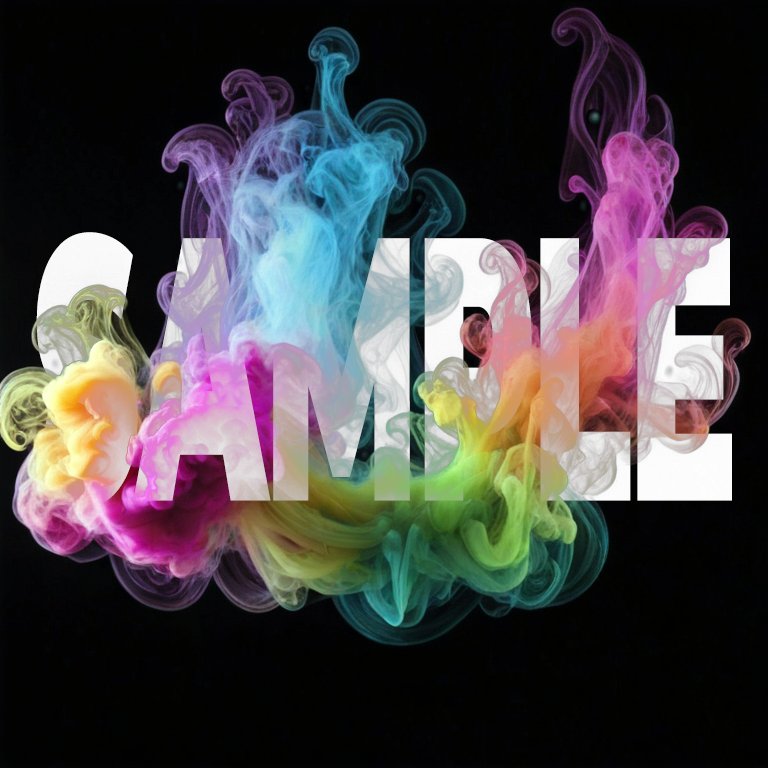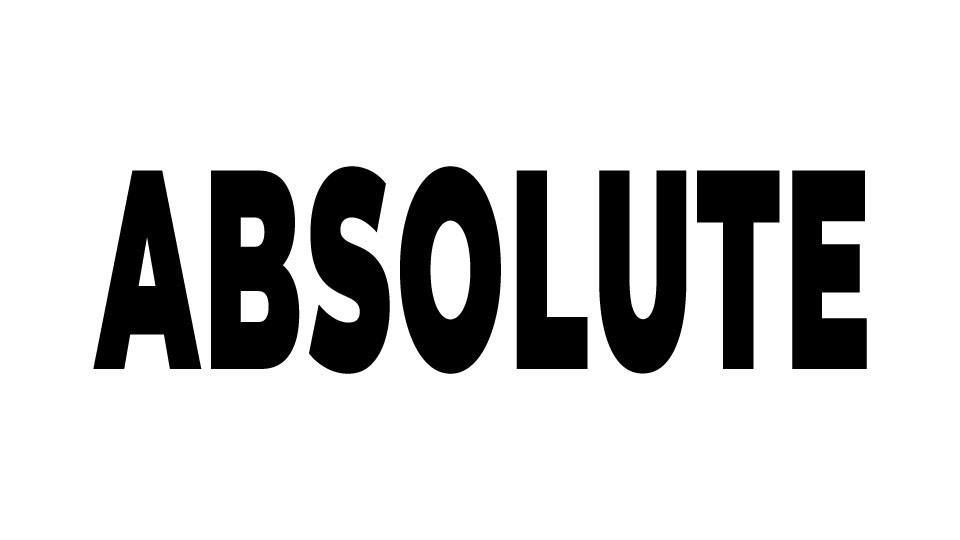


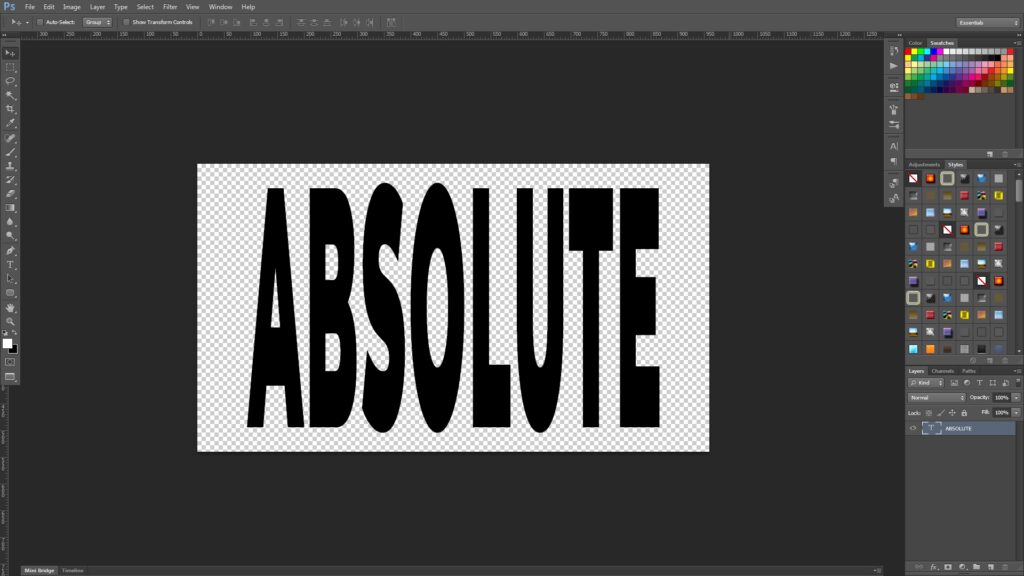
I created this text image in Photoshop.
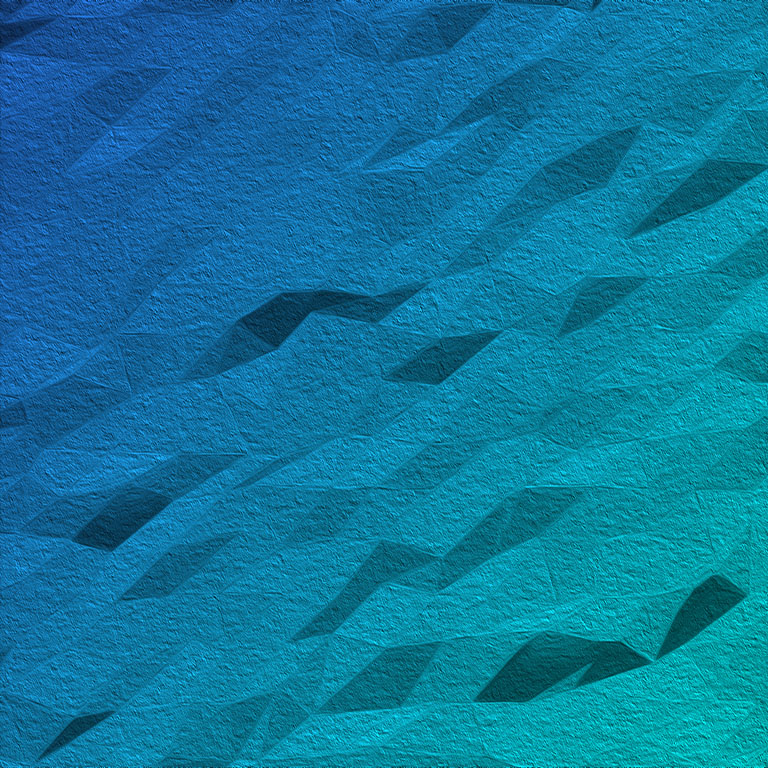
This is the result, after I used ControlNet’s Depth in Stable Diffusion.
[Control + T] to expand the text vertically like this.
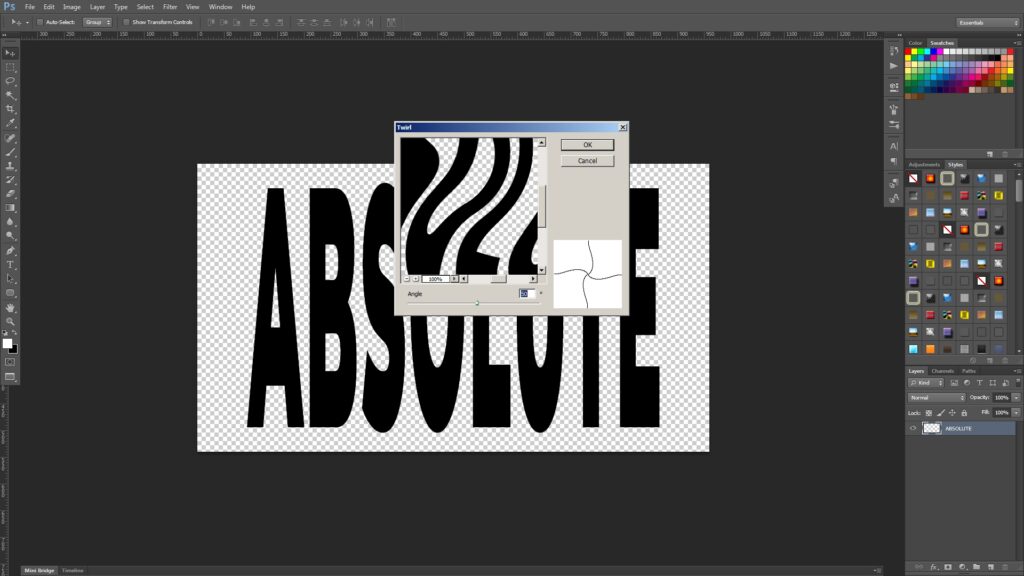
Go to [Filter -> Distort -> Twirl].
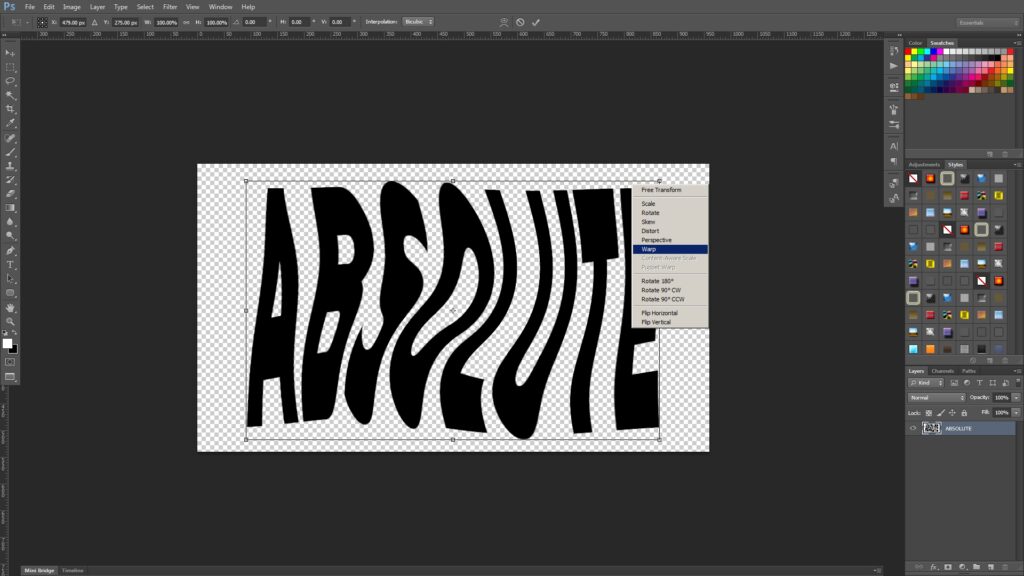
[Control + T], [Right Click] and select [Warp].

Warp the text like this.
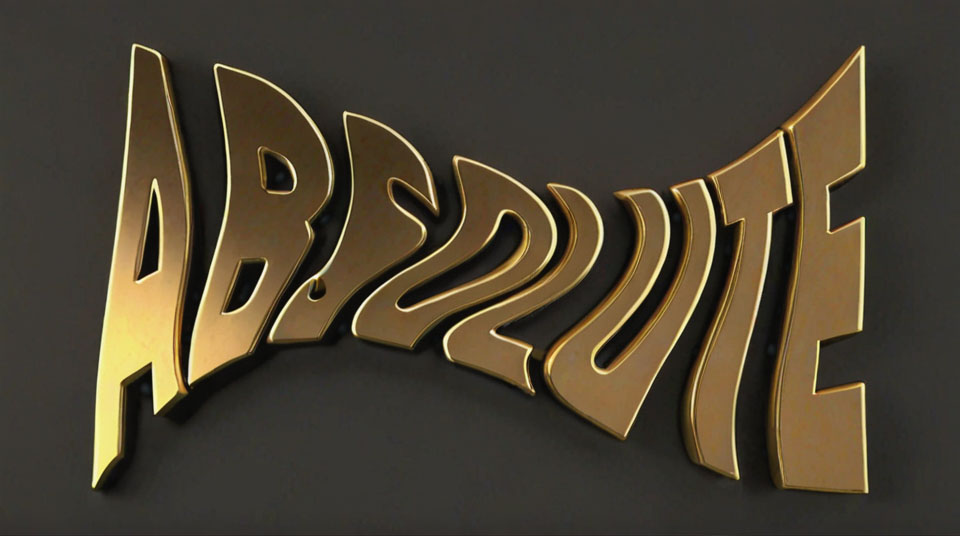
This image was created by Stable Diffusion (with ControlNet) with the following prompt:
Prompt – (3D Text “Absolute” in golden metallic material)
Negative prompts – (worst quality, low quality, normal quality:1.8)
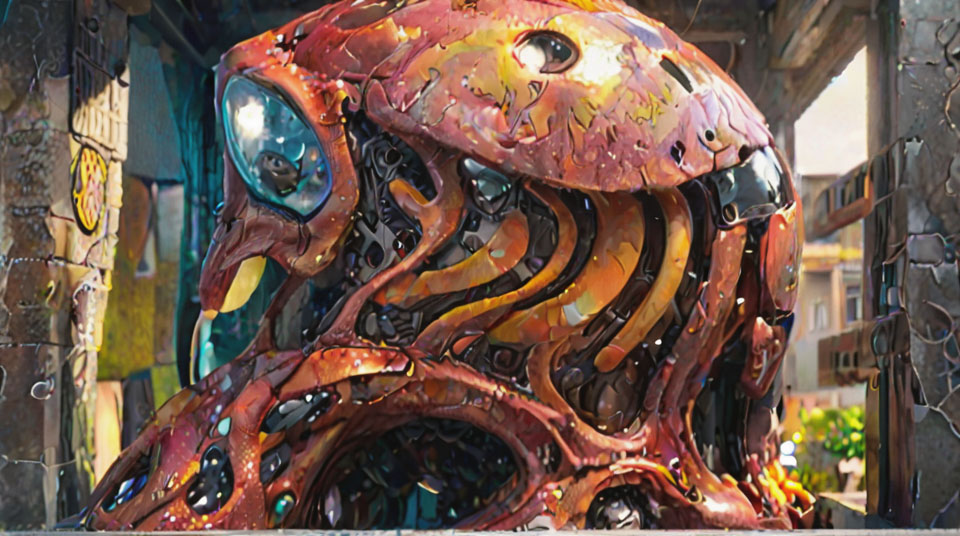
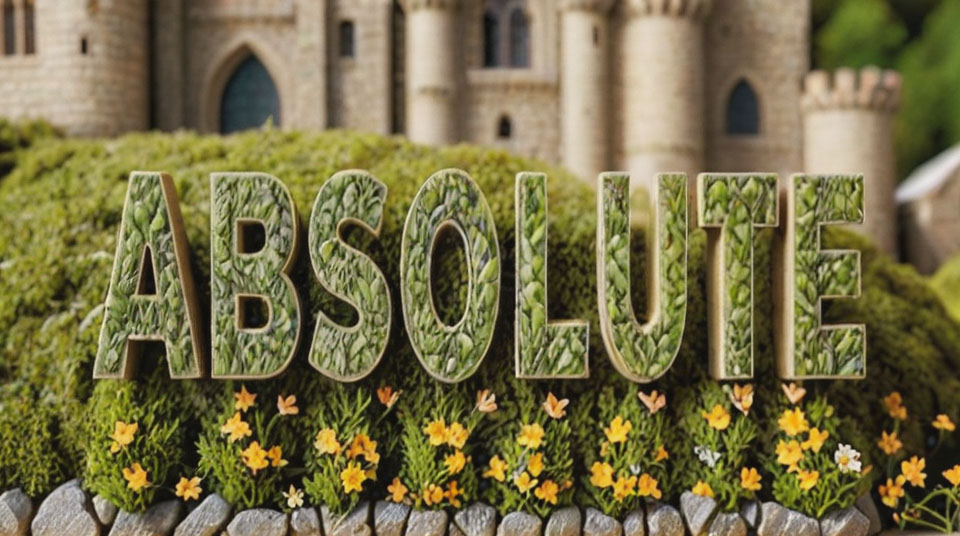
This image was created by Stable Diffusion (with ControlNet) with the following prompt:
Prompt – (3D Text “Absolute” in random object and material in bright daylight)
Negative prompts – (worst quality, low quality, normal quality:1.8)
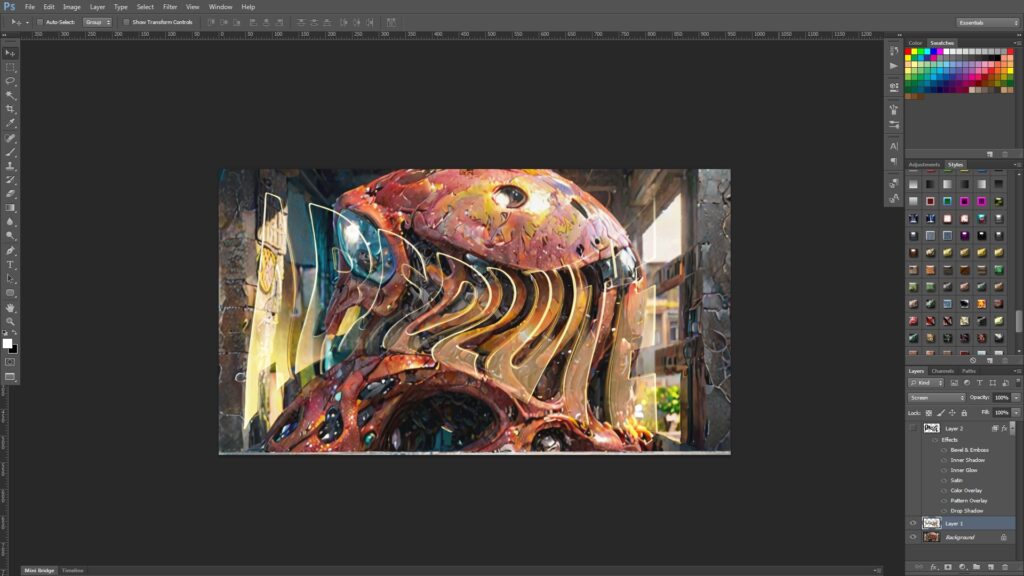
I have removed the golden text image’s background by using an extension called [stable-diffusion-webui-rembg]. After that I opened the image in Photoshop and copied and pasted it into the random object image. Change the layer’s blend mode to Screen.
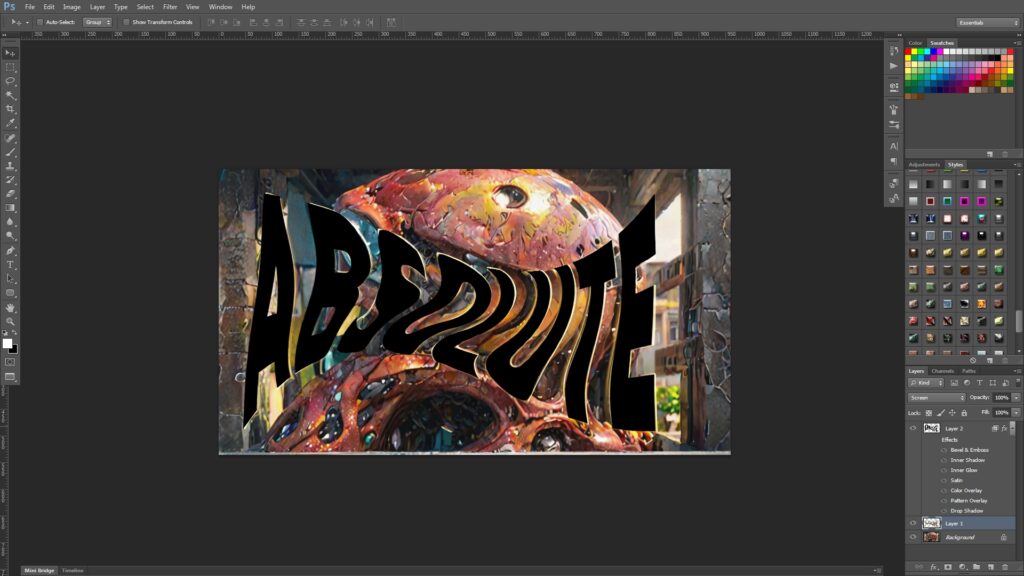
Then I copied and pasted the original text object above the 3D golden text.
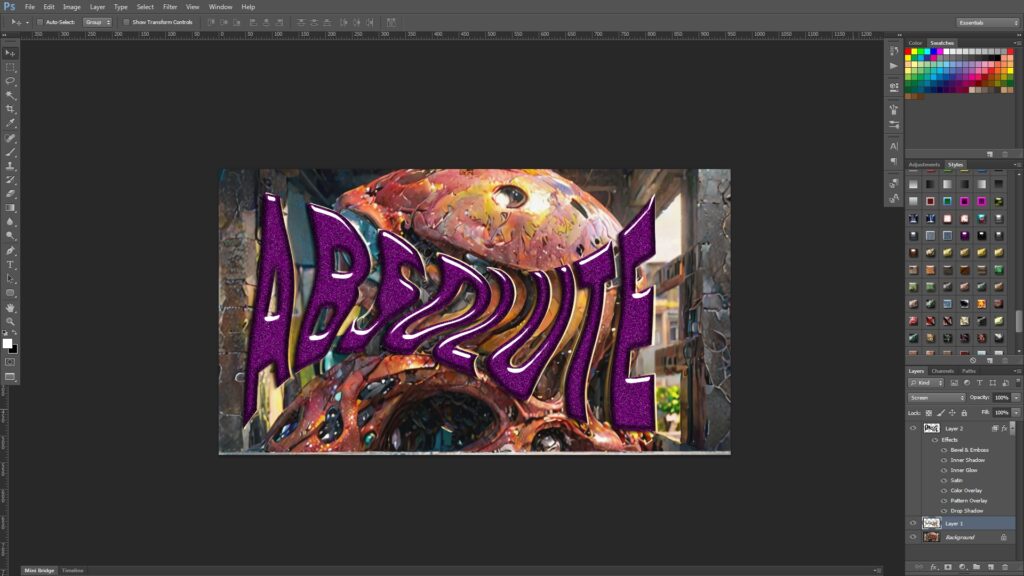
After that, I added a bunch of random layer styles to create a final image.
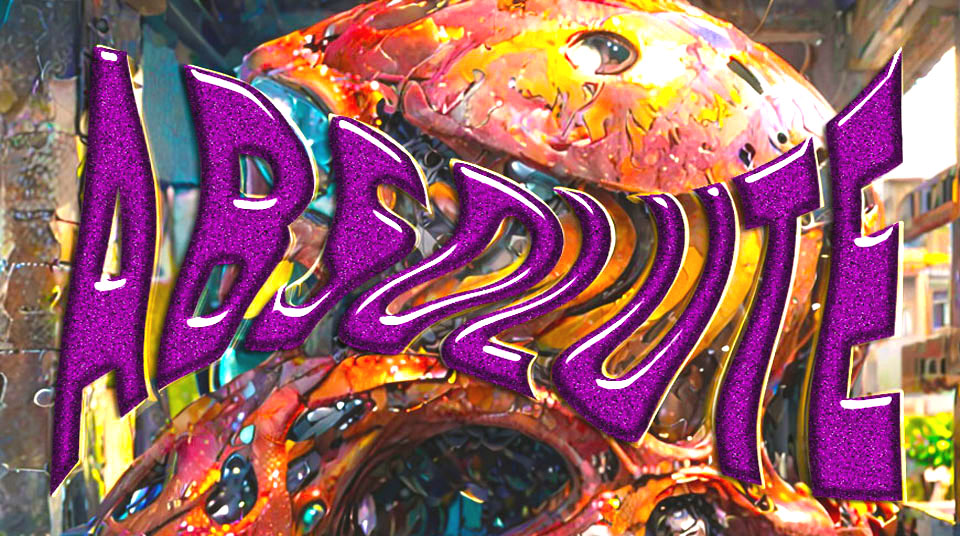
This is the result after adjusting Vibrance, Levels, and Brightness/Contrast.
This is the end of the tutorial. 🙂