

This image was generated by Cooltext.com website.
- Choose a text style.
- Change the Logo Text.
- Click the “Create Logo” button.

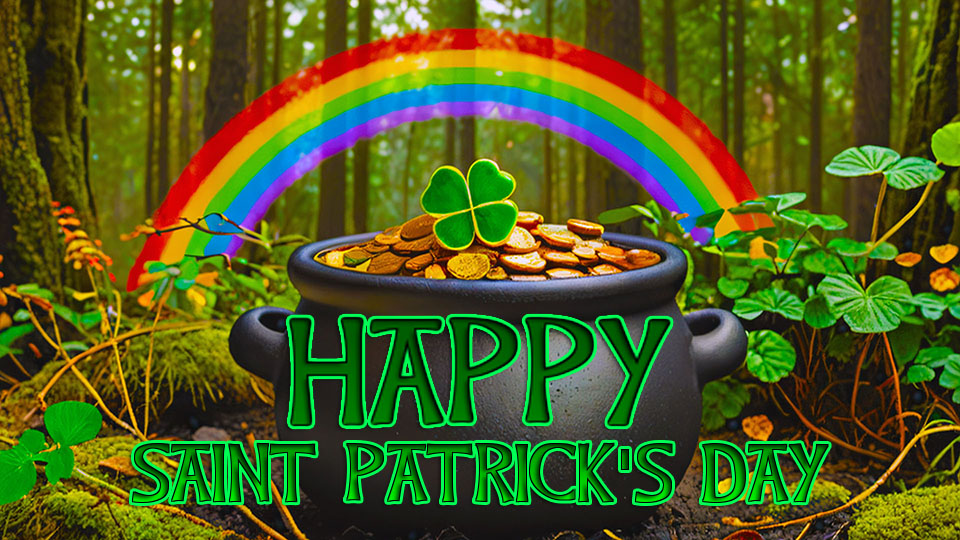
This is the result from a [Blender and Stable Diffusion] tutorial called Happy Saint Patrick’s Day.
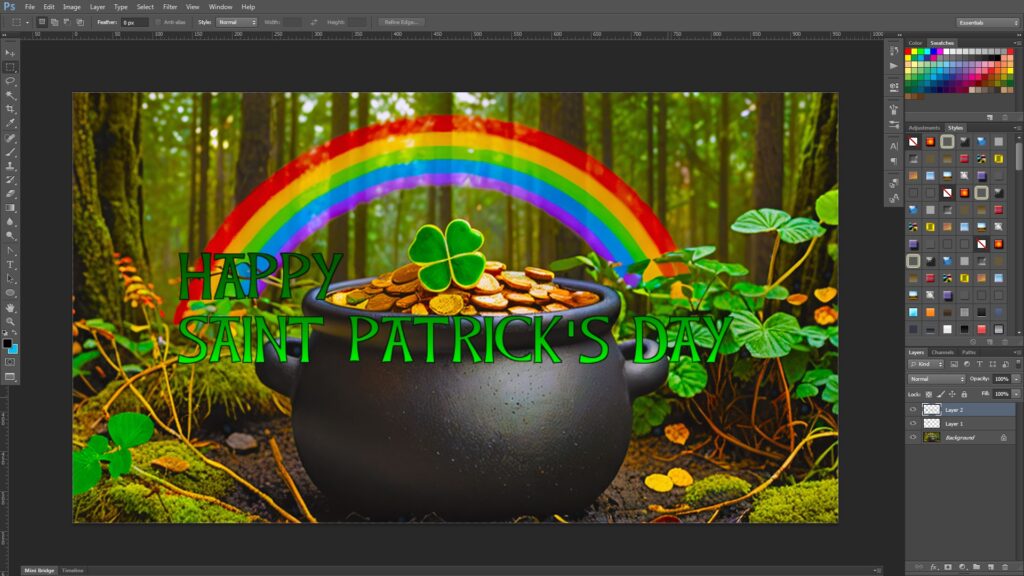
Copy and paste the text image to the background image.
Marquee select the bottom text and [Control + X] to cut and [Control + V] to paste to a new layer.
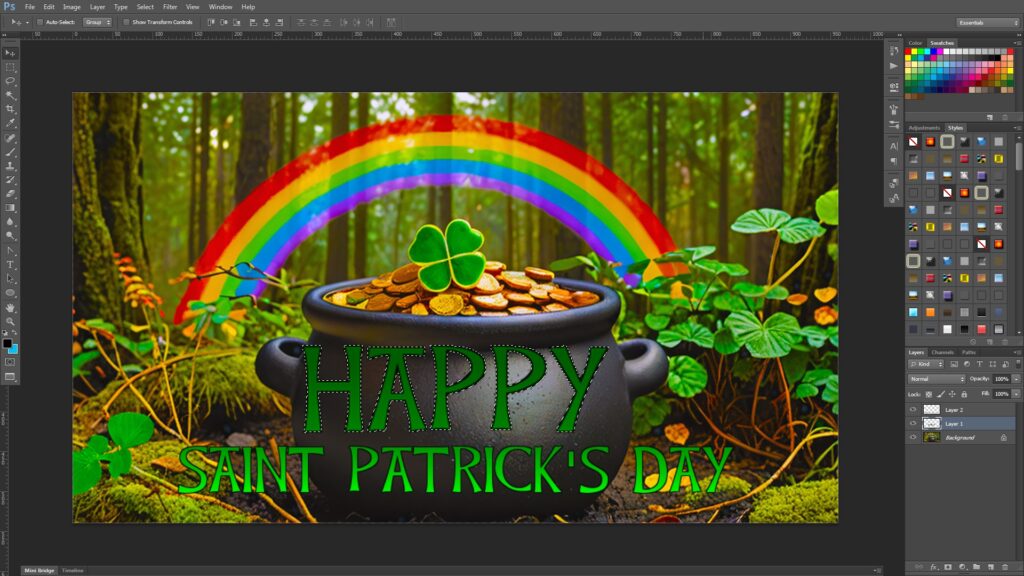
[Control + T] to scale and move the text objects.
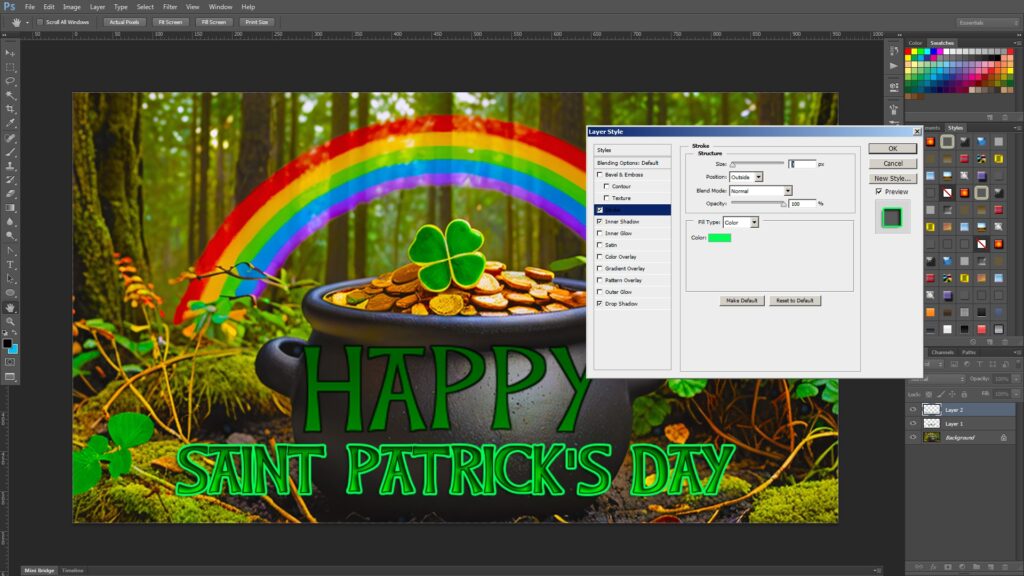
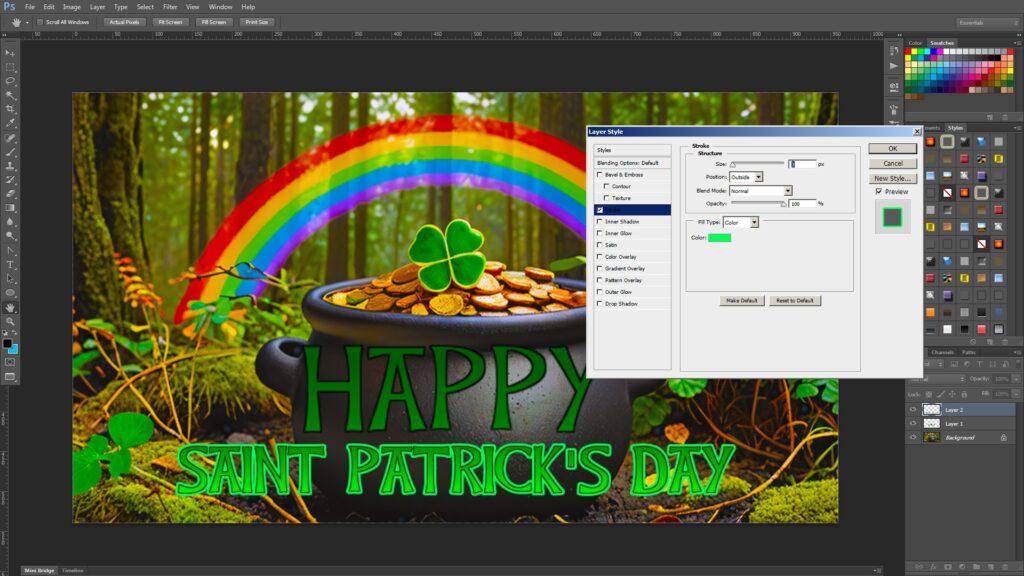
Add 3 new layer styles. Outline, Inner Shadow, and Drop Shadow. The latter two are using the default settings
Since we have scaled the first text object, that will look choppy when we apply the layer style. This is how to fix that issue.
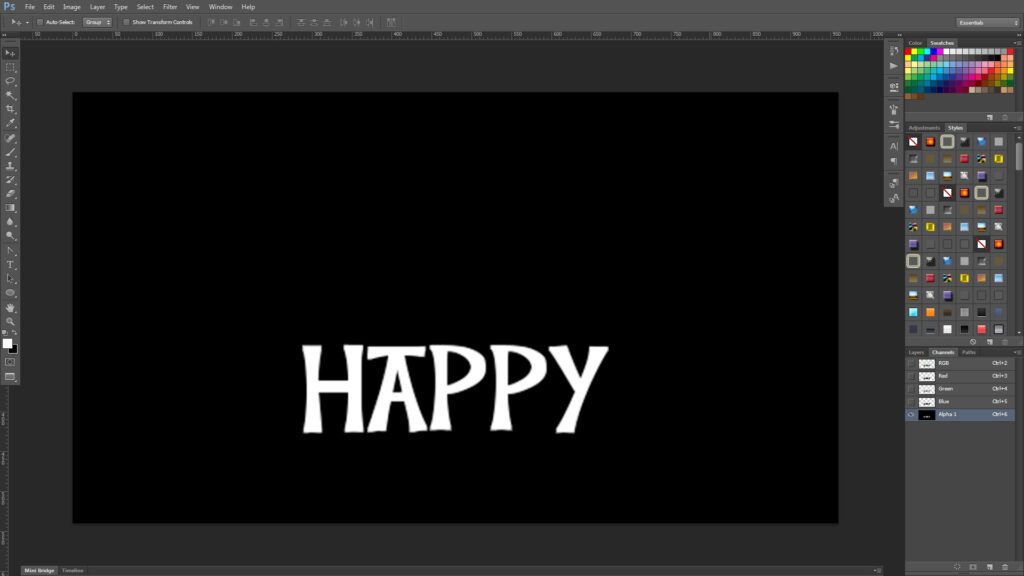
- [Control + Click] the first text object layer to create a selection.
- Go to [Layer Channels].
- Create a new channel.
- Fill the selection with white like this.

Apply a Gaussian Blur (Filter -> Blur -> Gaussian Blur) with value set to 2 or 3.
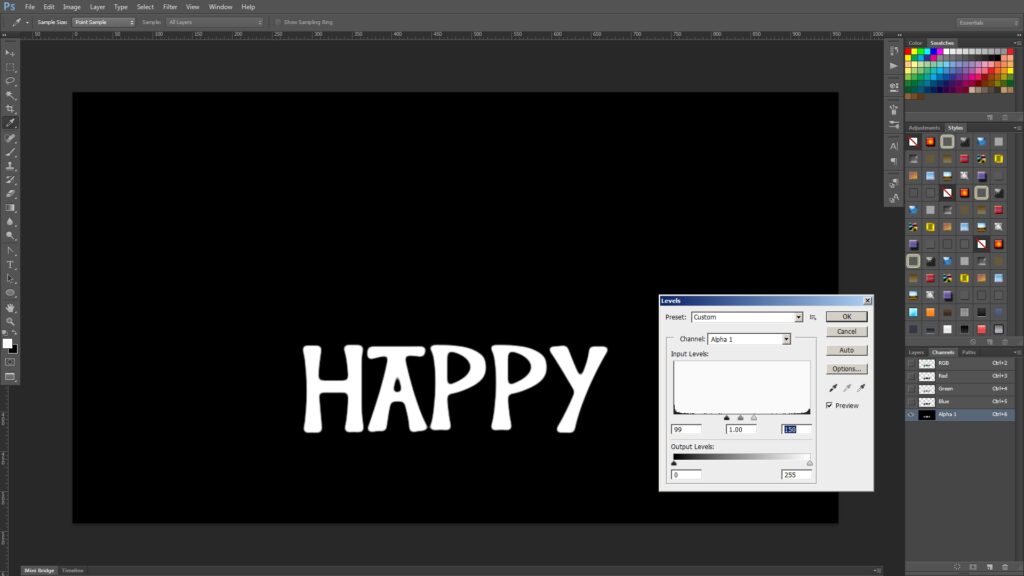
Adjust the Levels (Image -> Adjustments -> Levels) to sharpen up the edges.
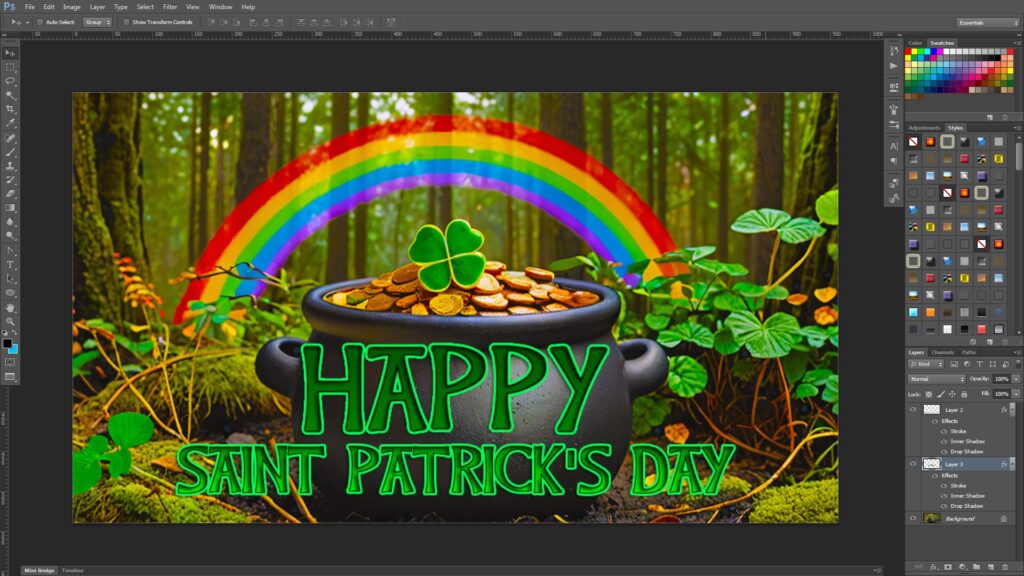
Go back to the Layers tab, and either copy and paste the existing green text with a better edge selection or fill it with green and apply the layer style.
The text will look much smoother.
This is the end of the tutorial. 🙂