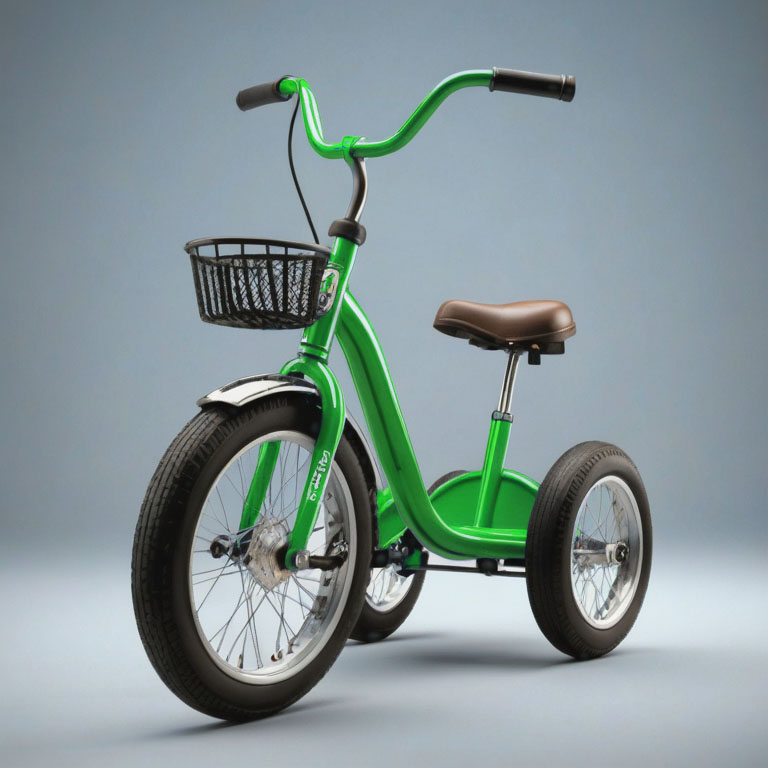
This image was generated by using the following prompt:
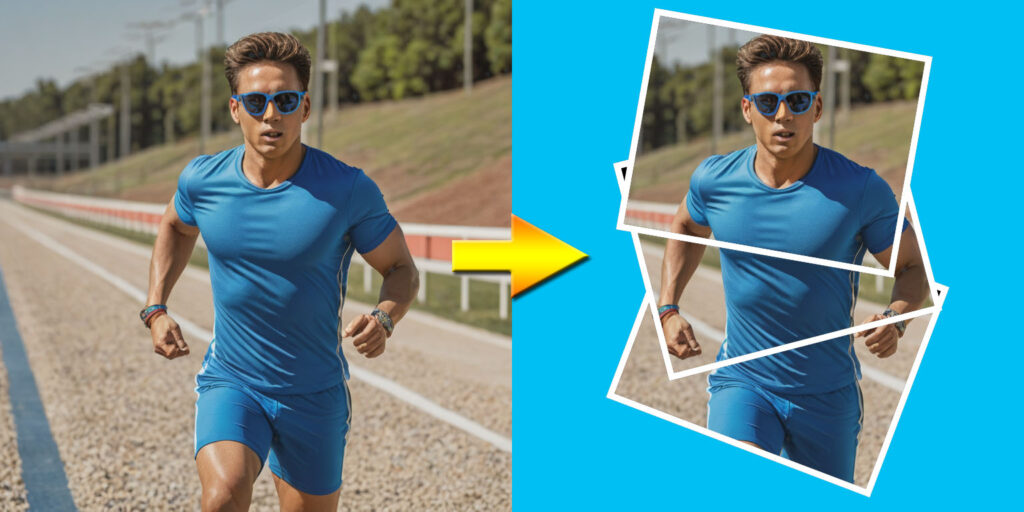
Prompt: Running man wearing sunglasses in the track, running toward the camera, showing full body, post processing, post production, detailed and intricate, tone mapping, hyper realistic, photorealistic, ultra photoreal, ultra-detailed, intricate details, 8k, super detailed, full color, surrealism, full detail, ray tracing, best quality, extremely detailed.
Negative prompt: (worst quality, low quality, normal quality:1.8).
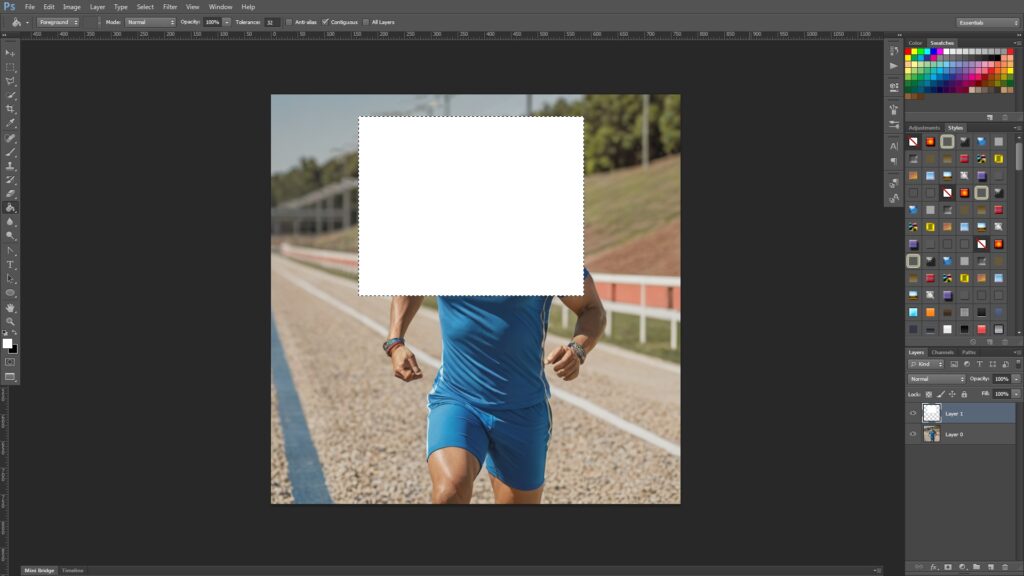
Create a rectangle by using a marquee selection tool, create a new layer, and fill it with white.
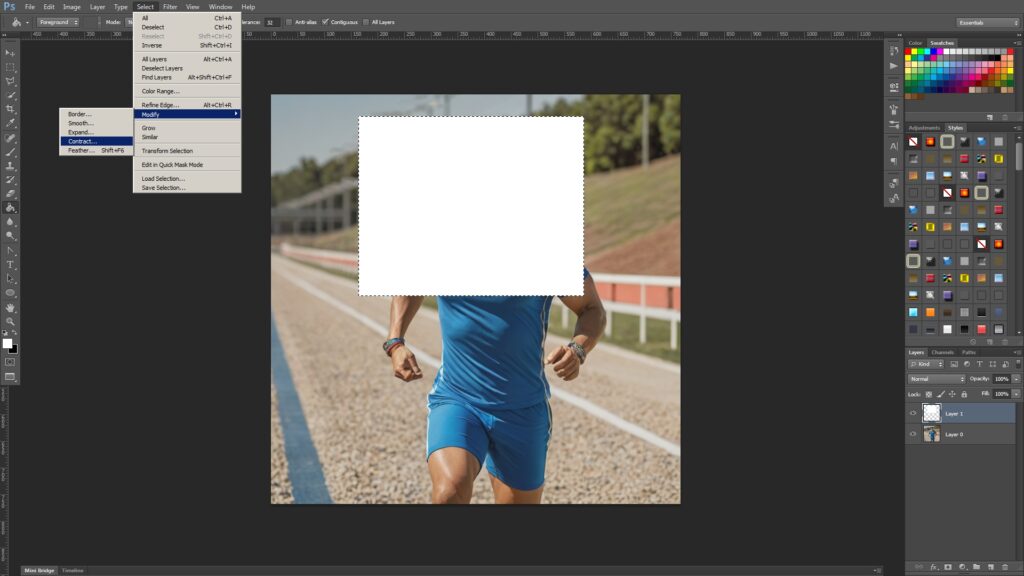
Control click the rectangle layer to select it, and go to [Select -> Modify -> Contract] to contract the selection by 10 pixels.
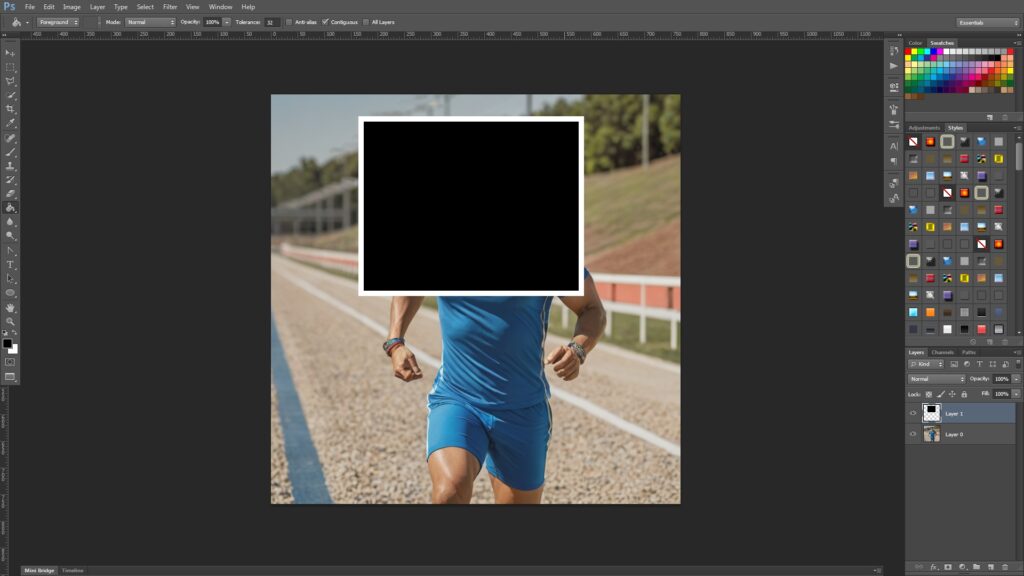
Fill the inner rectangle with black.
Control select the rectangle layer, [Control + C] to copy, create a new layer, and [Control + V] to paste.
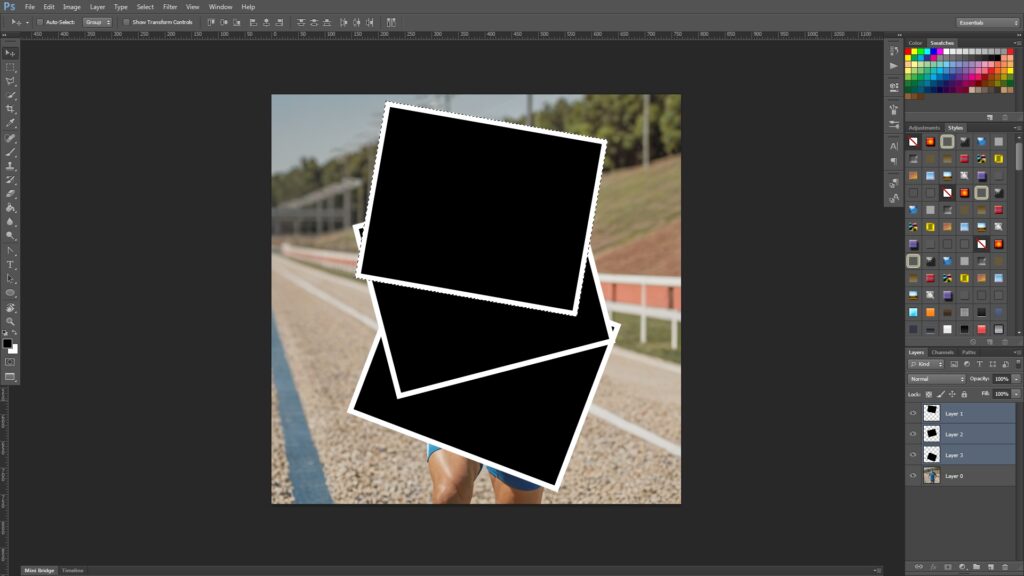
Create 3 layers of the picture frames, and use [Control + T] to rotate and move the images like this.

Shift select all picture frame layers, right click the layer, and merge layers.
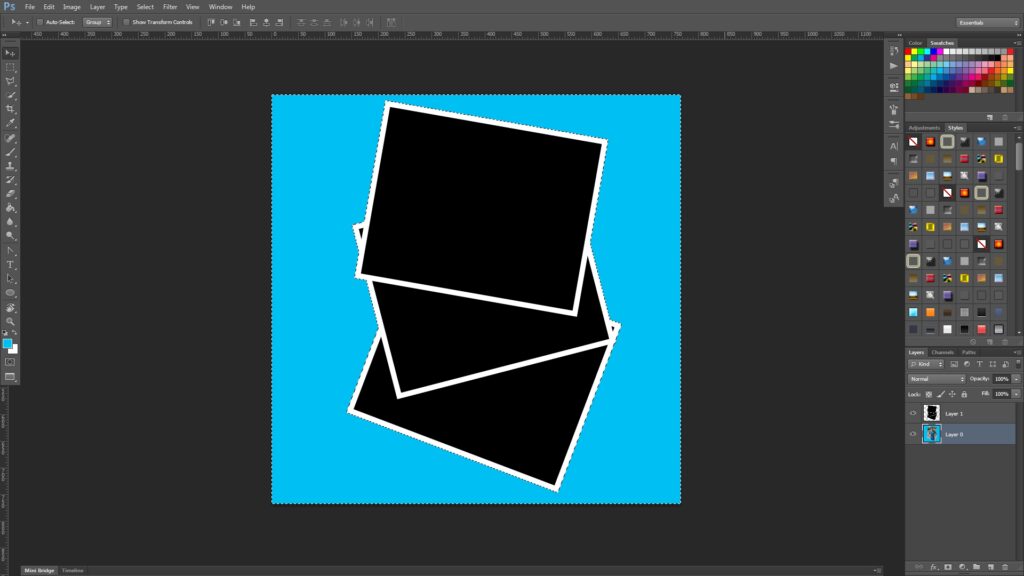
Control click the picture frame layer, [Control + Shift + I] to invert the selection, and fill with light blue.
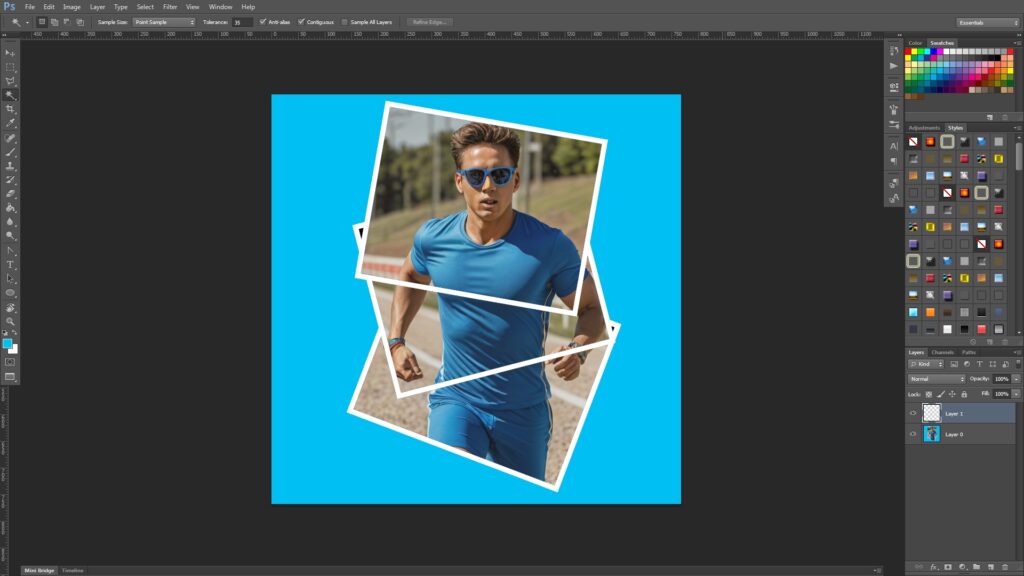
Use the magic wand tool to select the black regions of the picture frame images, and delete it.
This is the end of the tutorial. 🙂