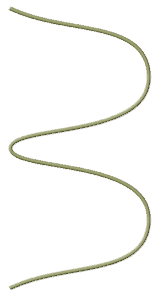


This image was generated by using Blender:
1. [Shift + A] to create a new curve point.
2. Make sure to click the [3D] button.
3. [E] to extrude.
4. Type [A], [V], and [A] to smooth the curve.
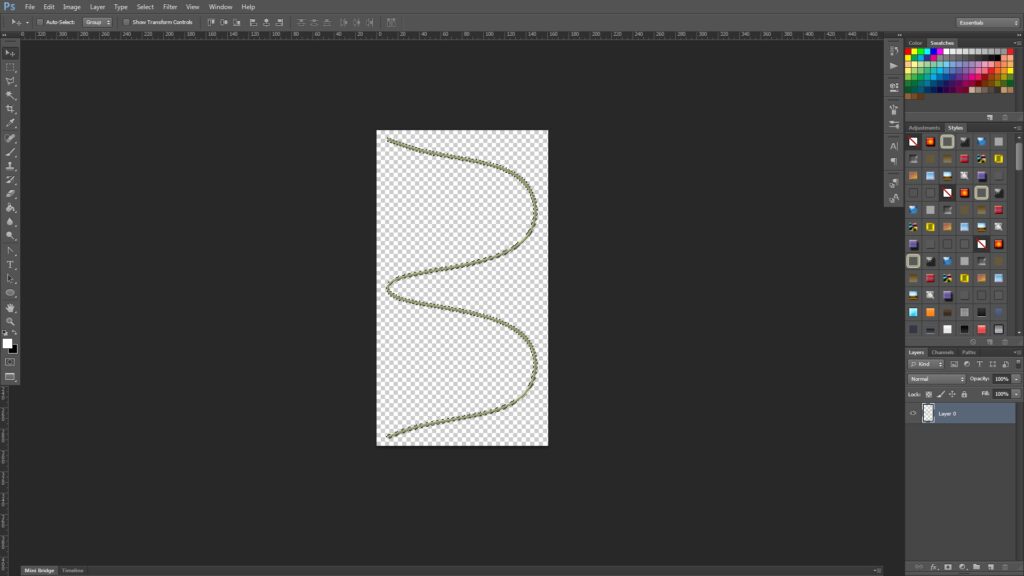
[Control + Click] the layer to only select the image.
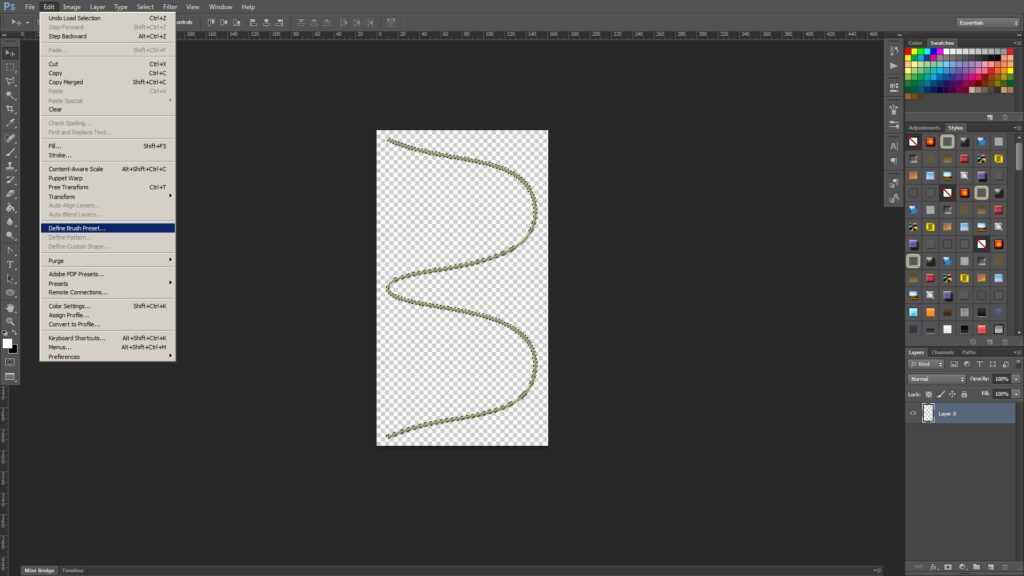
Go to [Edit -> Define Brush Preset] and enter any names.
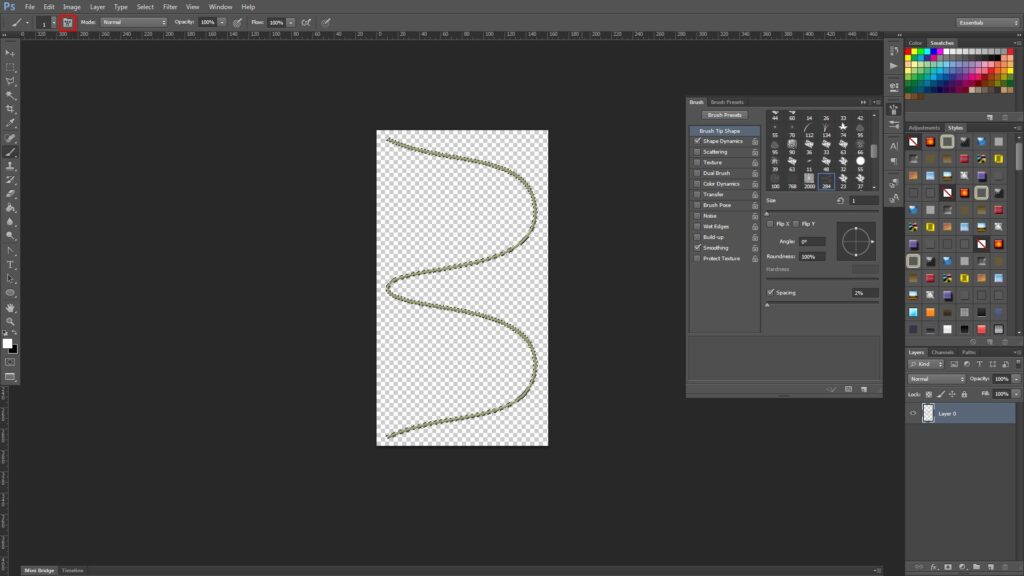
Click the brush options button and set the spacing to 2%.
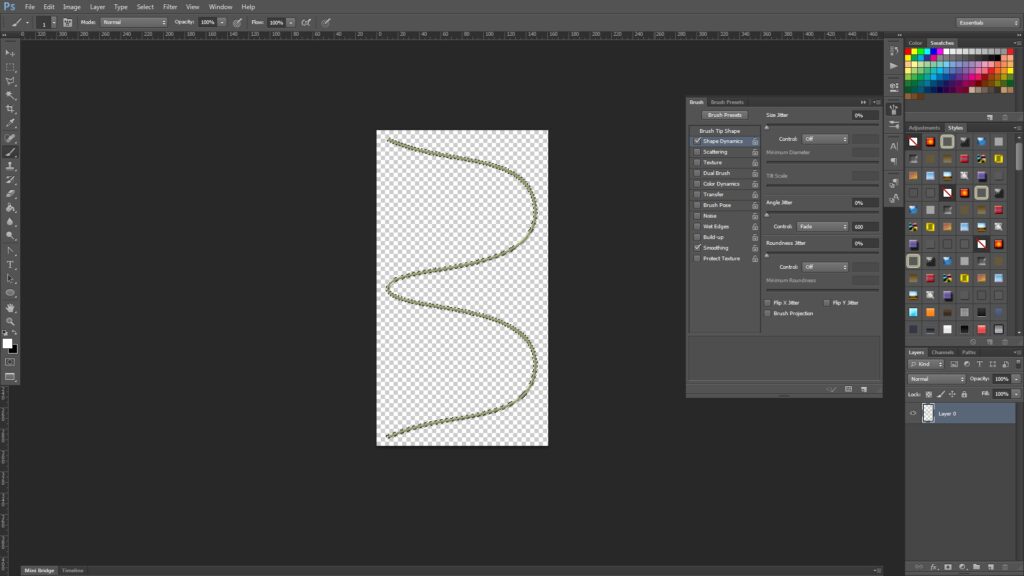
Enable Shape Dynamics, set the Angle Jitter Control to Fade, and set the value to 600 like so.

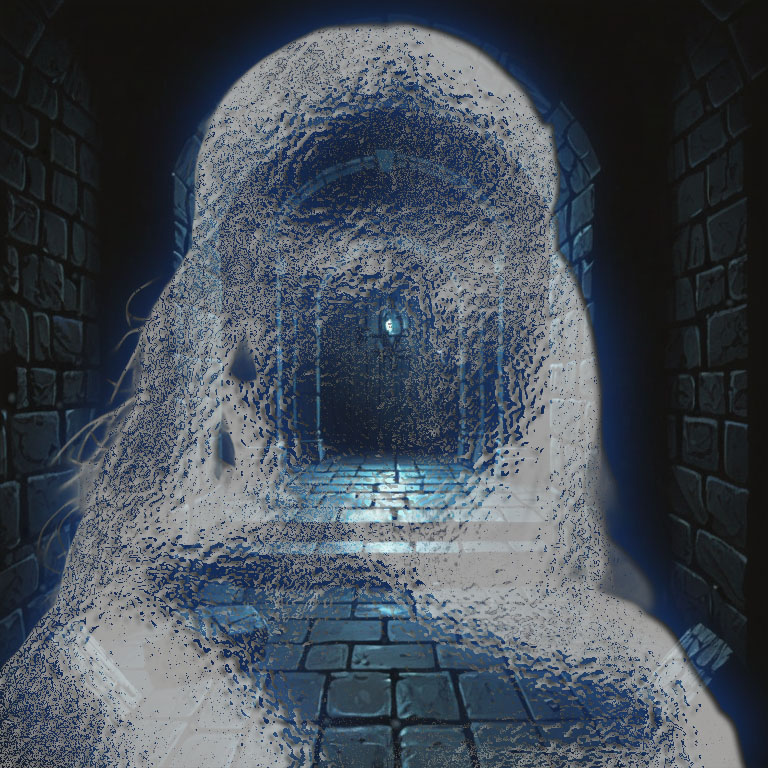
Fill the background layer with black and create a new layer.
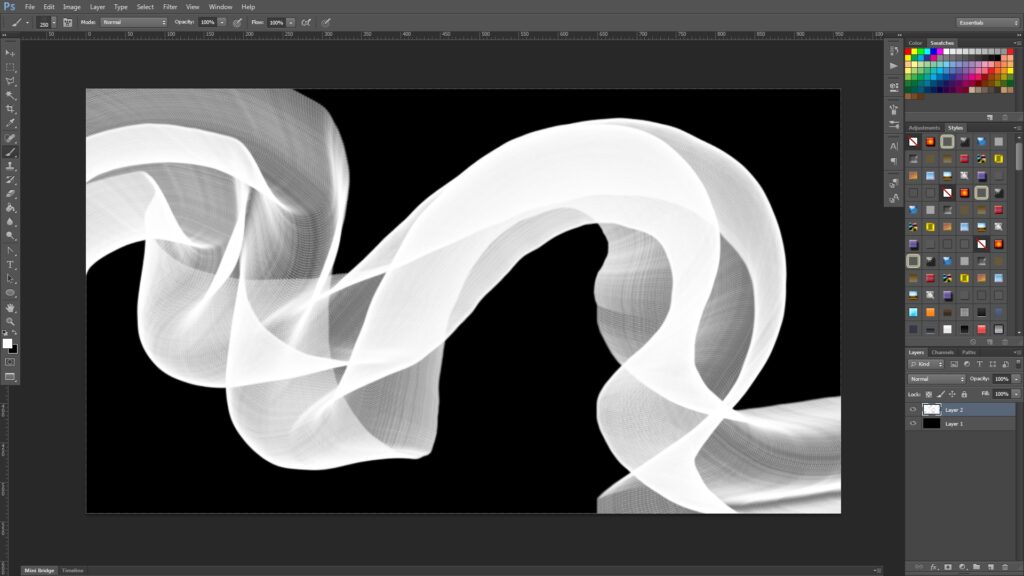
Paint by using the new brush like this.
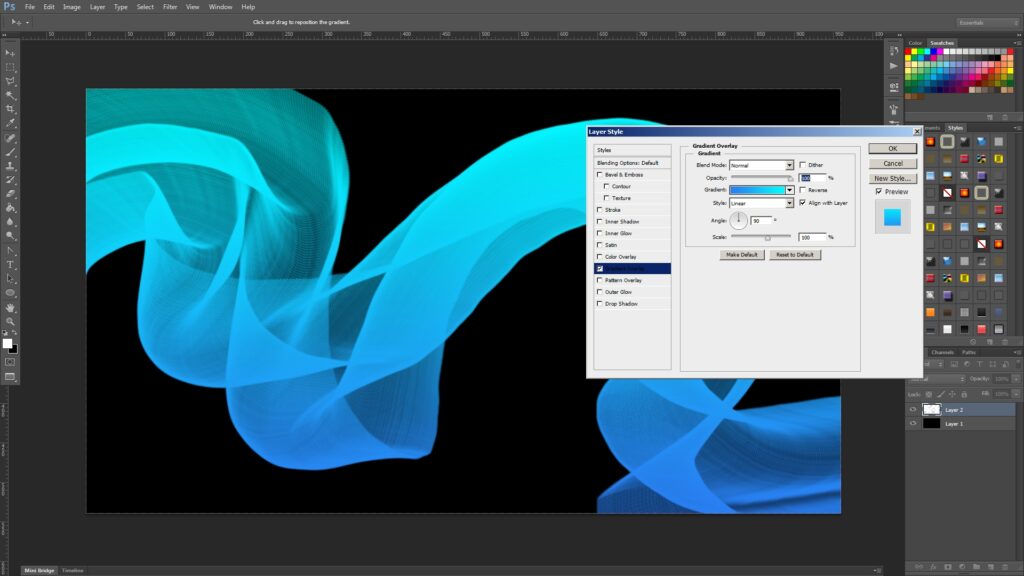
Right click the layer to add a new layer style, and add a Gradient Overlay like this.
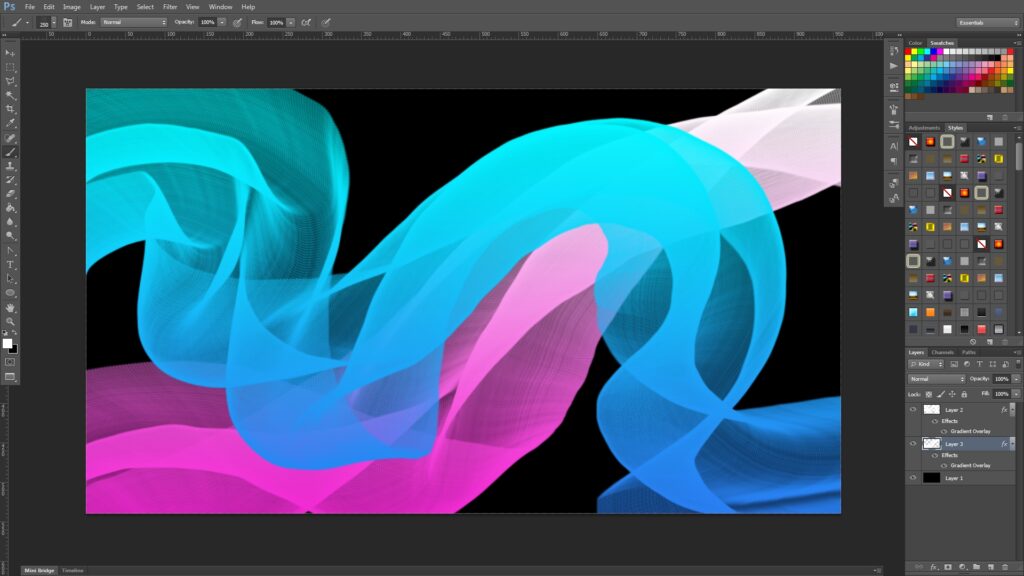
Try creating more layers and add a different color for the Gradient Overlay.
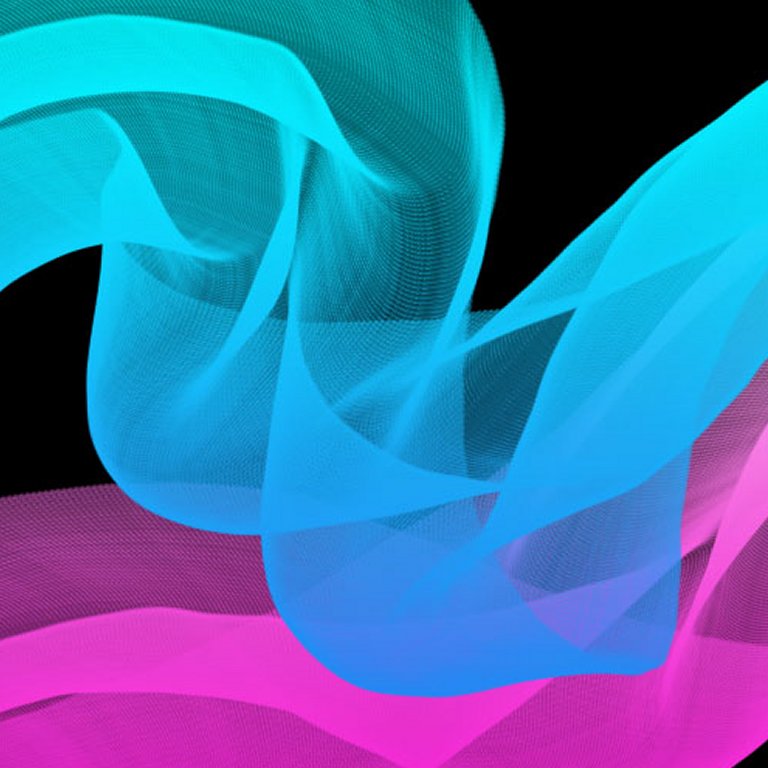
This is the end of the tutorial. 🙂