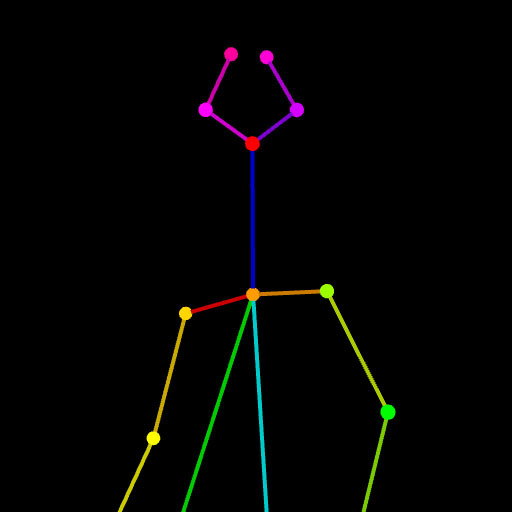


I have created an OpenPose image by following the previous tutorial — [How to use OpenPose].
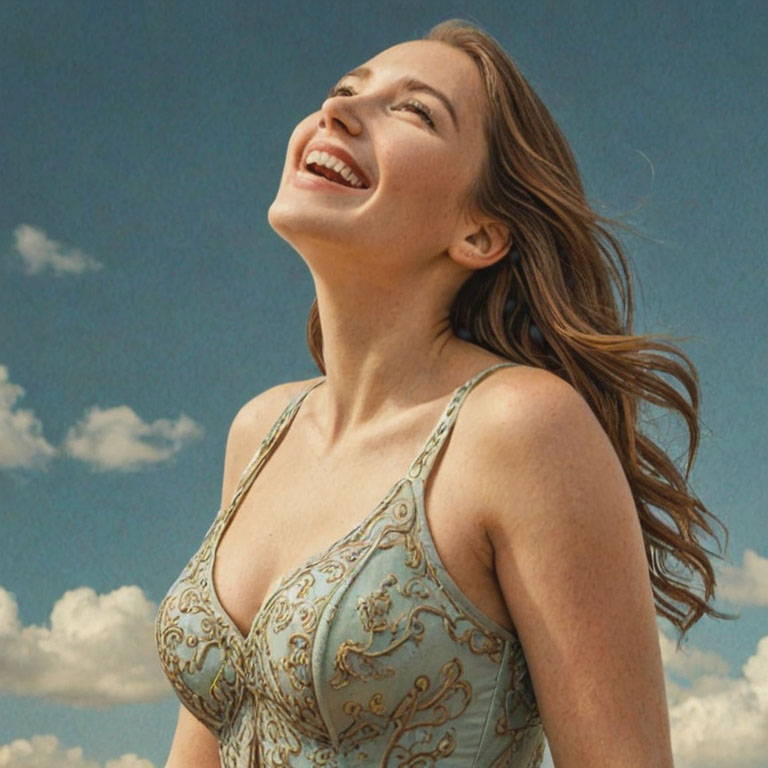
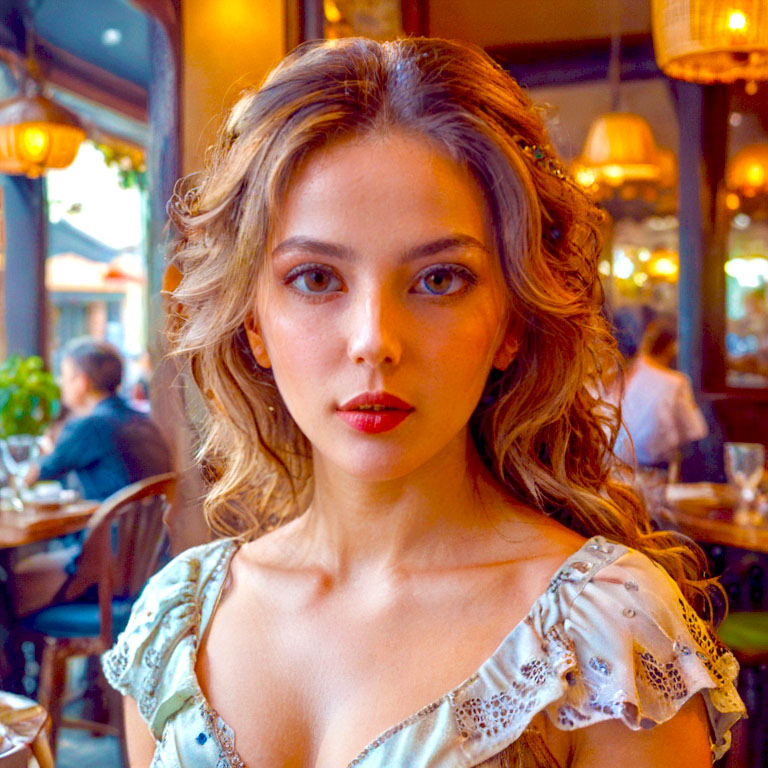
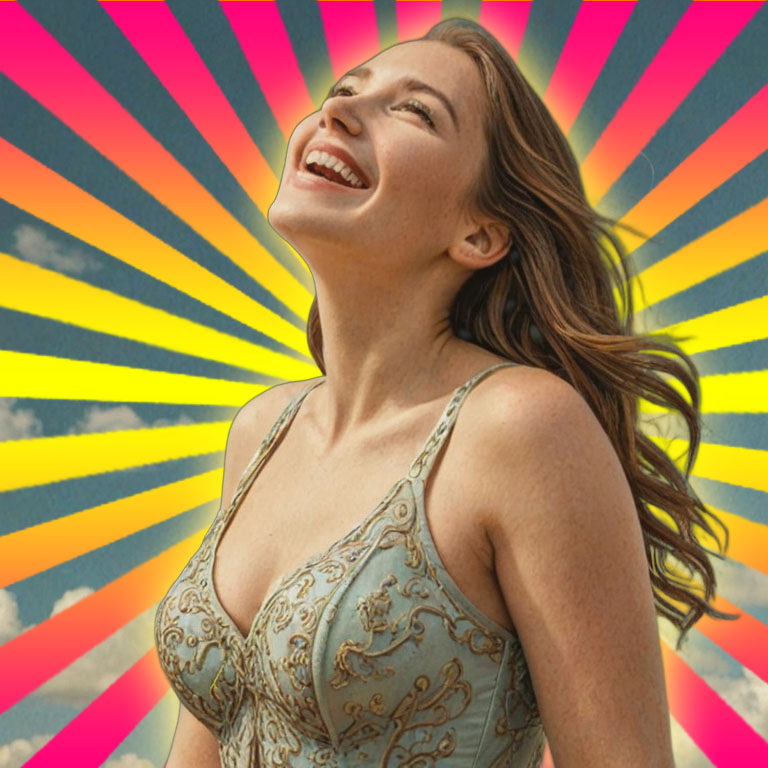
This image was generated by using the following prompt with the OpenPose image:
Prompt: Beautiful and smiling lady looking far up in the sky, post processing, post production, detailed and intricate, tone mapping, hyper realistic, photorealistic, ultra photoreal, ultra-detailed, intricate details, 8k, super detailed, full color, surrealism, full detail, ray tracing, best quality, extremely detailed.
Negative prompt: (worst quality, low quality, normal quality:1.8).
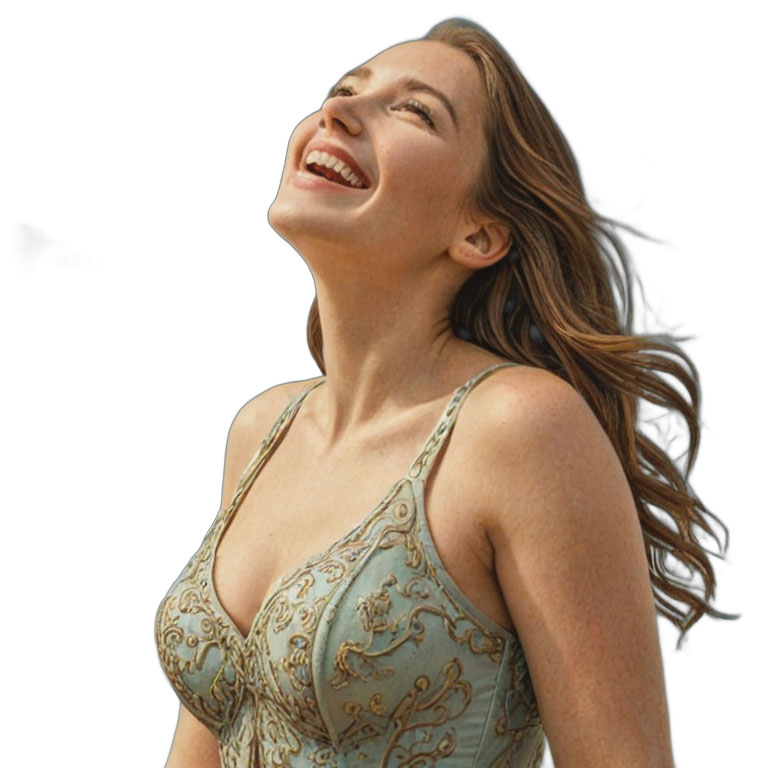
The background was removed by Stable Diffusion as shown in [Removing background with stable diffusion].
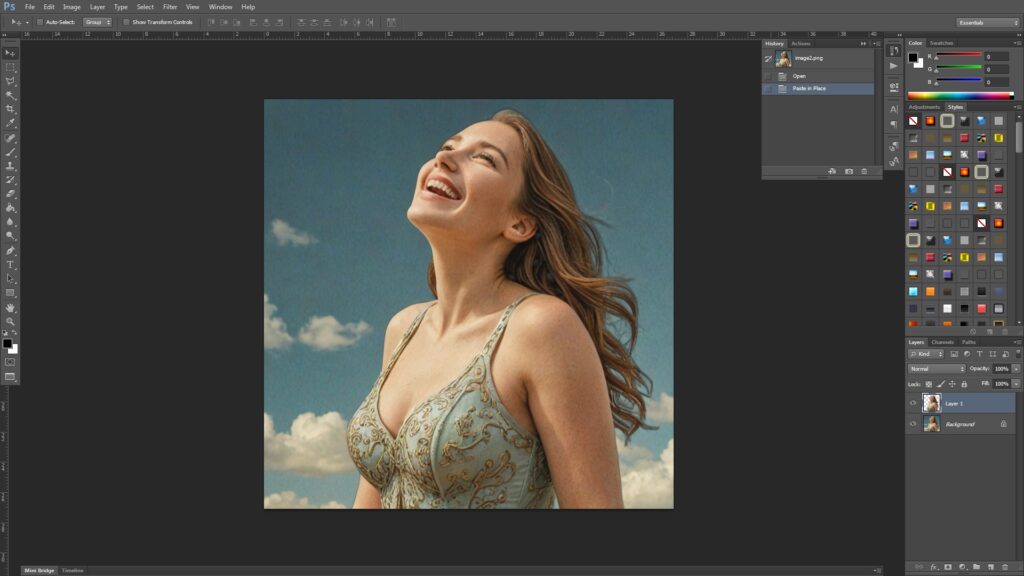
Open the second image (the one with no background), [Control + A] to select all, [Control + C] to copy.
Open the first image (the one with the background), [Control + Shift + V] to paste.

Select the first layer to create a new layer in the middle.
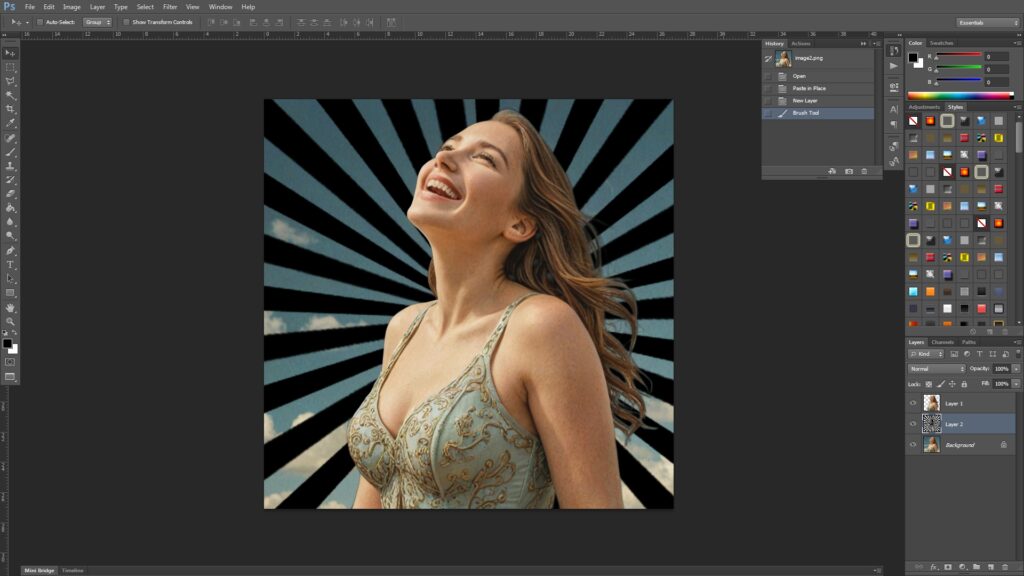
Use the Starburst brush as seen in the previous tutorial — [Photoshop – Brush creation].
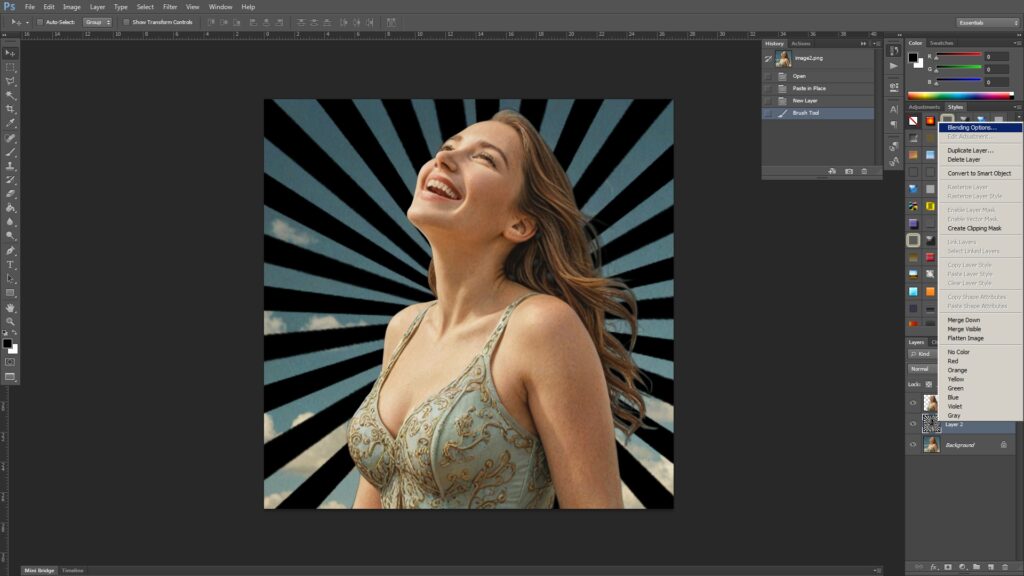
[Control + Select] the starburst layer to select the image, and right click the layer to go to the Blending Options.
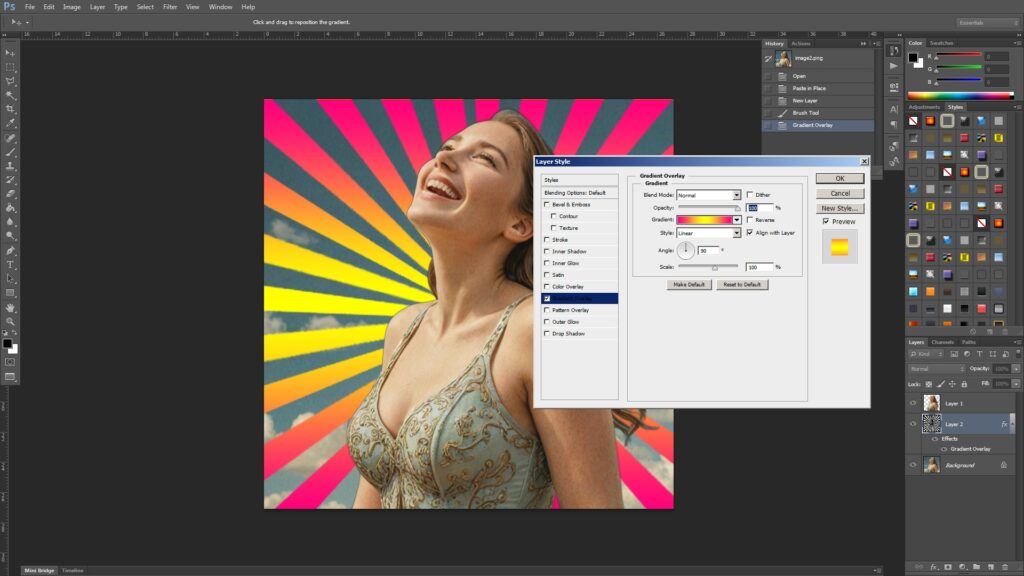
Add a Gradient Overlay like this.
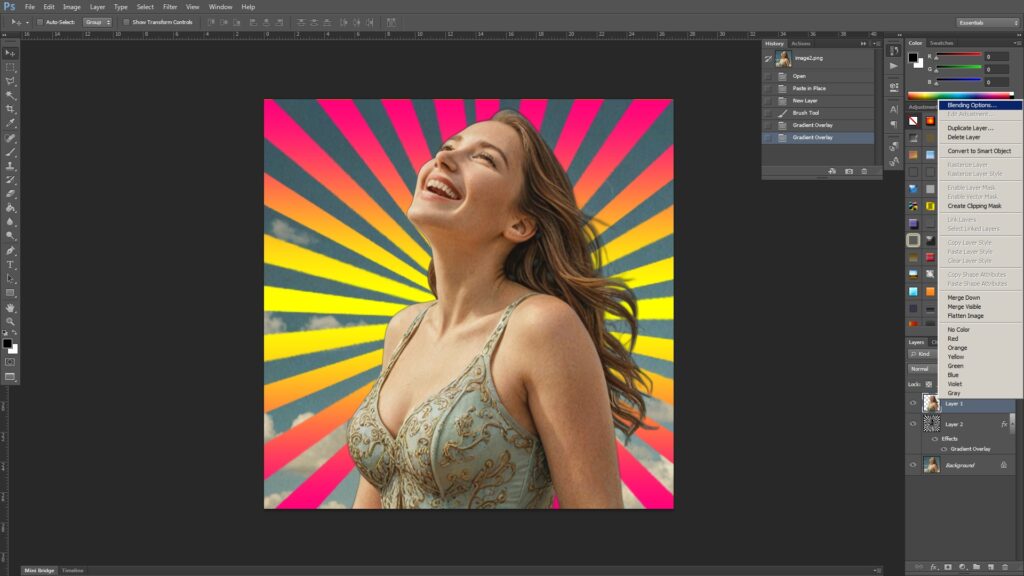
Go to the Blending Options of the first layer.
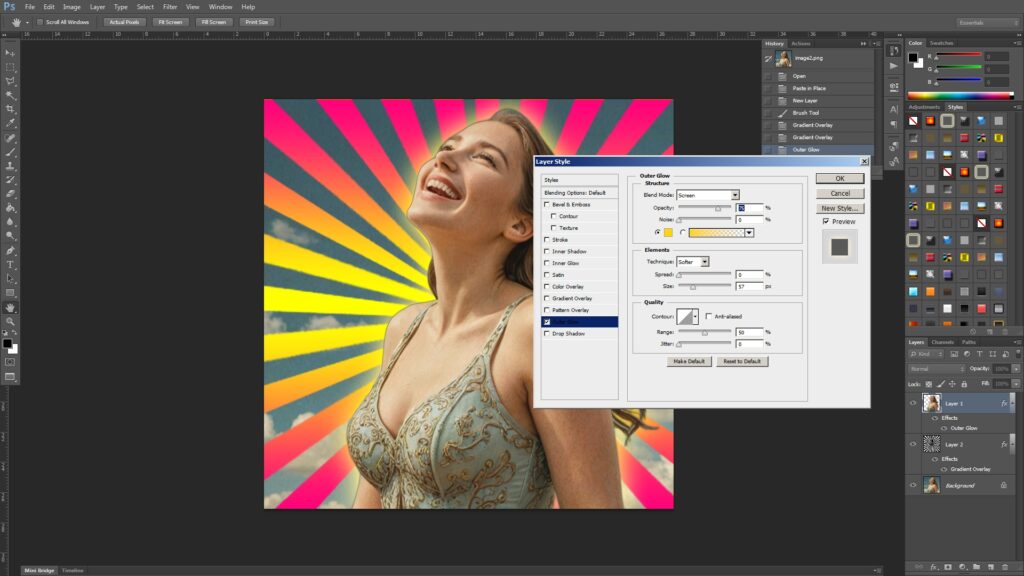
Add an Outer Glow.
This is the end of the tutorial. 🙂