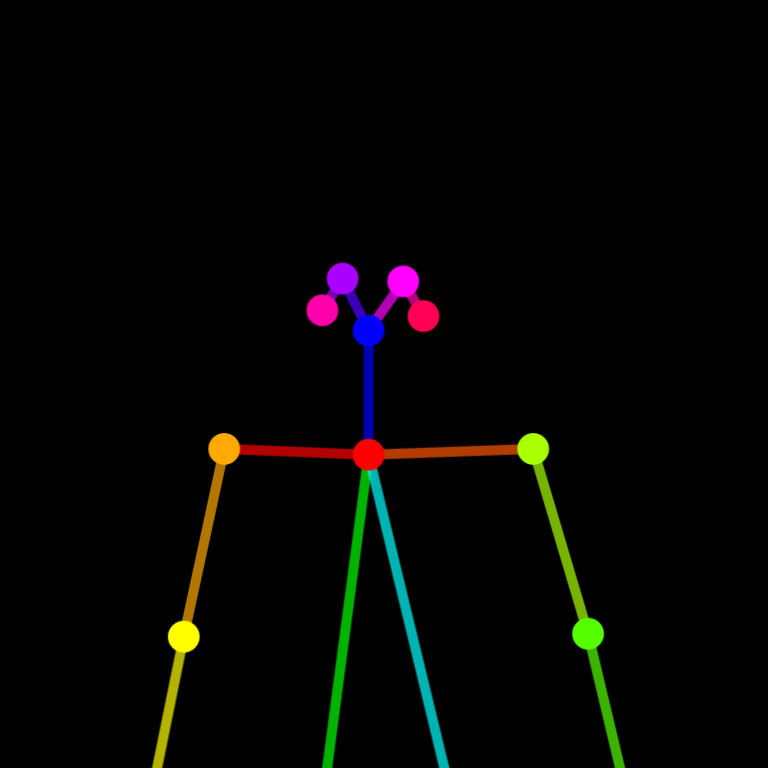


I have created and used an OpenPose image as seen in [How to use OpenPose].
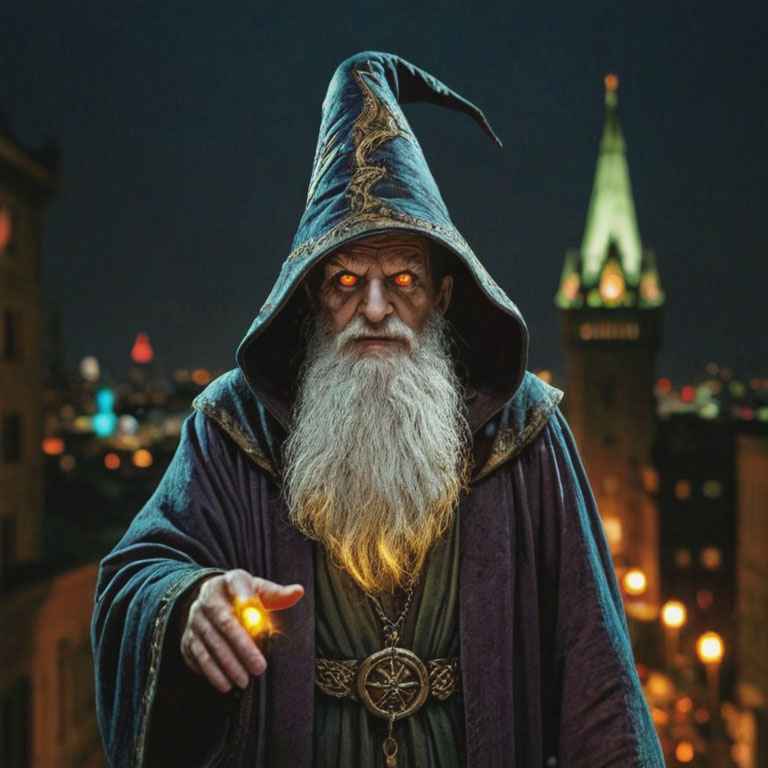
This image was generated by using the following prompt:
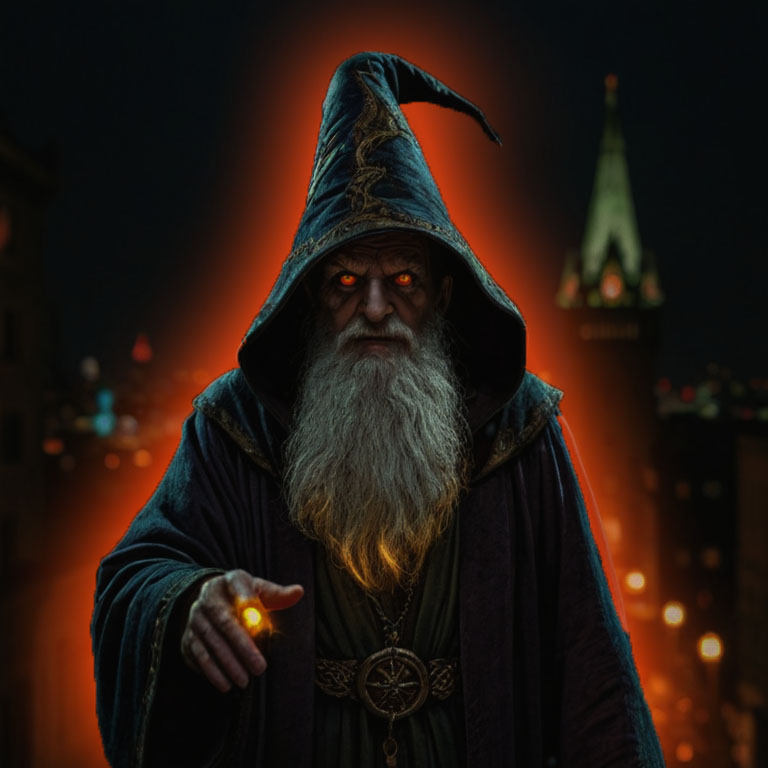
Prompt: Old and evil wizard with glowing eyes looking at the camera, night city background, post processing, post production, detailed and intricate, tone mapping, hyper realistic, photorealistic, ultra photoreal, ultra-detailed, intricate details, 8k, super detailed, full color, surrealism, full detail, ray tracing, best quality, extremely detailed.
Negative prompt: (worst quality, low quality, normal quality:1.8).
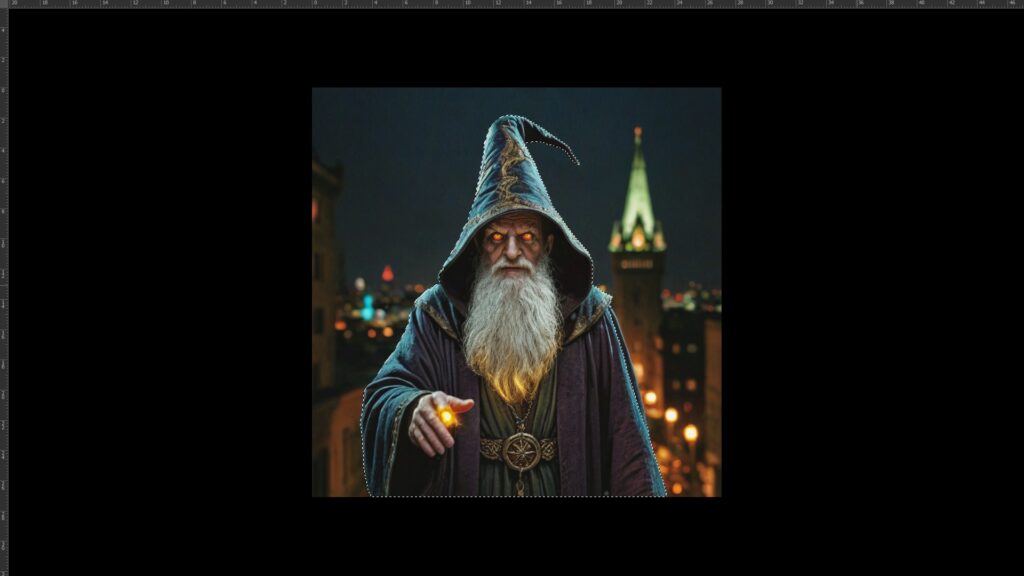
Manually select the wizard character by using the method seen in [Layer mask].
When the wizard character is fully selected like the screenshot above, press [Control + C] and [Control + Shift + V] to paste the selection to a new layer.
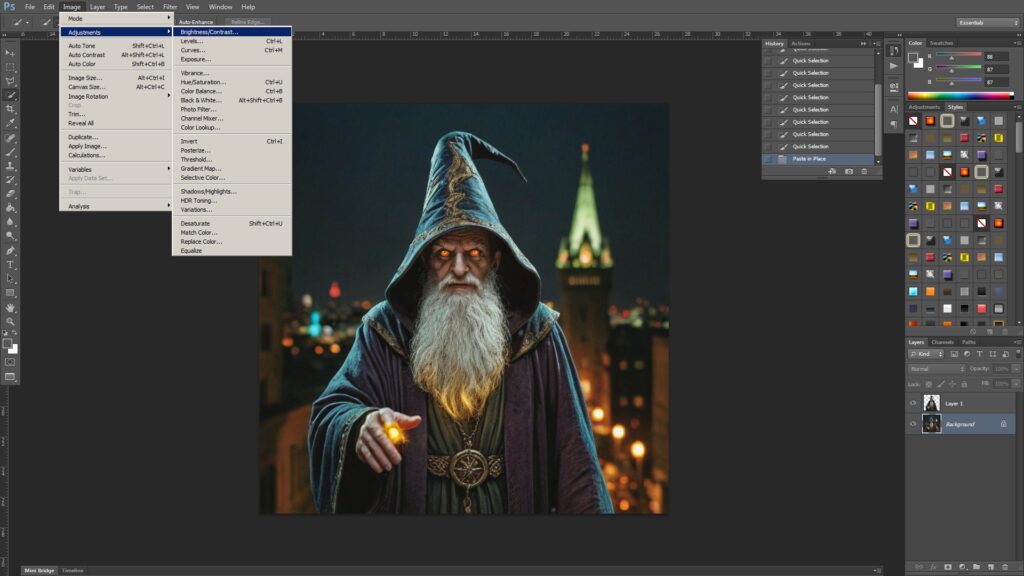
Let’s adjust the brightness and contrast to make the images look much darker.
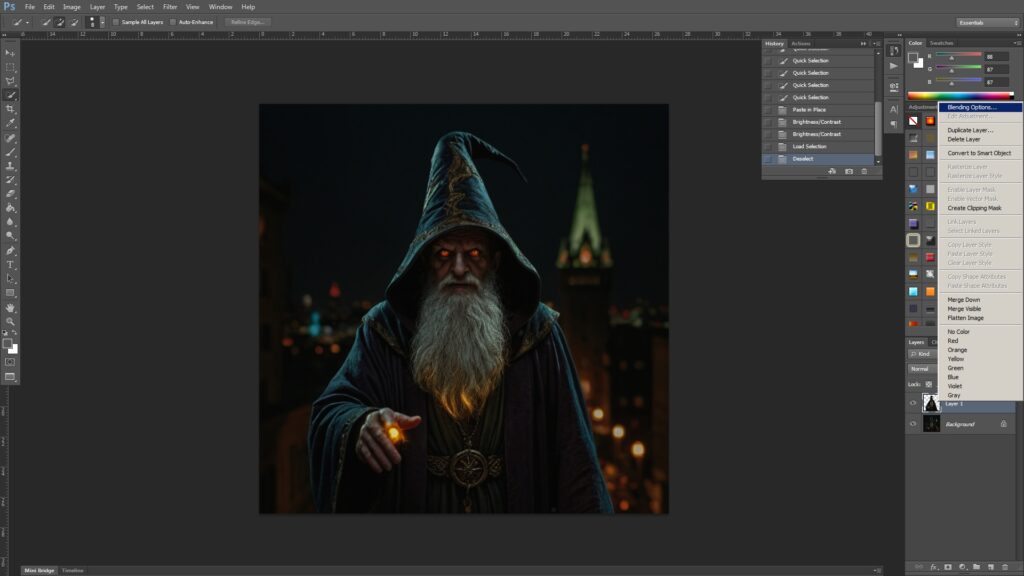
Right click the second layer, and go to the Blending Options.
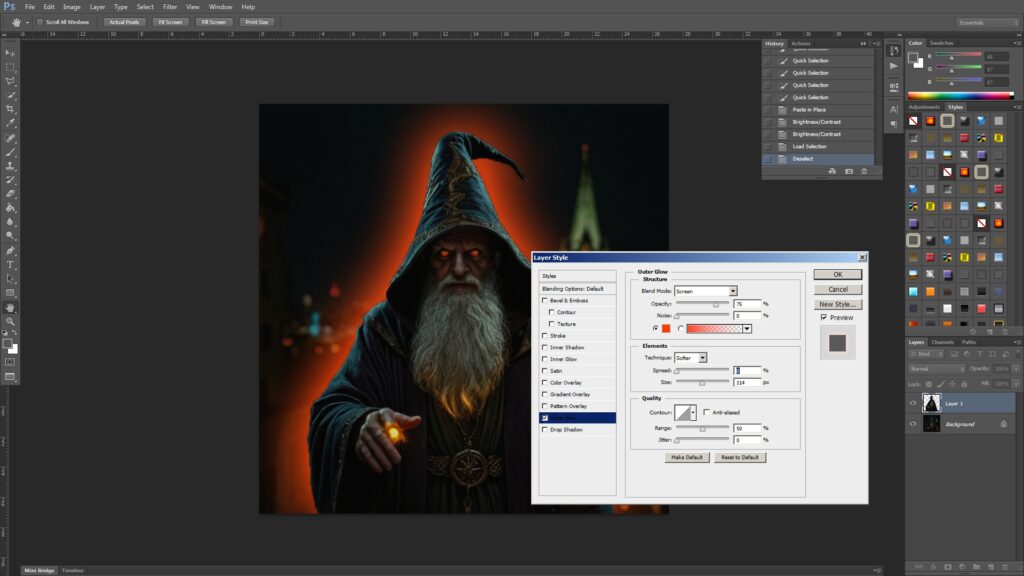
Please add an Outer Glow like this.
This is the end of the tutorial. 🙂