

I have introduced OpenPose in the previous tutorial [How to use OpenPose].
3D OpenPose works like that, but it’s in 3D — and that means we can freely rotate the armature in a 3D environment.
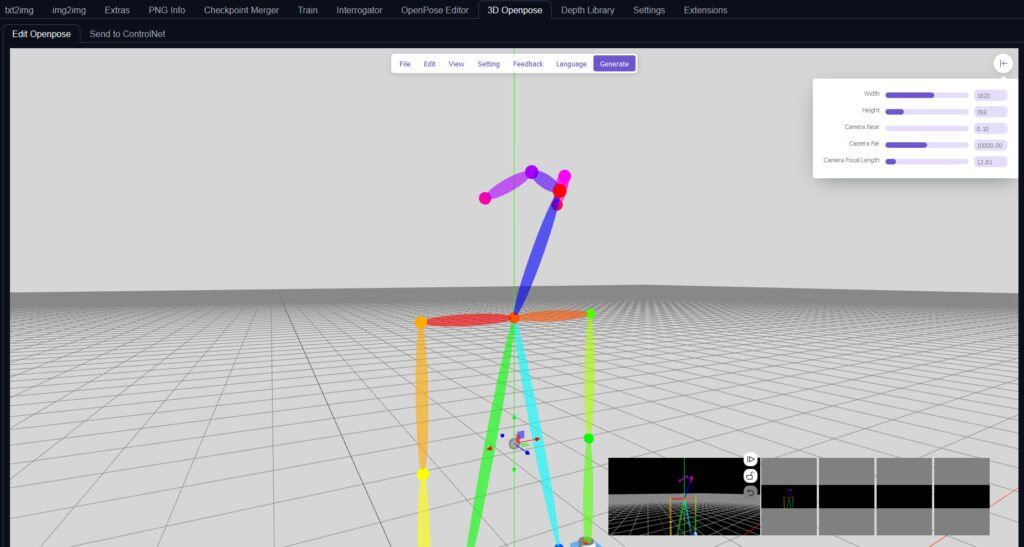
To use this feature, we must activate an extension called [sd-webui-3d-open-pose-editor] under Extensions tab.
Once installed, you’ll see a new tab called ‘3D OpenPose’. Click that.
You’ll see the default armature.
Left mouse click and drag to rotate the scene. Right mouse click and drag to pan the view. Middle mouse click and drag to zoom in and out.
The black preview window at the bottom represents how the armature would look like when it gets saved.
Click the Play button on the preview windows at the bottom to send the armature to ControlNet.
Once you click ‘Send to txt2img’ button, the armature will load into the ControlNet.

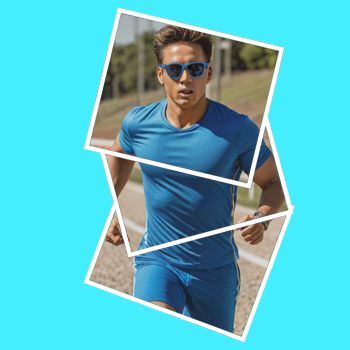
Here is an example.

This image was generated by using the following prompt:
Prompt: Gentleman.
Negative prompt: (worst quality, low quality, normal quality:1.8).
This is the end of the tutorial. 🙂