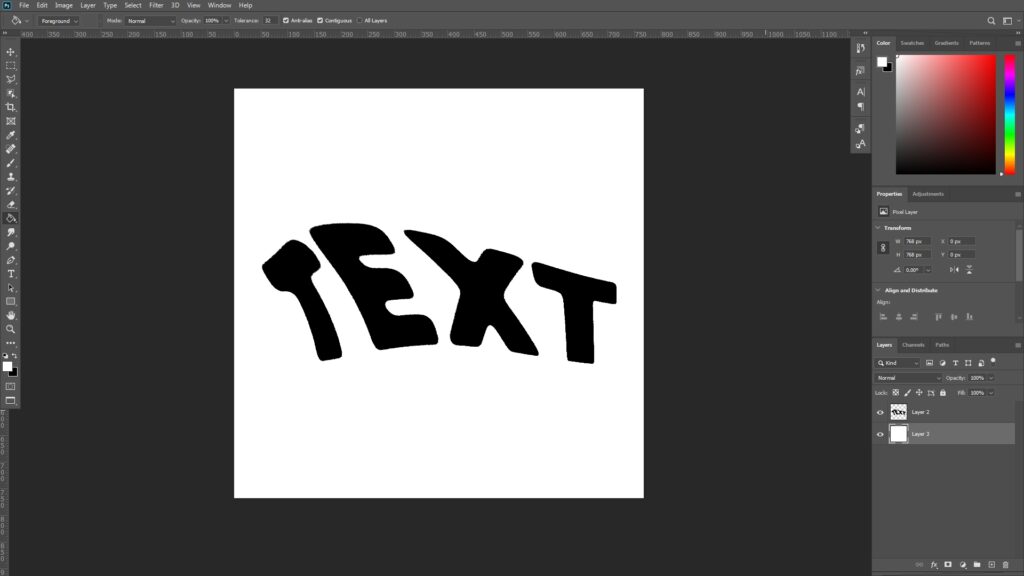
Create a text in Photoshop.
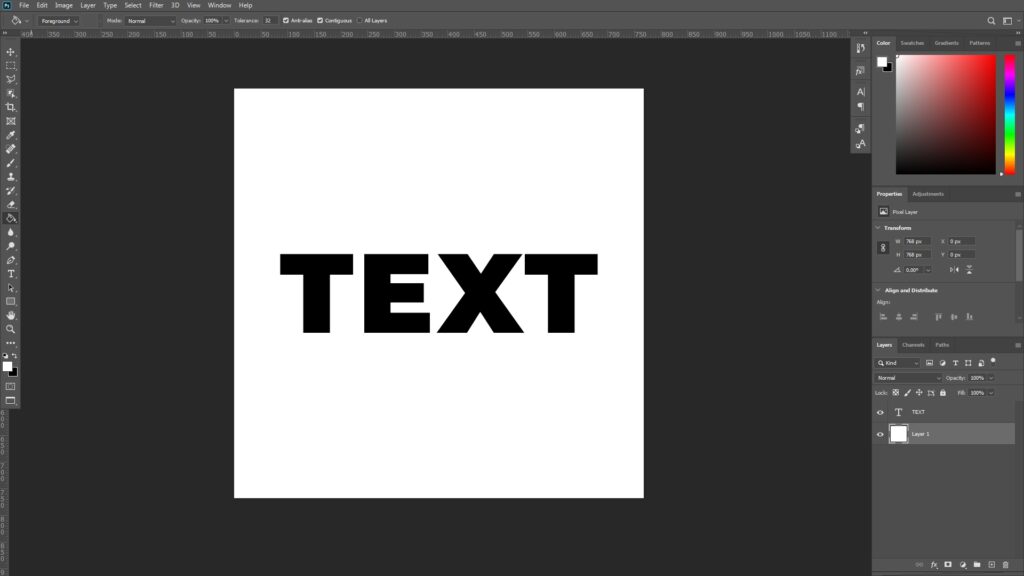
Fill the background layer with white.

This is where the Smudge Tool is located.

Right click any layers to merge visible, and use a large brush to smudge the text object like this.
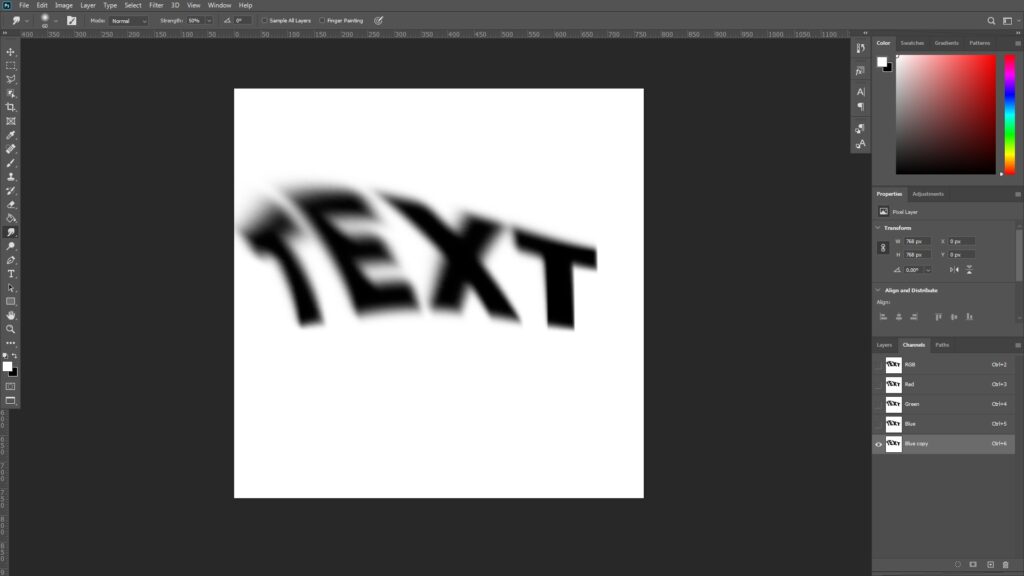
Go to Channels, select the blue channel, press [Control + A] to select all, [Control + C] to copy, create a new channel, and [Control + V] to duplicate the Blue Channel into new channel like this. Click the newly selected channel to hide the rest channels above.

Go to [Image -> Adjustments -> Levels]. Change the default values of 0, 1.00, 255 to 100, 1.00, 102 or so. The idea is to make the text to look as sharp as possible.
[Control + Click] the new Alpha channel (should be named Alpha1) to select the clean text, [Control + C] to copy, enable the [RGB] layer to show all other channels, and go to the Layers tab.

Create a new layer, and go to [Edit -> Fill] to fill the selection with black color.
Create a white background, and export this image as ControlNet’s Depth image to Stable Diffusion.

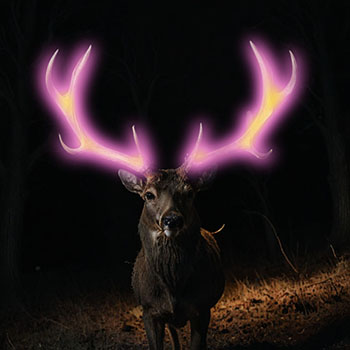
This image was created by Stable Diffusion with the following prompt:
Prompt – 3D illustration of skyscrapers, deep dark purple tones, minimalist elegant, post processing, cinematic, post production, detailed and intricate, tone mapping, hyper realistic, photorealistic, ultra photoreal, ultra-detailed, intricate details, 8k, super detailed, full color, surrealism, full detail, ray tracing, best quality, extremely detailed
Negative prompts – (worst quality, low quality, normal quality:1.8)
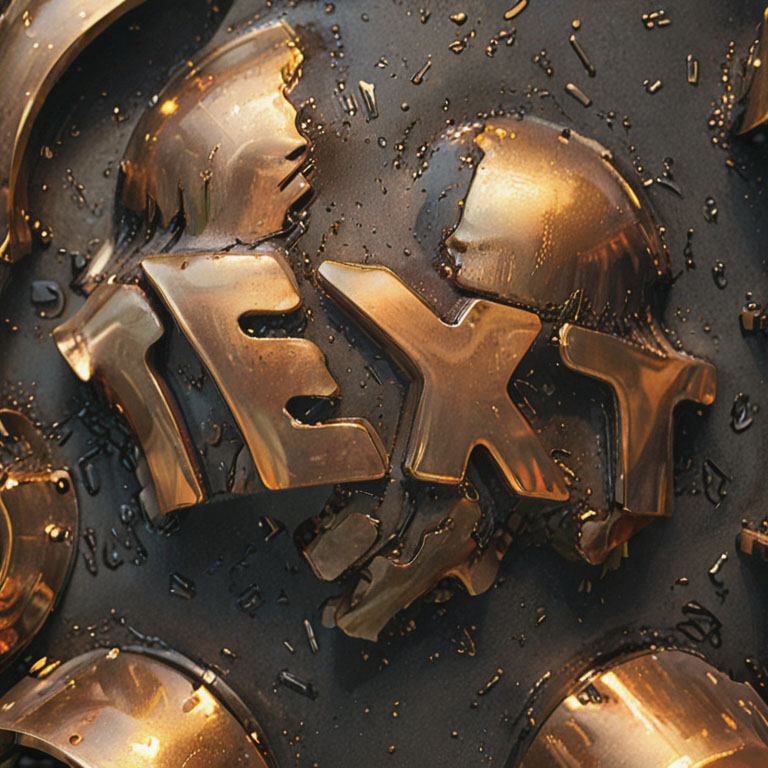
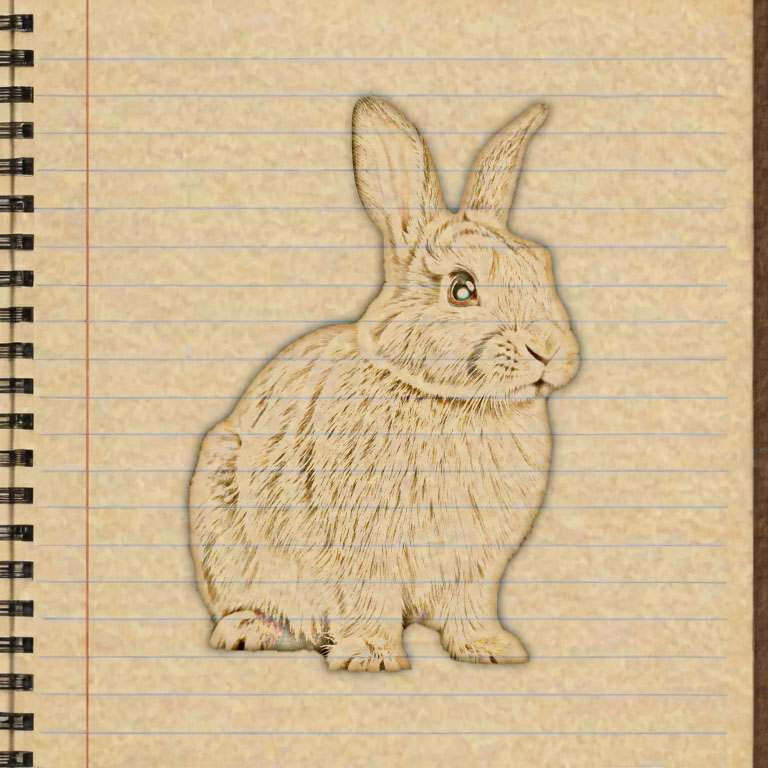
This image was created by Stable Diffusion with the following prompt:
Prompt – 3D illustration of glossy metal in the foundry, deep dark golden tones, minimalist elegant, post processing, cinematic, post production, detailed and intricate, tone mapping, hyper realistic, photorealistic, ultra photoreal, ultra-detailed, intricate details, 8k, super detailed, full color, surrealism, full detail, ray tracing, best quality, extremely detailed
Negative prompts – (worst quality, low quality, normal quality:1.8)
This is the end of the tutorial. 🙂