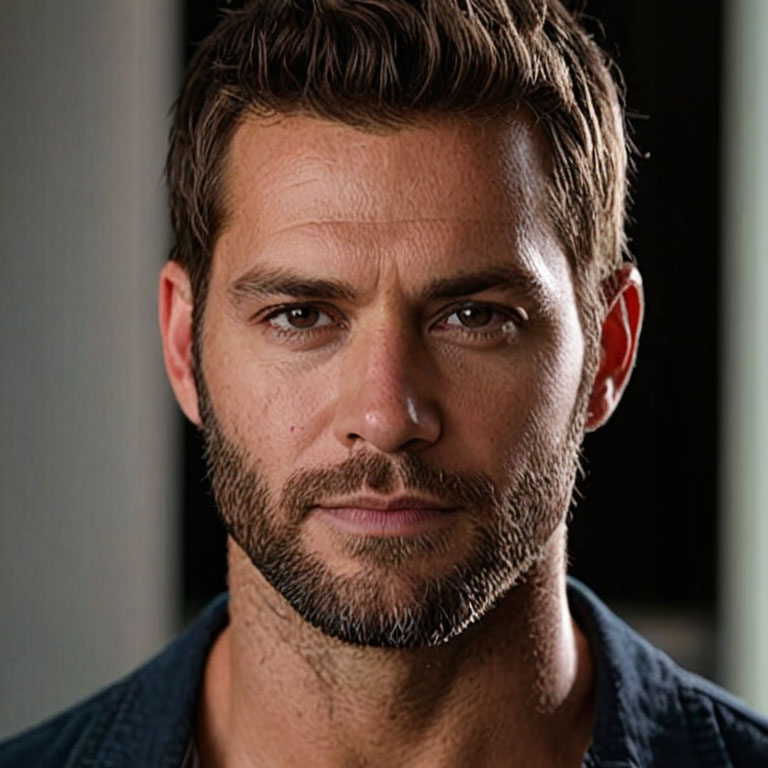


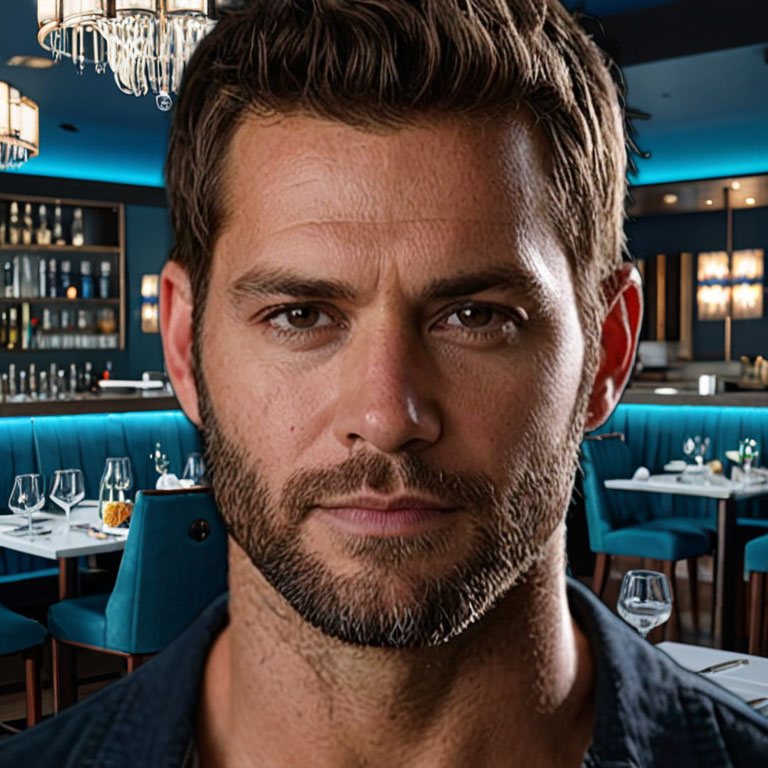
This image was generated by using the following prompt:
Prompt: (((handsome man named Joshua Aaron Jackson))), high quality, crystal clear, 8K UHD, highly detailed, rim lighting, studio lighting, looking at the camera, dslr, ultra quality, sharp focus, tack sharp, dof, film grain.
Negative prompt: (worst quality, low quality, normal quality:1.8)
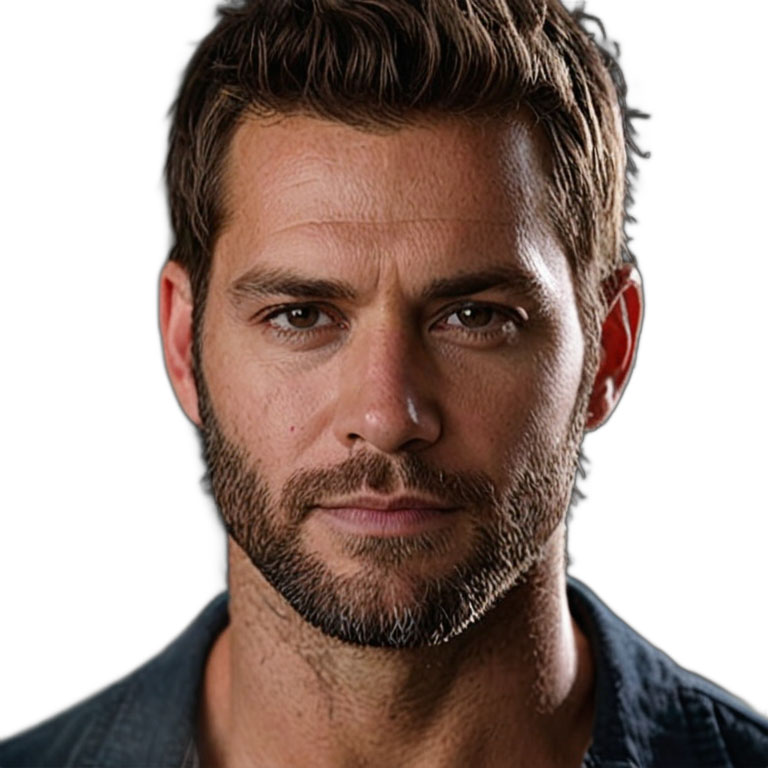
The background was removed in Stable Diffusion, by using an extension called [stable-diffusion-webui-rembg].
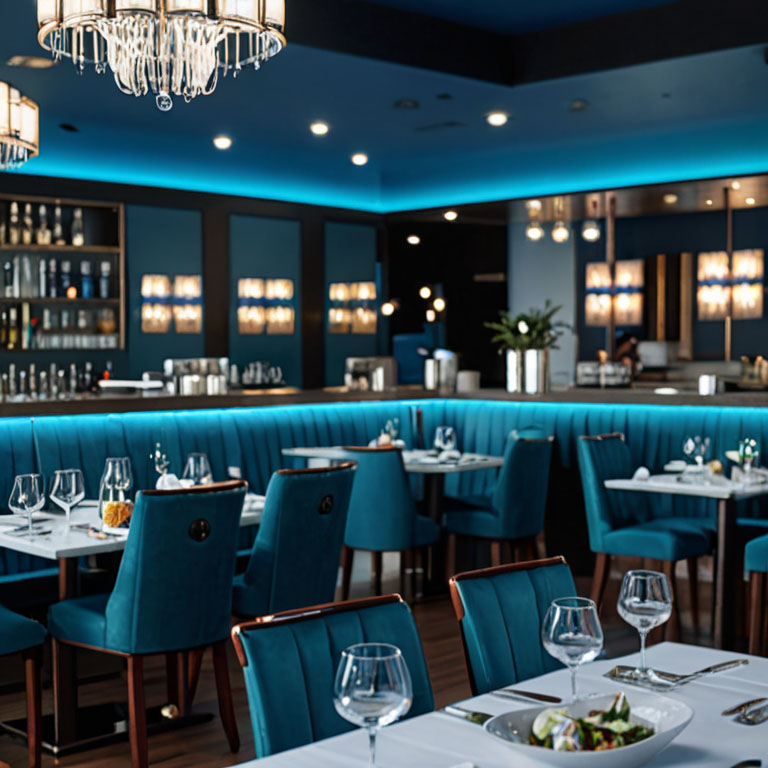
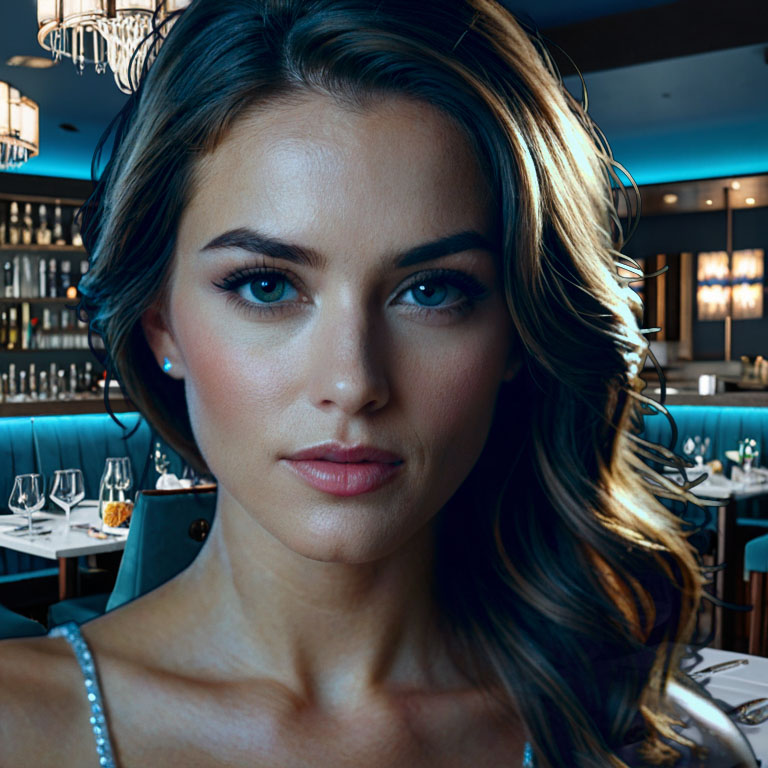
This restaurant image was generated by using the following prompt:
Prompt: (((busy restaurant, blue hue))), high quality, crystal clear, 8K UHD, highly detailed, rim lighting, studio lighting, looking at the camera, dslr, ultra quality, sharp focus, tack sharp, dof, film grain.
Negative prompt: (worst quality, low quality, normal quality:1.8)
In Photoshop, I copied and pasted the first image to the second image.
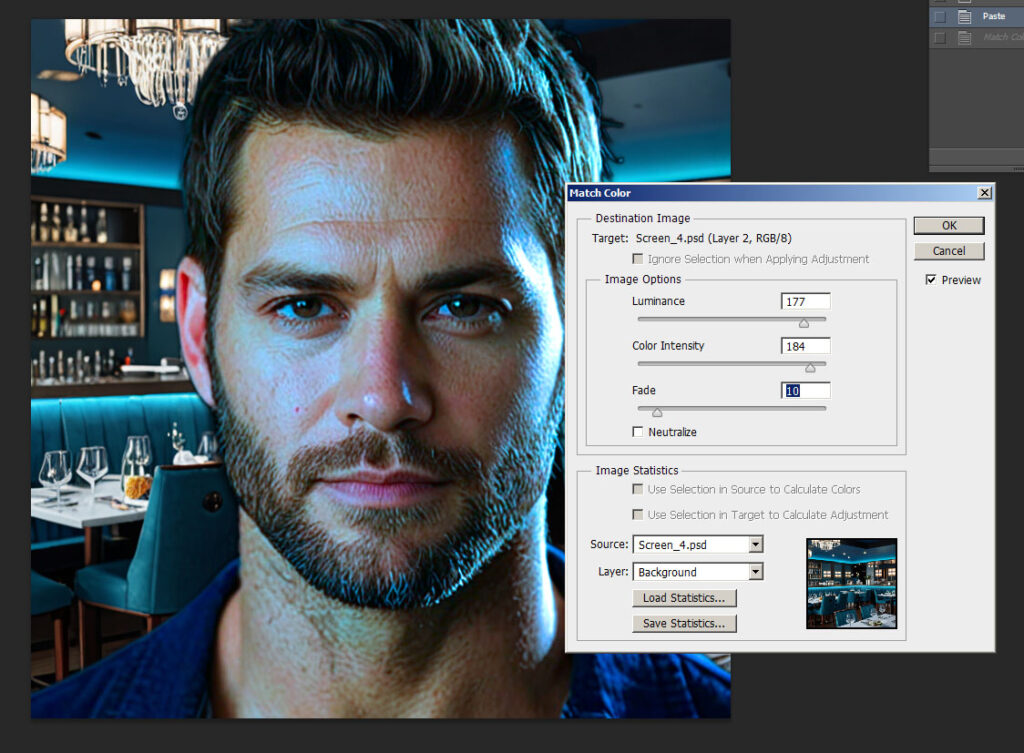
I went to [Image -> Adjustments -> Match Color], and I used the following settings to match the first image’s color to the second image.
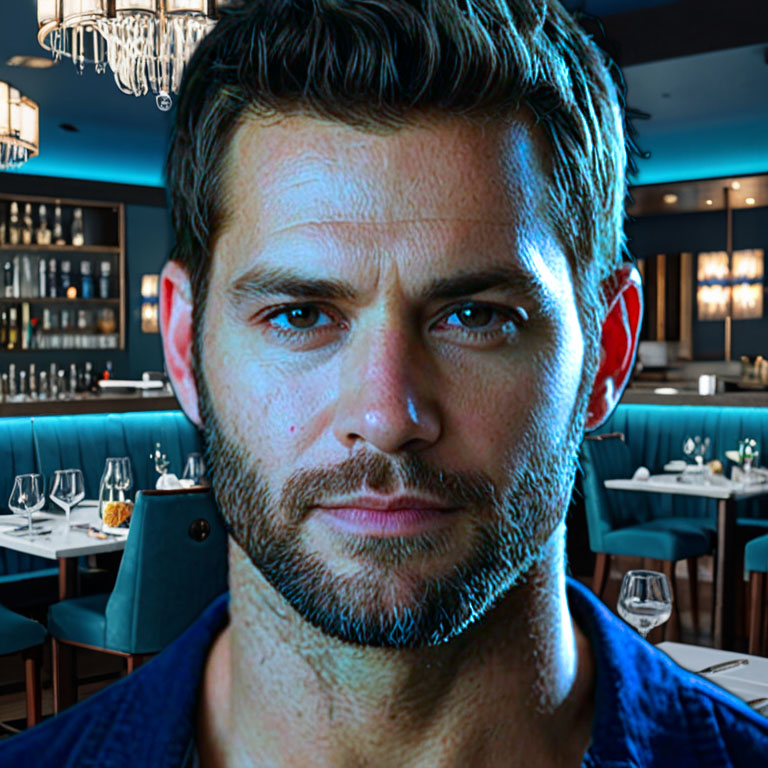
This is the end of the tutorial. 🙂