

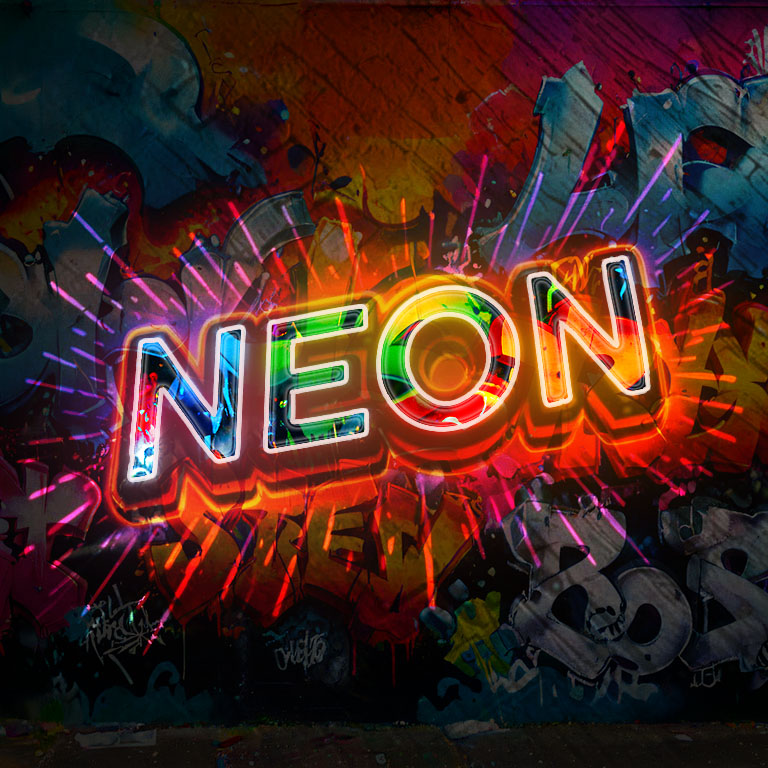
This image was created by Stable Diffusion with the following prompt:
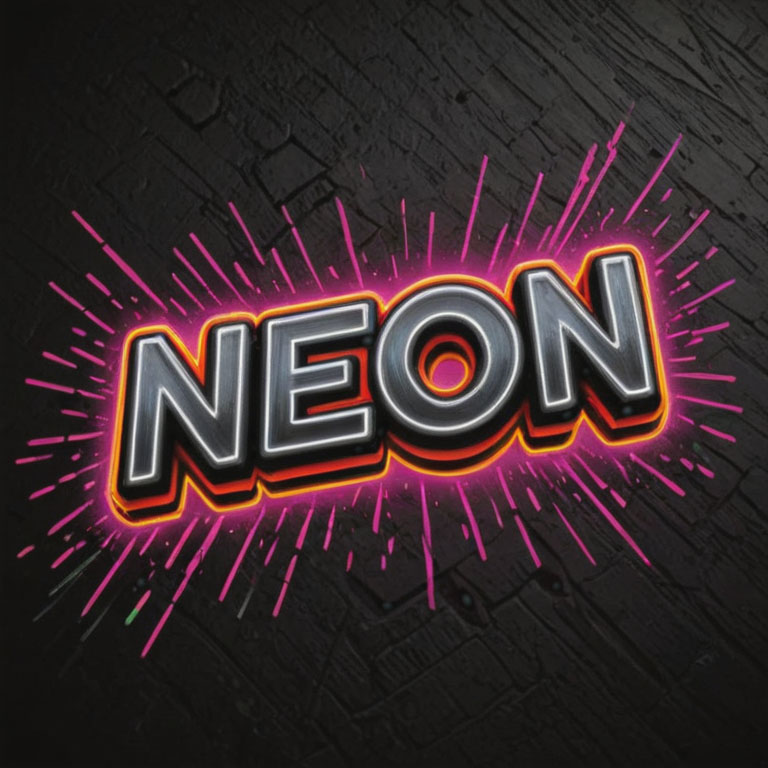
Prompt – (Centered text: “Neon”:1.5, the text needs to look like crushed, twisted and rotated:1.5), (Street spray paint art), (wall is full of other spray paint art), (Background is isolated in black:1.5)
Negative prompts – (worst quality, low quality, normal quality:1.8)
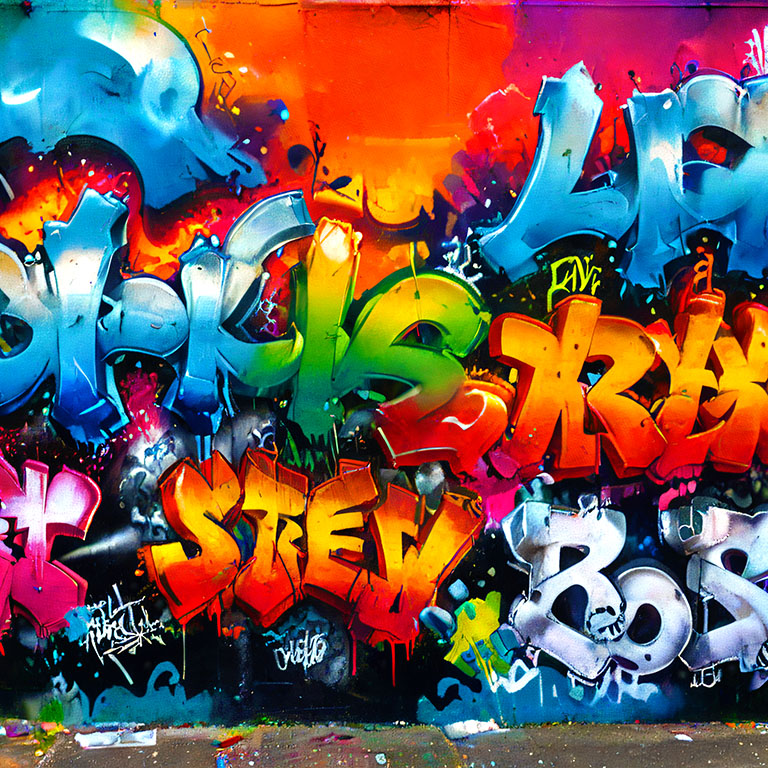
Prompt – Background wall is full of very colorful spray graffiti art, the wall is filled with graffiti art
Negative prompts – (worst quality, low quality, normal quality:1.8)

Copy and paste the neon text image to the wall image, and use the Quick Selection Tool to select the grey text region.
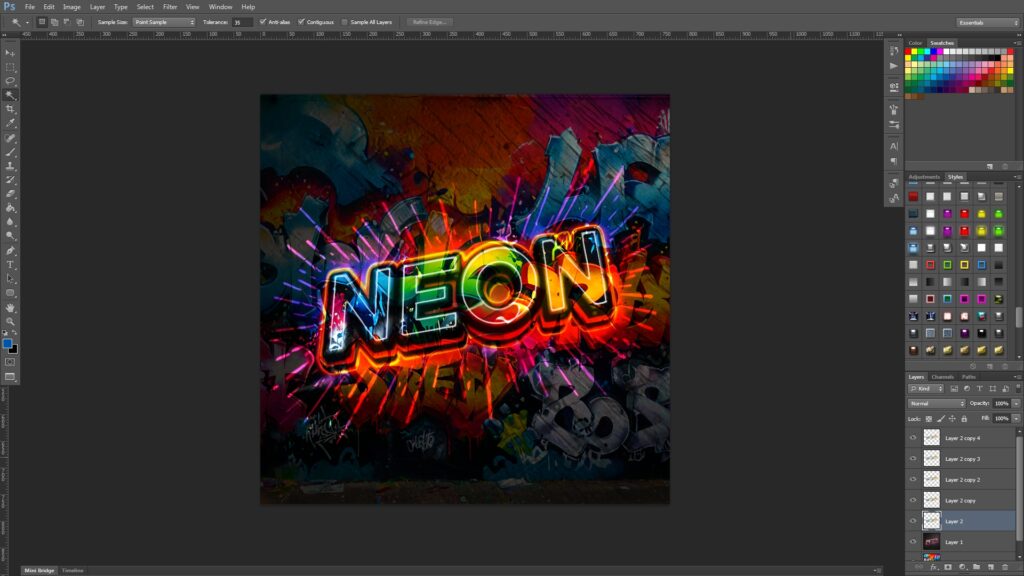
- With the text selection active, go to the wall layer and [Control + C] to copy.
- Go to the text layer, and [Control + Shift + V] to paste in place.
- Select the newly created hovering text layer, and [Control + J] four times to duplicate the layer 4 times.
- Select the Neon text layer, and change the blend mode to Hard Light.
- Select the first hovering text layer (listed as Layer 2 in my Photoshop), and add 100% of gaussian blur (Filter -> Blur -> Gaussian Blur).
- Select the second hovering text layer (listed as Layer 2 copyin my Photoshop), and add 75% of gaussian blur (Filter -> Blur -> Gaussian Blur).
- Select the third hovering text layer (listed as Layer 2 copy 2in my Photoshop), and add 50% of gaussian blur (Filter -> Blur -> Gaussian Blur).
- Select the fourth hovering text layer (listed as Layer 2 copy 3in my Photoshop), and add 5% of gaussian blur (Filter -> Blur -> Gaussian Blur).
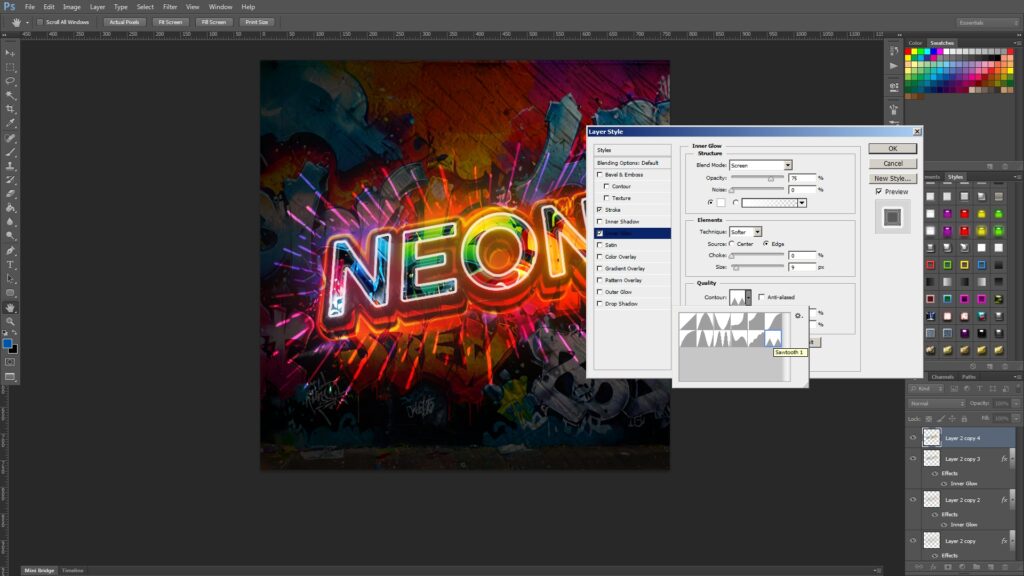
- Add Inner Glow layer style to [Layer 2], [Layer2 copy], [Layer 2 copy 2], and [Layer 2 copy 3].
- Go to the top layer (listed as Layer 2 copy 4in my Photoshop), and add Stroke (white) and Inner Glow like the screenshot above.
- Adjust Levels (Image -> Adjustments -> Levels), Exposure (Image -> Adjustments -> Exposure), and Brightness and Contrast (Image -> Adjustments -> Brightness and Contrast) to make the top hovering layer text bright.
This is the end of the tutorial. 🙂