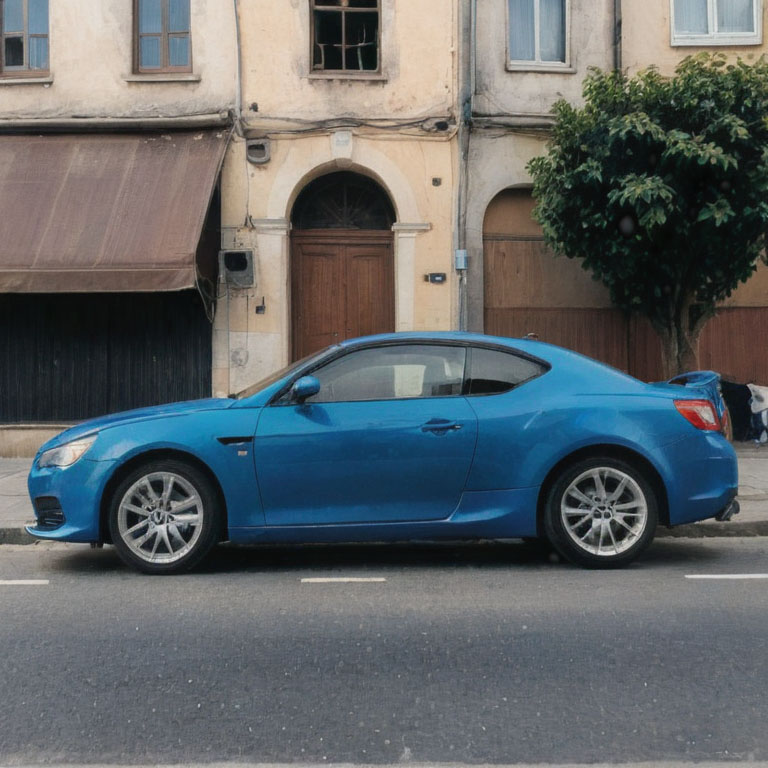


This image was created by Stable Diffusion with the following prompt:
Prompt – Side view of a car in the street
Negative prompts – (worst quality, low quality, normal quality:1.8)
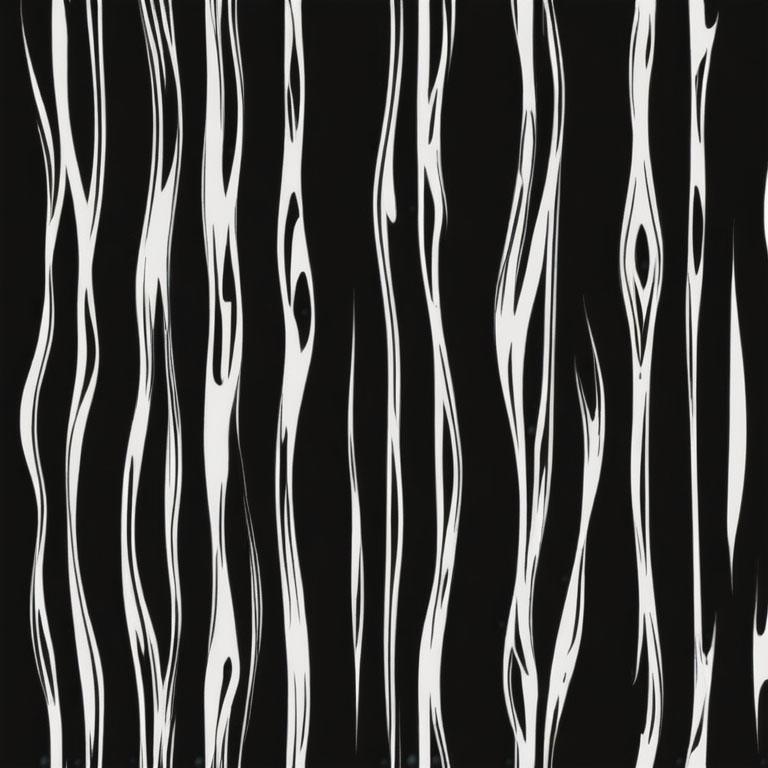
This image was created by Stable Diffusion with the following prompt:
Prompt – Random car flame line based decal images in isolated black background.
Negative prompts – (worst quality, low quality, normal quality:1.8)
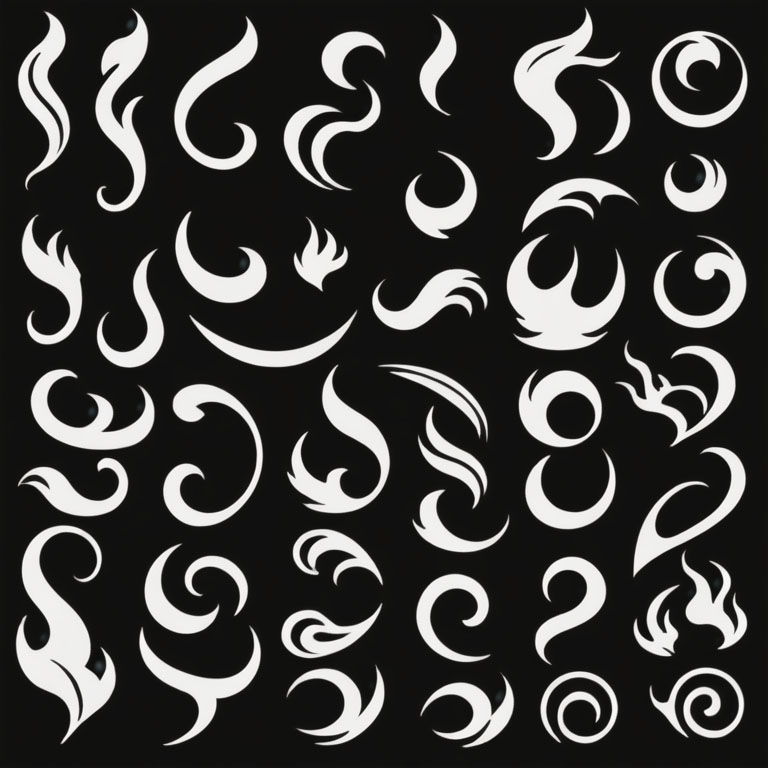
This image was created by Stable Diffusion with the following prompt:
Prompt – Random car flame decal images in isolated black background.
Negative prompts – (worst quality, low quality, normal quality:1.8)
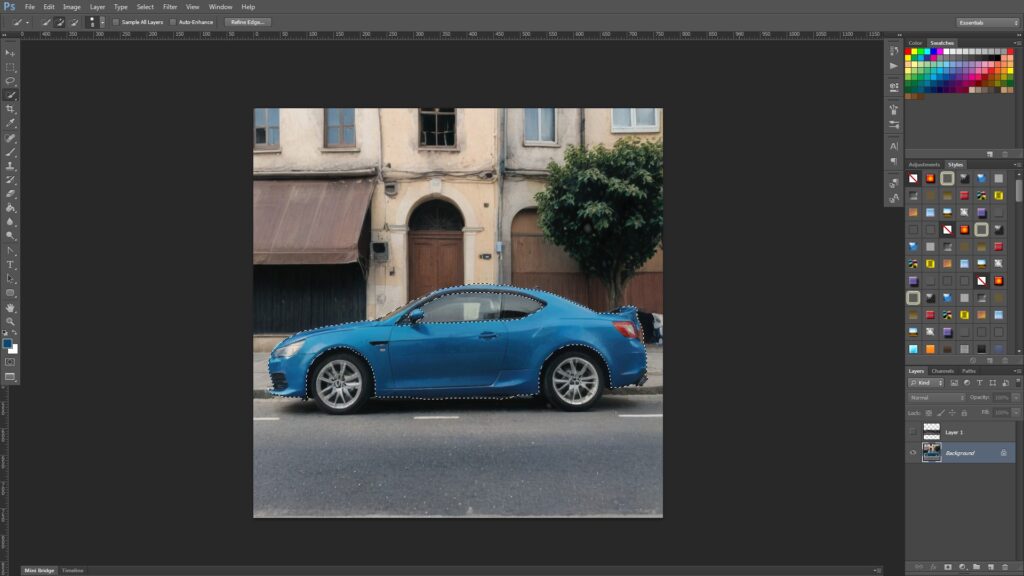
Use the Quick Selection Tool to select the body region of the car. Remember to deselect the headlight, windows, wheels, and backlight to avoid the decals from appearing in odd places. When finished, press [Control + C] to copy, create and select a new layer and [Control + Shift + V] to paste in place.
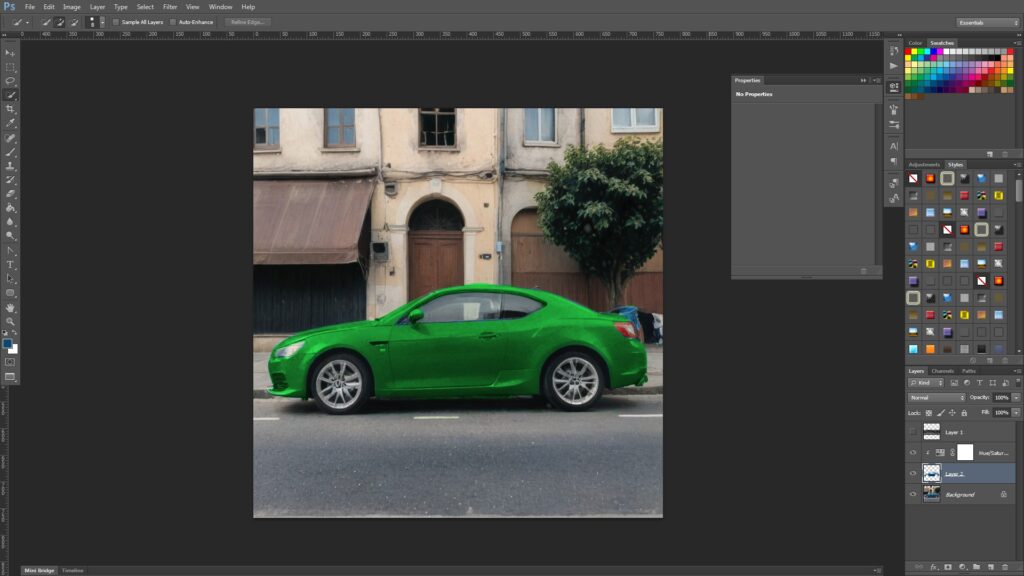
By adding a Hue and Saturation adjustment layer, we can quickly change the car’s color, but I’ll just use the blue color for now.
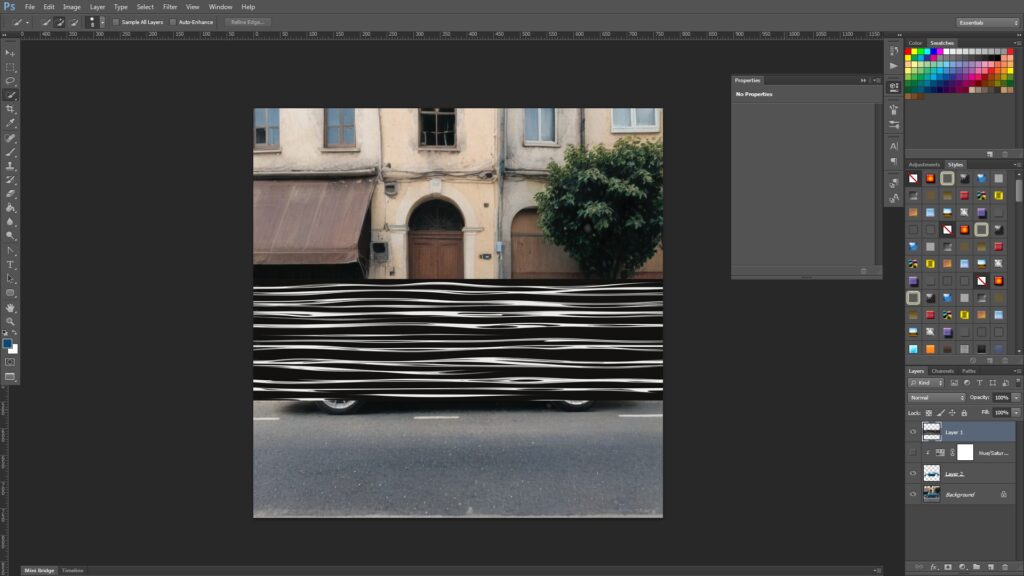
Copy and paste the decal image and [Control + T] to scale it like this.
Right click the decal layer, and create a clipping mask.
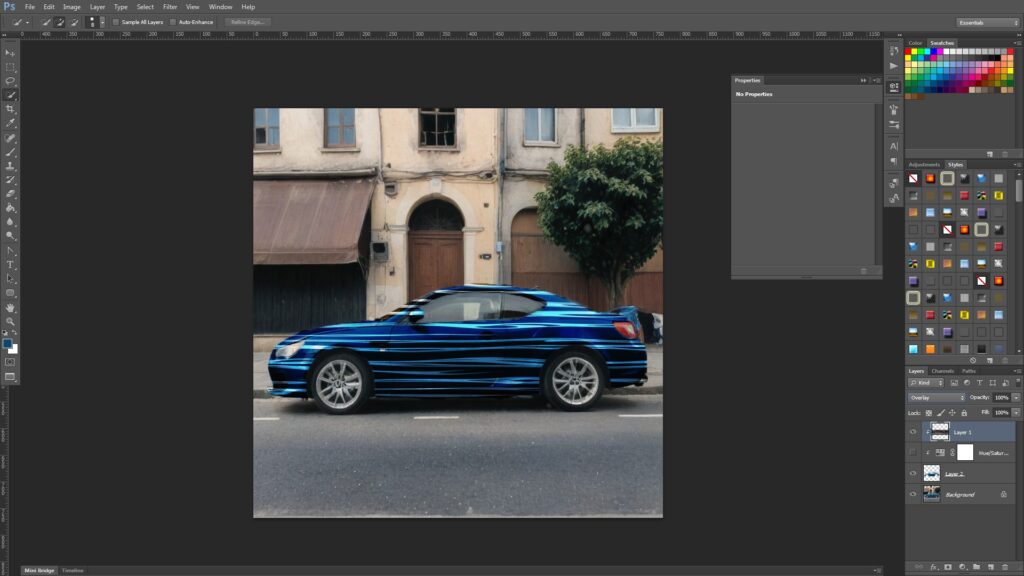
If we change the layer blend mode to Overlay, we get this result.
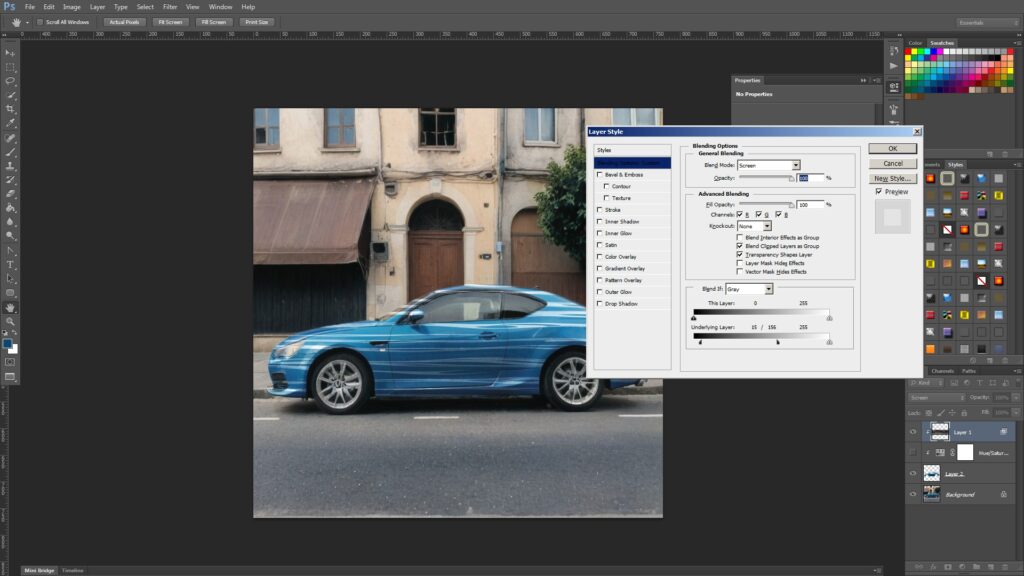
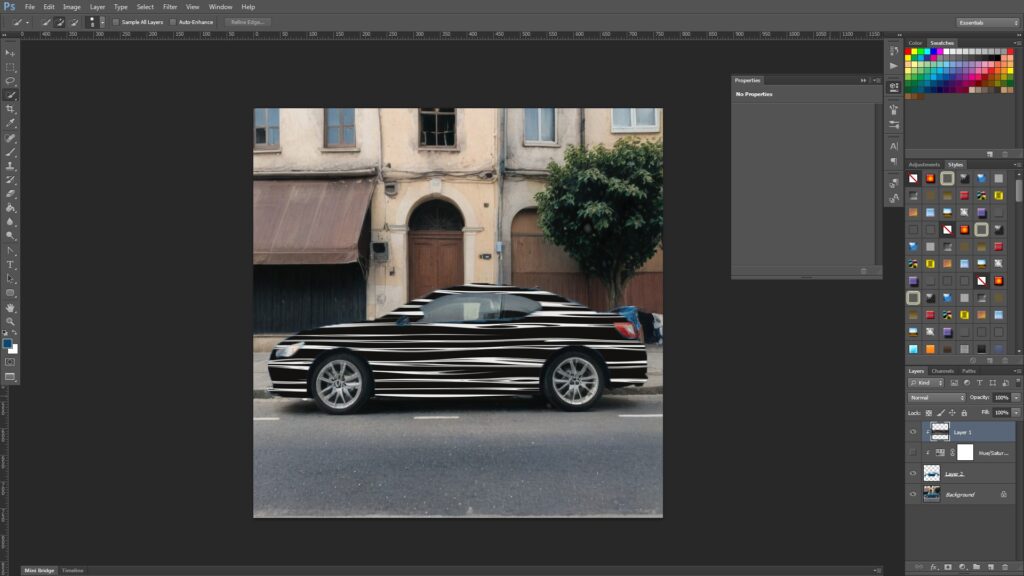
Right click the decal layer, and [Alt + Click] the Underlying Layer’s left slider to split into two and adjust the sliders like this. Try changing the layer’s blend mode to Screen.
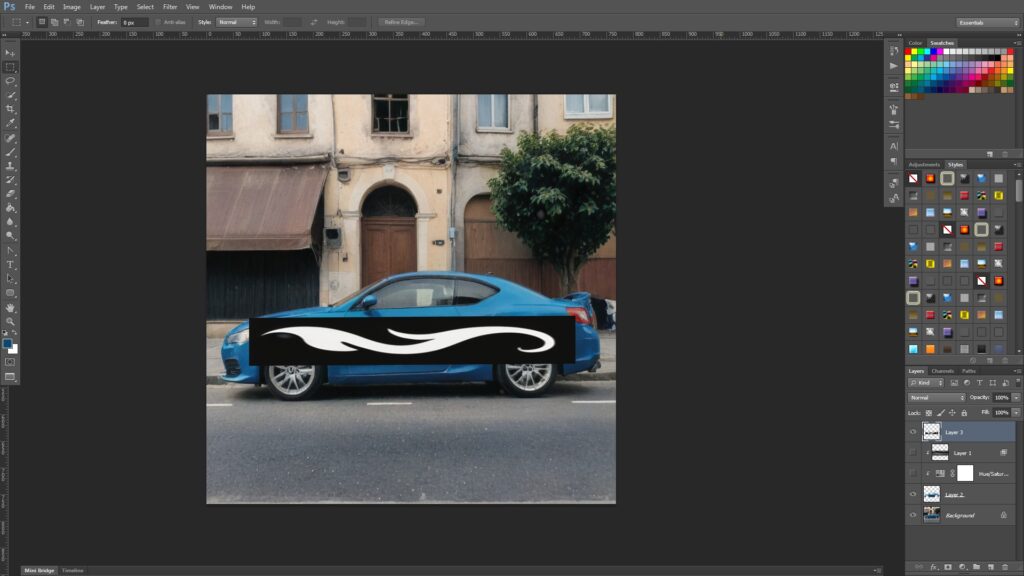
By using the above method, we can import and use any decal images.
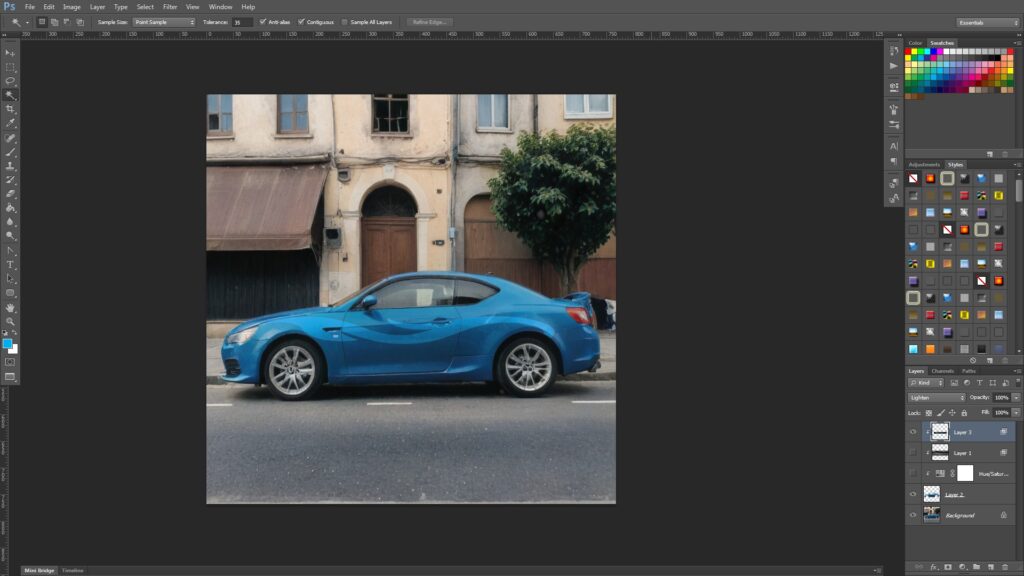
This is the second decal placement result.

This is the end of the tutorial. 🙂