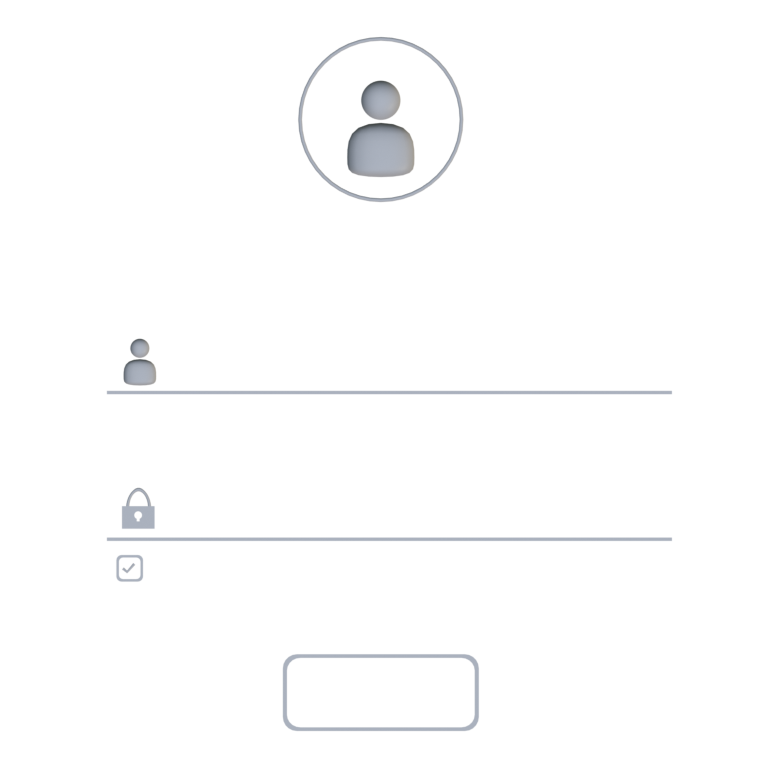


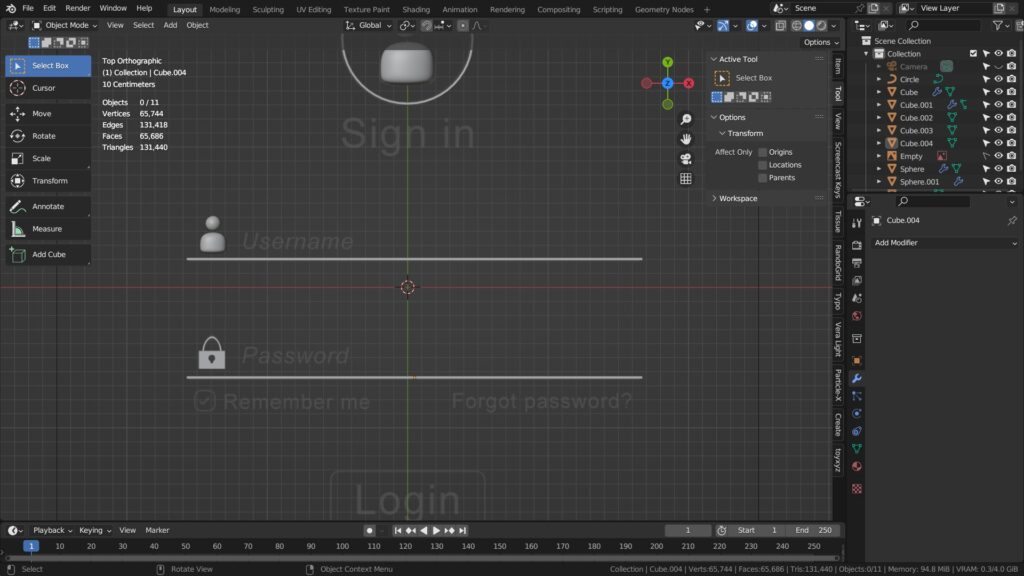
I’ll show you how to create this base UI image by using Blender.
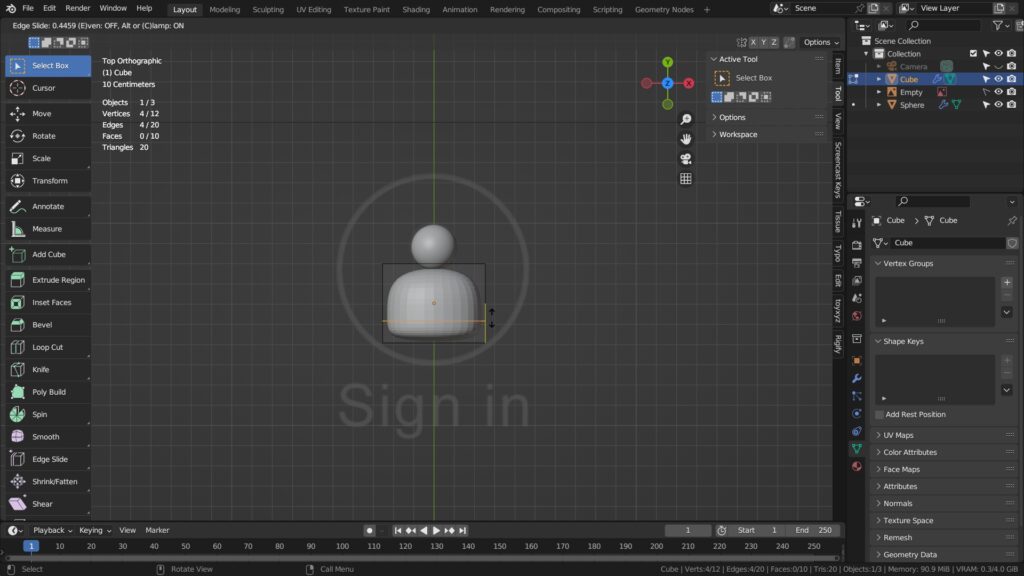
The human icon creation was done like this.
1. Create a UV sphere and scale it.
2. [Control + 3] to subdivide, and Right Click to ‘Shade Smooth’.
3. The body part was created with a subdivided cube (Control + 3).
4. In Edit Mode, a loop cut (Control + R) was added and moved downward to create the body shape.
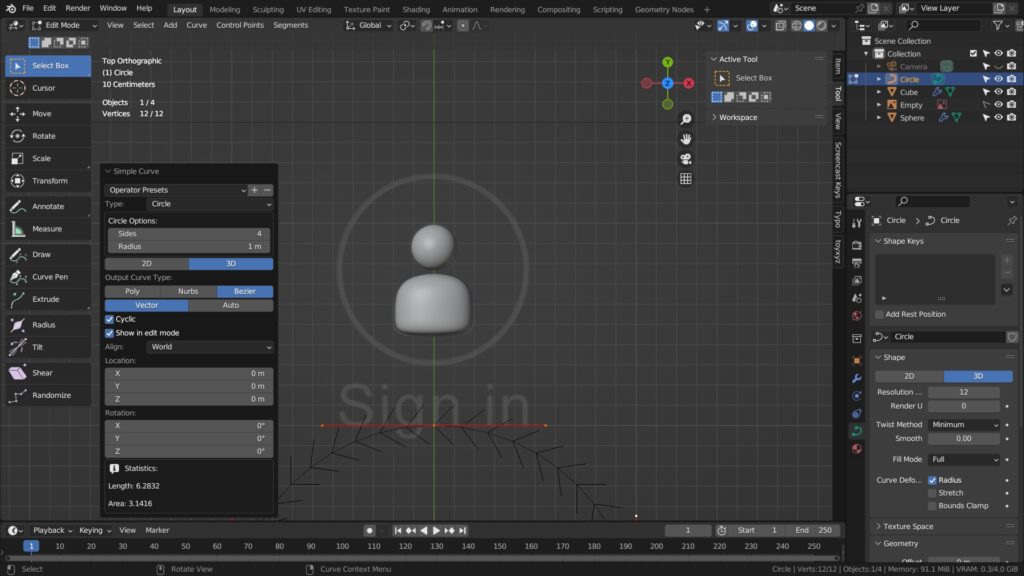
For the ring around the human icon, I used a curve circle (in 3D mode), scaled it, and beveled it.
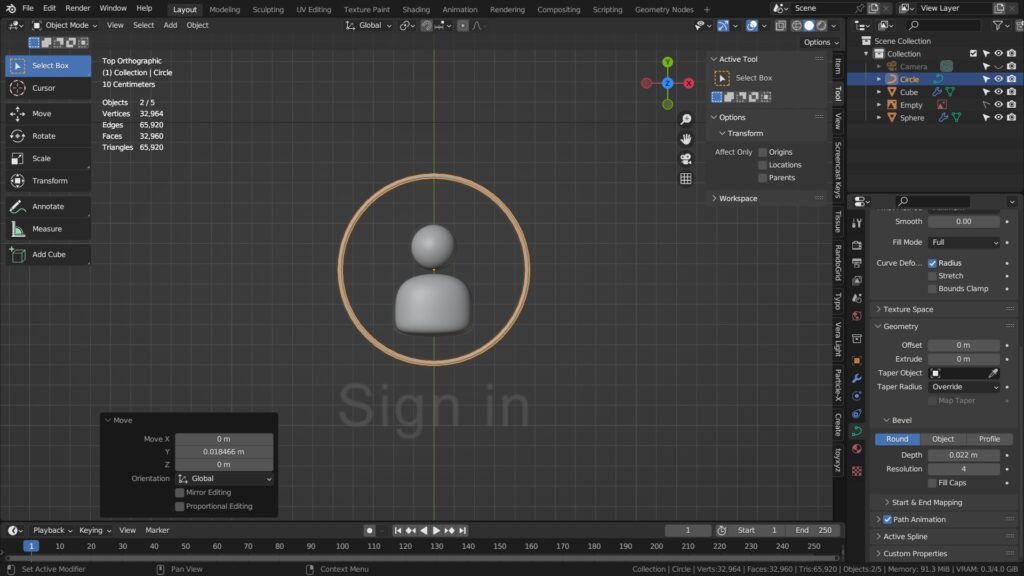
This was the bevel setting.
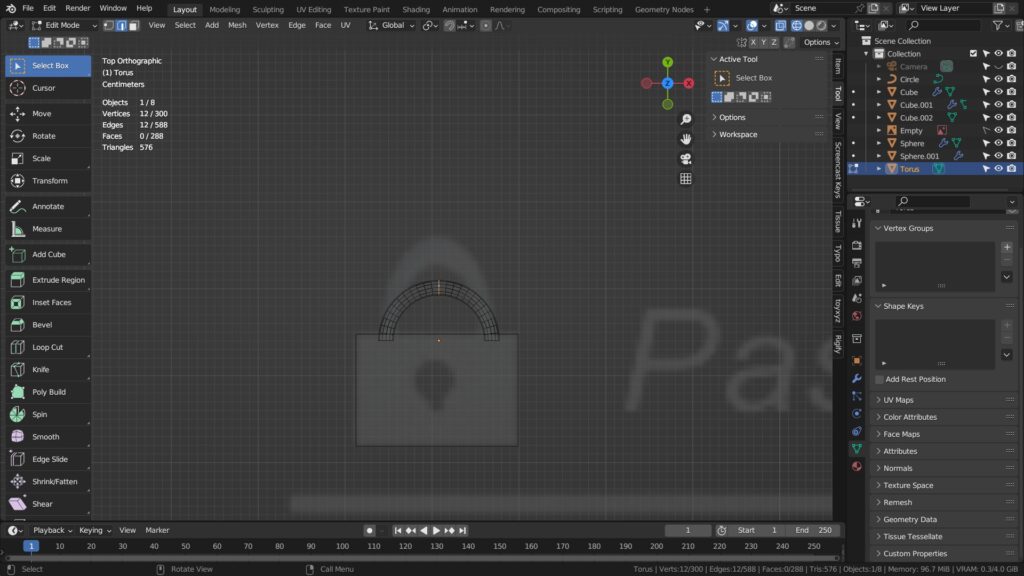
For the lock icon, I used a cube for the base, and a torus with lower half faces removed as the lock part. I selected the middle edge loop of the lock mesh [Alt + Click in Edit Mode’s Edge Selection Mode (2)].
After that, I used the proportional editing to pull the selected edge loop upward.
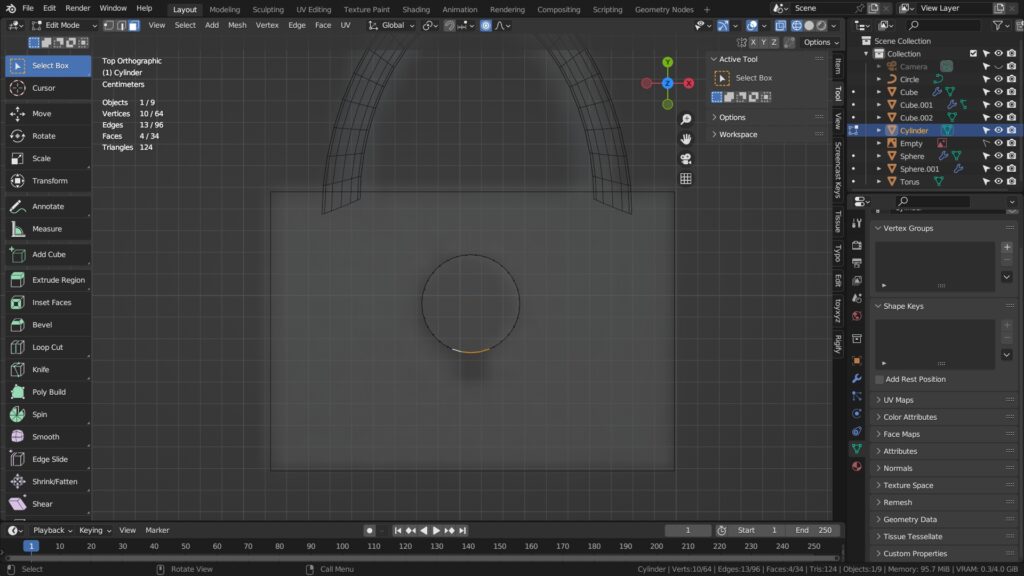
To create a lock hole, I used a scaled cylinder. I went to Edit Mode, selected the bottom faces like this, and extruded it. Then I typed “1” to vertex select, and typed “S”, “Y” and “Zero” to align the vertices.
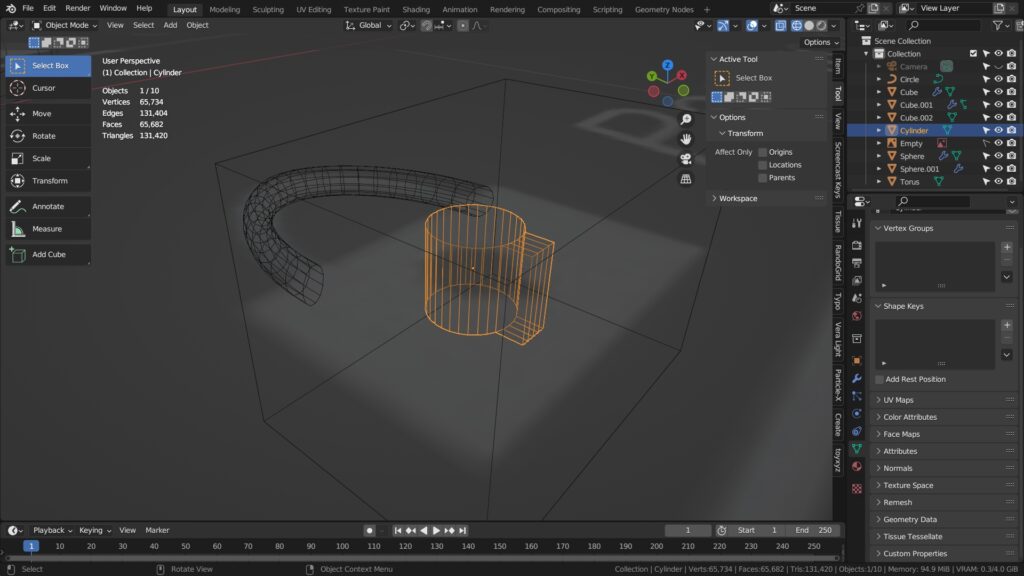
This is how the finished mesh looks like. Then I scaled it on the “Z” axis, and applied a boolean modifier on the base cube.
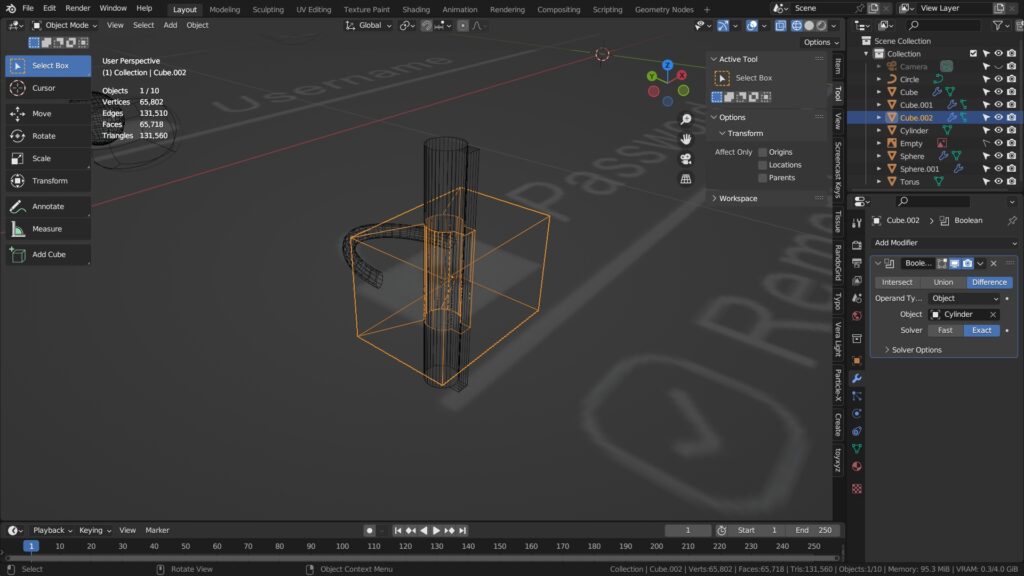
This was the boolean result.
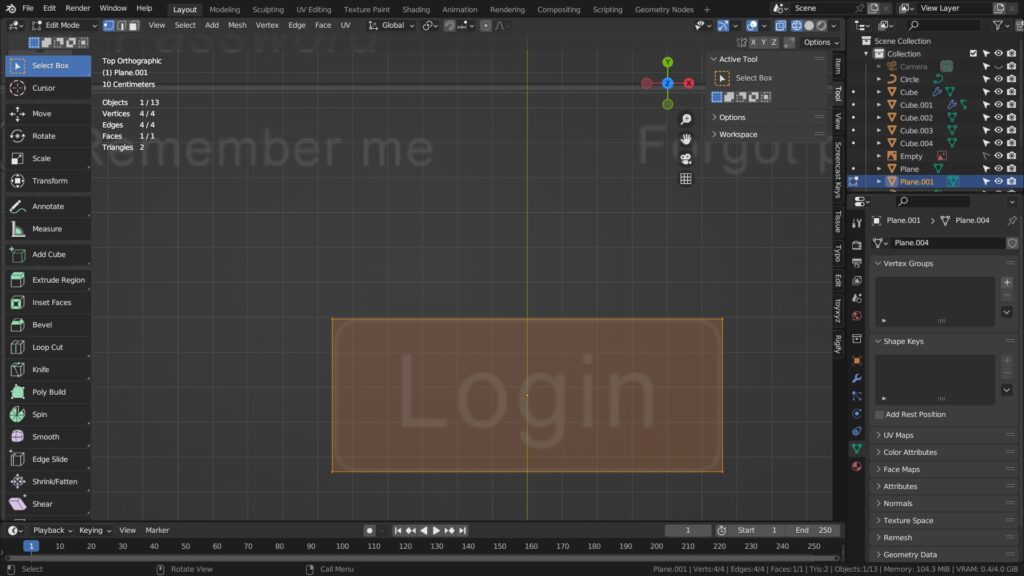
The lines below the Username and Password fields were created by using a scaled cube.
To create this mesh, I used a scaled plane to create a base, went to Edit Mode, typed “1” to vertex select. Then I pressed [Control + Shift + B] to smooth the edges. After that I went to Object Mode, [Shift + D] to duplicate, and scaled it. Then I extruded the scaled mesh and used a boolean modifier to create a hole like above.
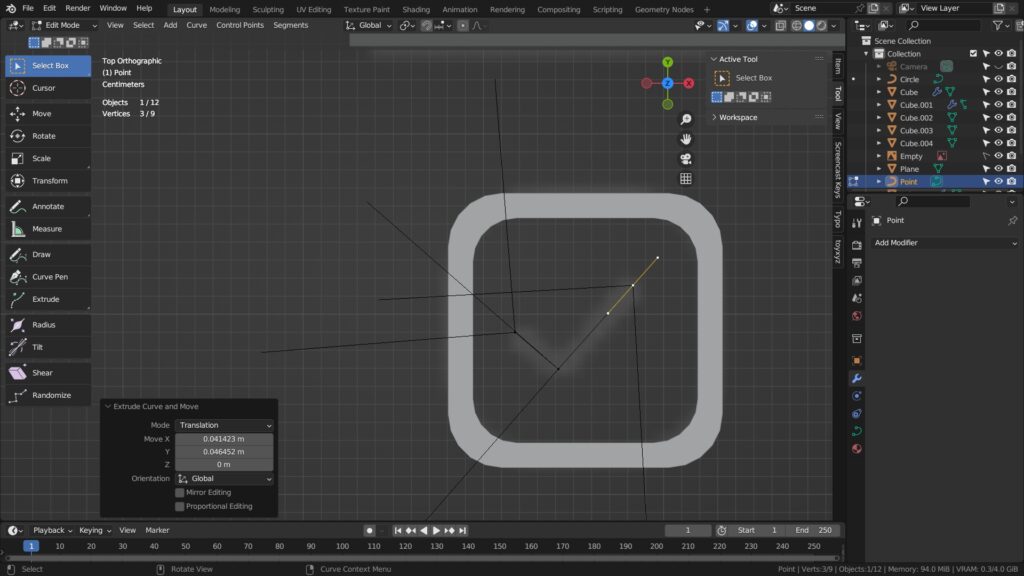
The check mark icon was created by using an extruded curve point. I beveled the curve afterward.
This login button’s shell mesh was created the same way by using a scaled plane. But before applying [Control + Shift +B] to smooth the edges, press [Control + A] in Object Mode to reset all transforms.
After that, smooth the edges, duplicate it, move the origin to the geometry, scale it, extrude it, and boolean it.
Please use this image as a reference image to design your UI interface.
This is the end of the tutorial. 🙂