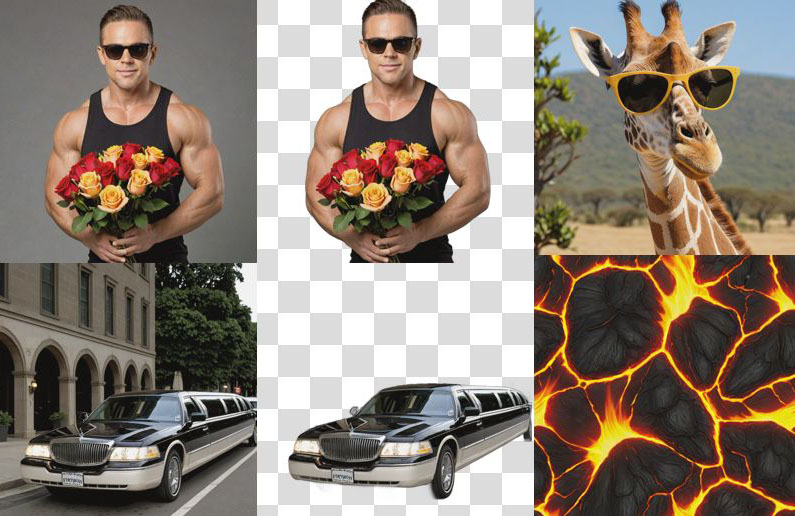


This images were created by Stable Diffusion with the following prompt:
- Prompt – muscle man wearing a flame tank top, holding a bundle of roses, and sunglasses, portrait photo
- Prompt – luxurious limousine
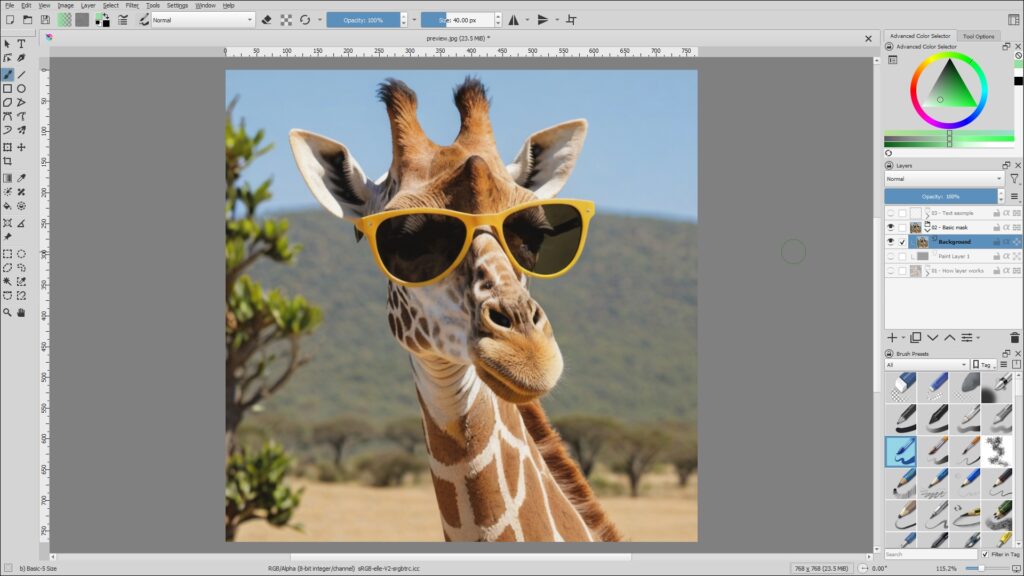
- Prompt – giraffe wearing sunglasses
- Prompt – flaming magma texture
- Negative prompts for all – (worst quality, low quality, normal quality:1.8)
The background was removed in Stable Diffusion, by using an extension called [stable-diffusion-webui-rembg].
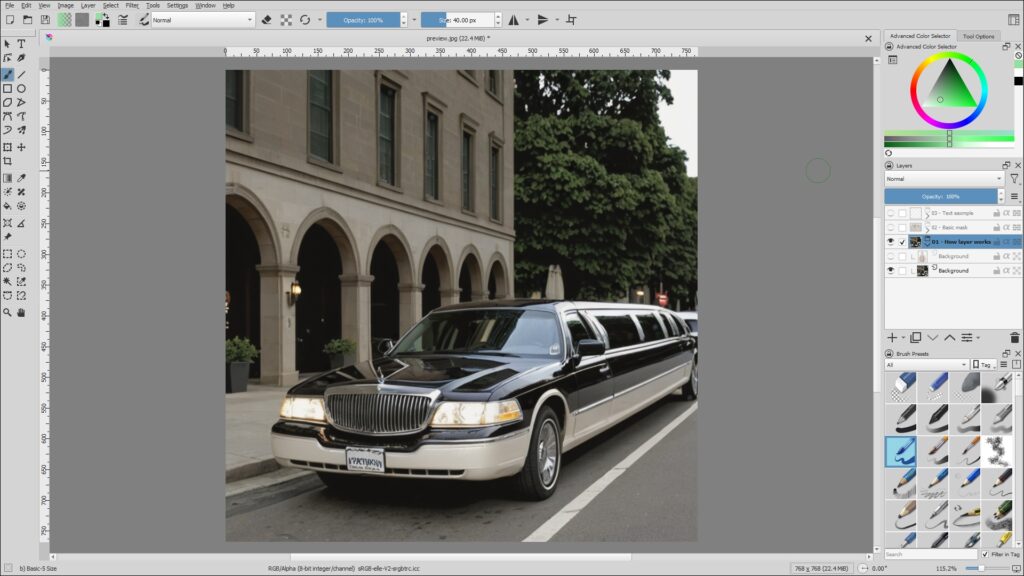
Layers work like this. If you have two or more layers, the upper layer will have the priority.
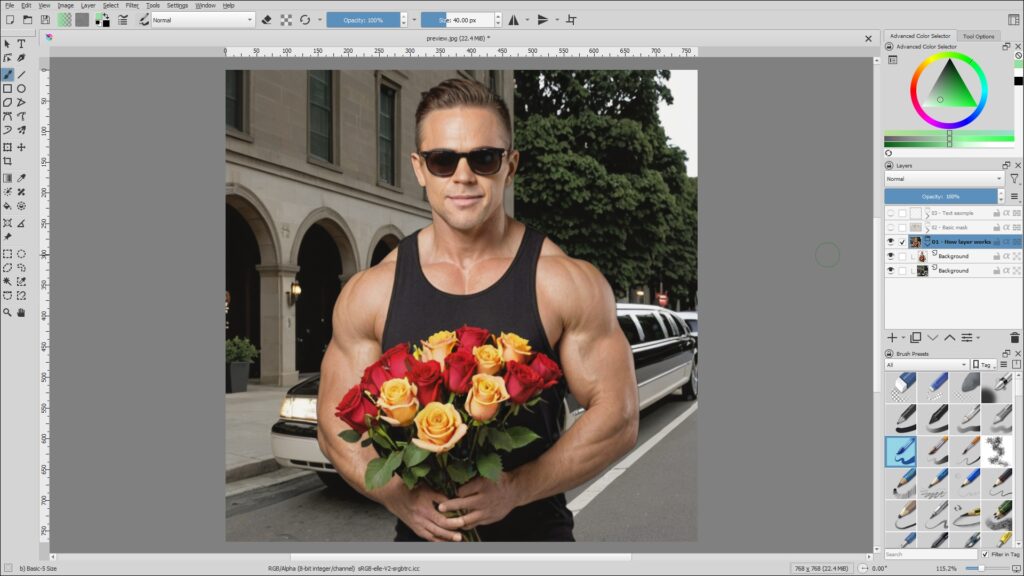
The muscle man layer is located above the limousine layer. If the muscle man layer was located below the limo layer, the muscle man won’t show up in the final image.
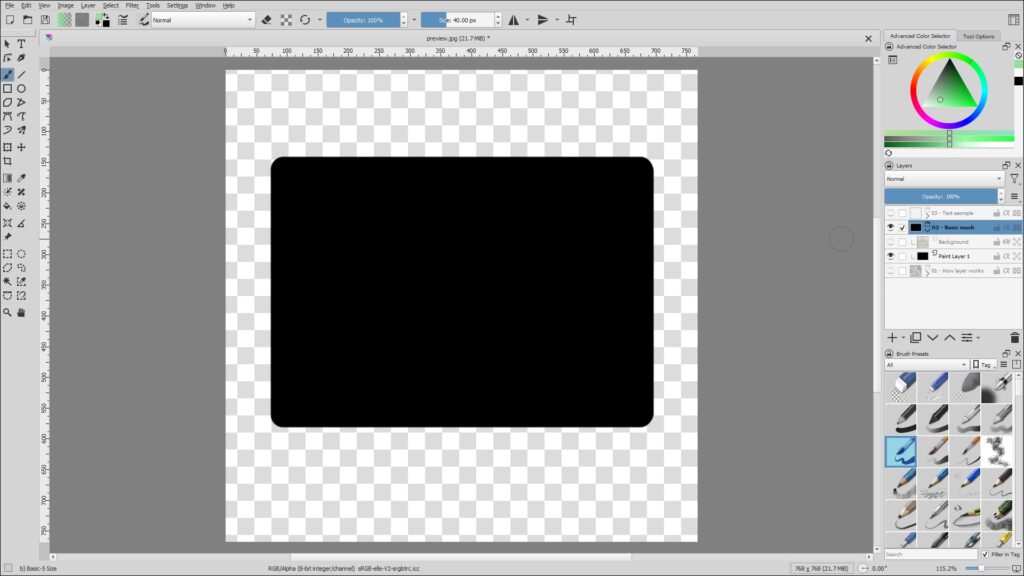
A mask in Krita works a bit different than the usual layers in other applications like Photoshop or CorelDRAW. The background image needs to be at the highest place in the layer order, and its alpha status needs to be activated in order to use the mask layer that will be placed below the background layer.
Here is the mask layer. Notice it’s located below the giraffe layer? That’s how the masking works in Krita.
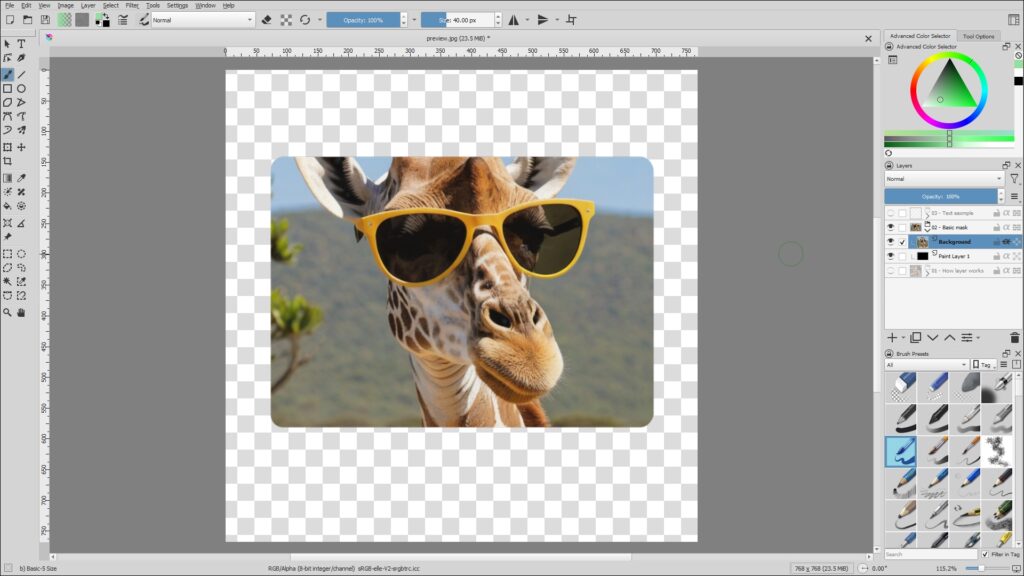
In order to make this work, the giraffe is at the top layer, and the mask is located below the giraffe layer. The giraffe layer must click the “A” button on the right side of the layer to make this masking effect work.
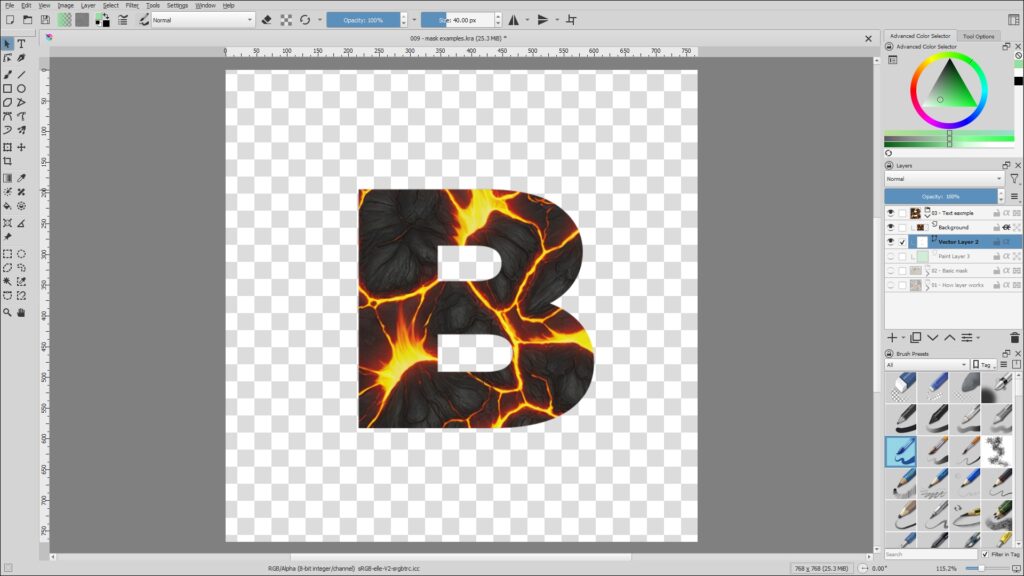
Here is a simple example. I created a text object, placed it below the magma layer, and clicked the “A” button on the magma layer to use the text layer as the mask layer. Then what will happen if I had another layer below the mask layer? What if I wanted to have a light green background?
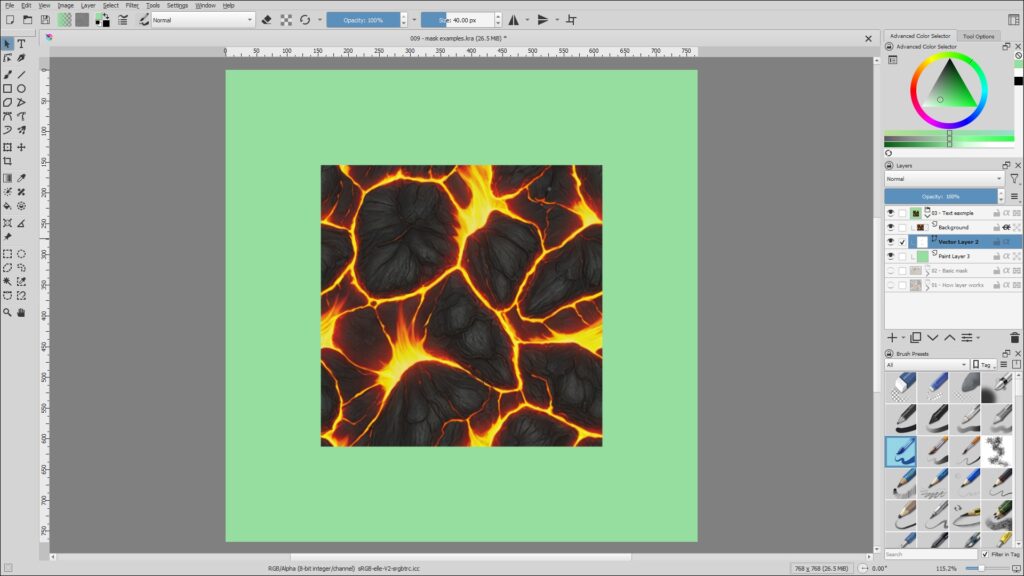
This is the result we get, when we add a light green fill layer below the mask layer. In order to avoid this issue, we must right click the magma layer and merge it with the text layer.
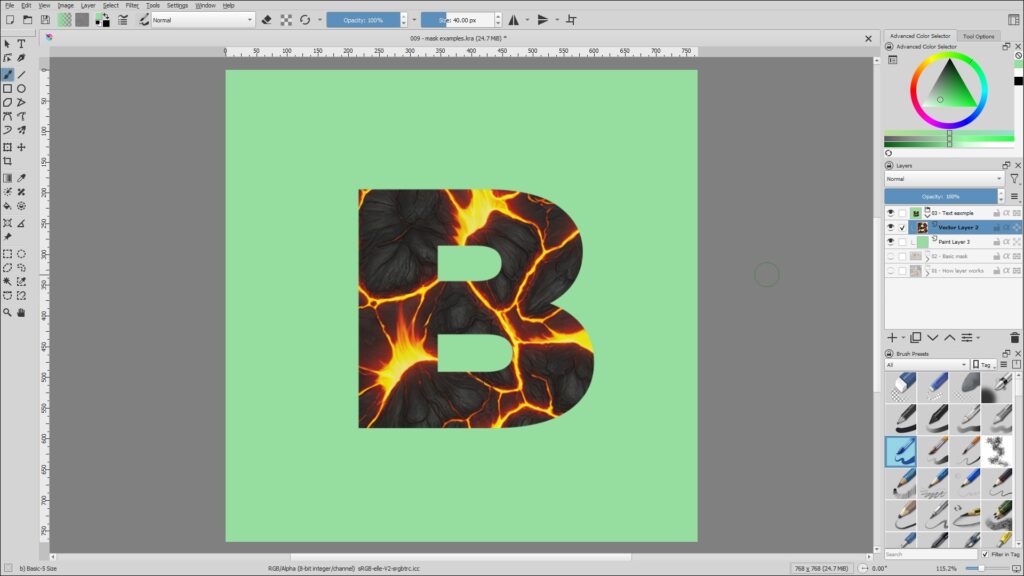
This is how the final image looks like.
This is the end of the tutorial. 🙂