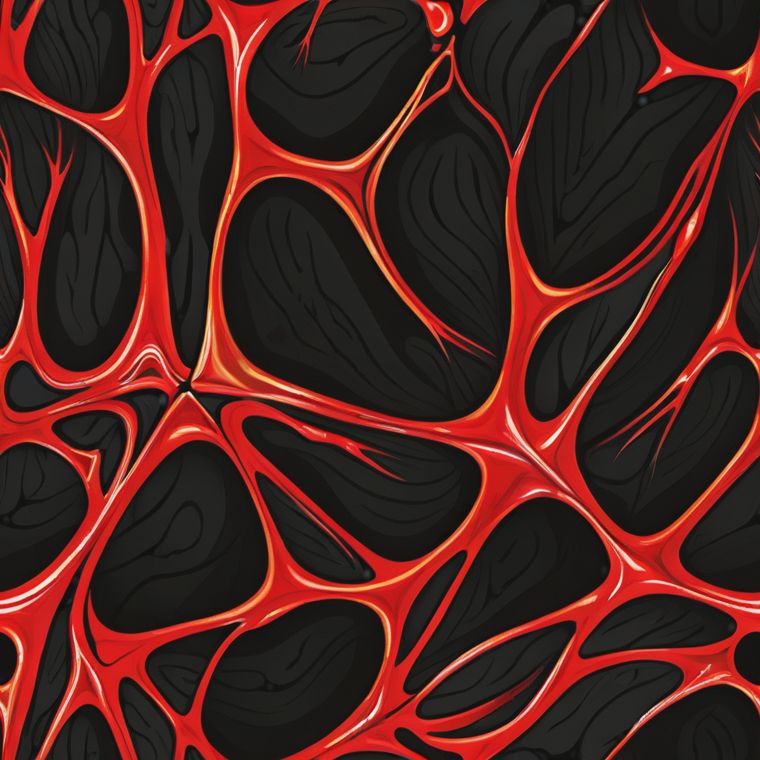


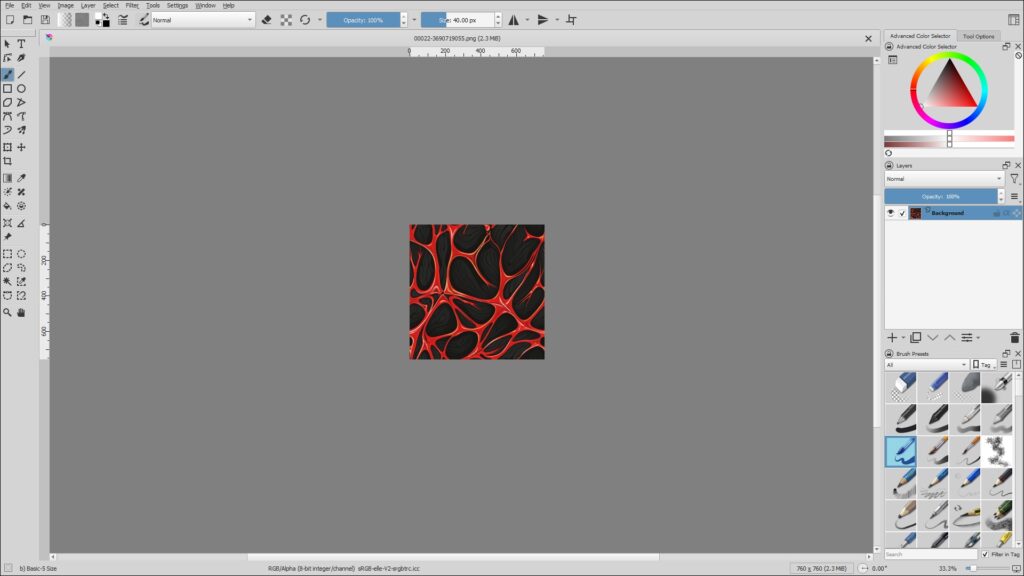
This image was created by Stable Diffusion with the following prompt:
- Prompt – seamless wallpaper, abstract art, (scary red vein theme with black background), seen from a very far distance
- Negative prompts for all – (worst quality, low quality, normal quality:1.8)
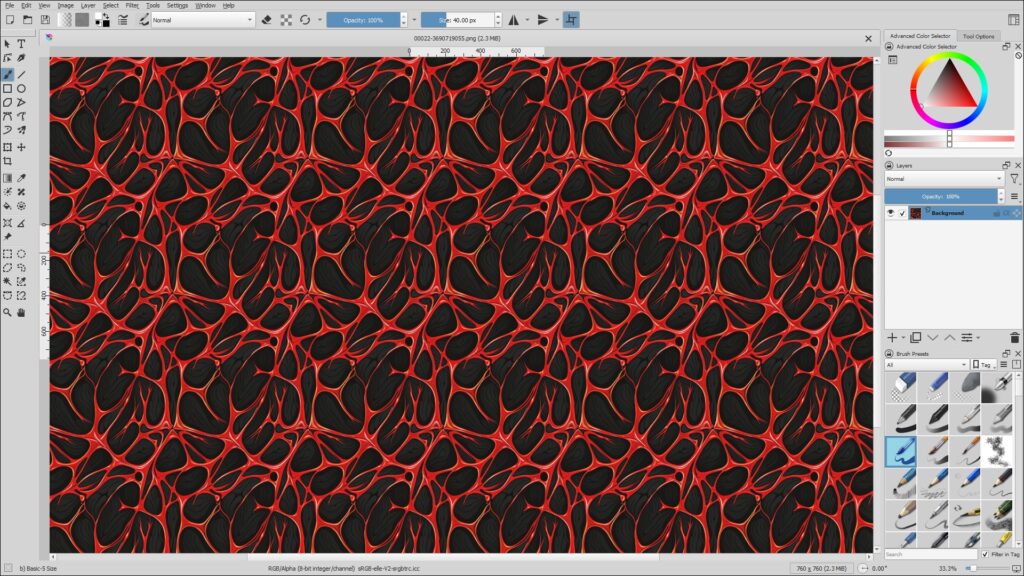
I have used an extension called [asymmetric-tiling-sd-webui]. Please remember to activate the [Asymmetric tiling] options when creating a new seamless image.

This image was created by Stable Diffusion with the same prompt as above.
Open the first image and type [W] to preview the seamless image.
By using the rectangular selection tool, select as much seamless image as possible and [Control + C] to copy. After that, go to [File -> New] and generate a new image by selecting [Create from clipboard]. After that, you’ll be able to save the seamless texture image. Another method to perform the same task would be to simply select and crop the image.
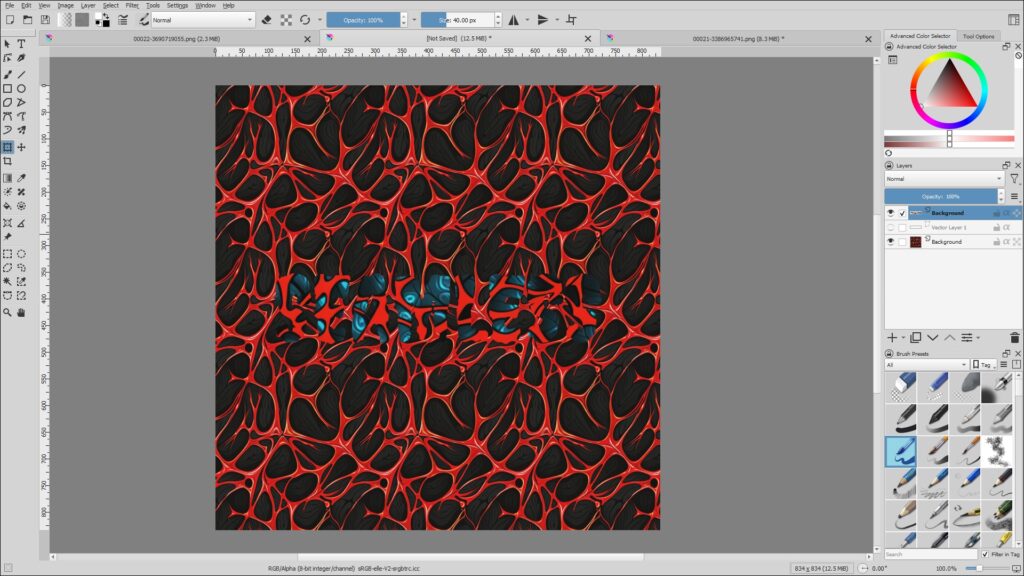
Create a text object called ‘Seamless’. I have used a [Creepster font from Google Fonts]. After that copy and paste the second image into the same document. The second image will be place at the top of the layer. Please use [Control + T] shortcut to resize the second image to be big enough to go into the text object shortly. This one’s going to be a bit tricky. Here are the steps.
- [Control + Click] the text object layer to get the text outline selection.
- Go to the top layer, and [Control + Shift + I] to invert the selection and press the delete key to remove everything except the text shape part.
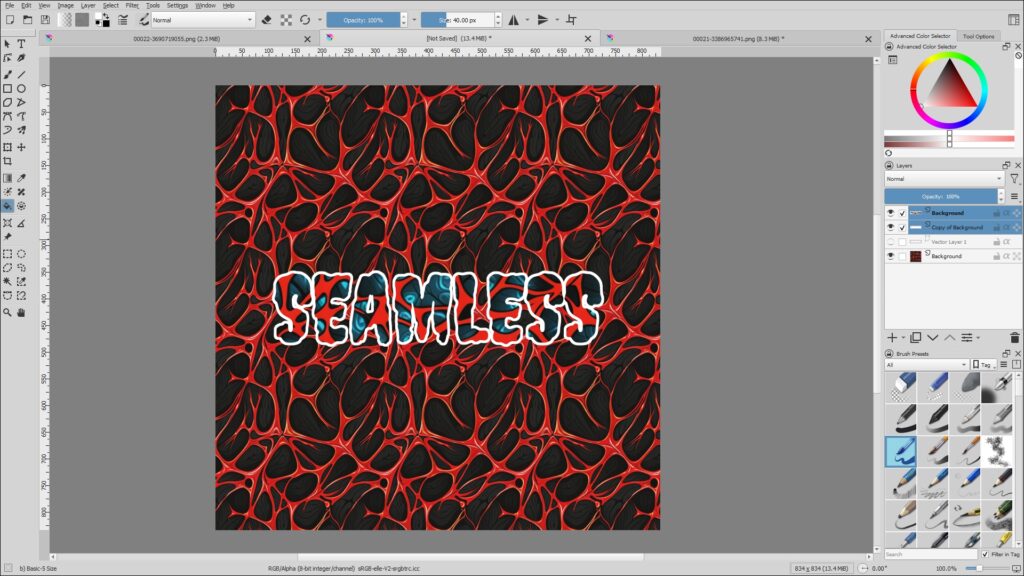
[Control + Click] the top layer to select the text shape. Go to [Select -> Grow selection] and grow it by 5 pixels. Create a new layer. Fill the layer with white color. Send the top layer below the second image layer to create an outline like so.
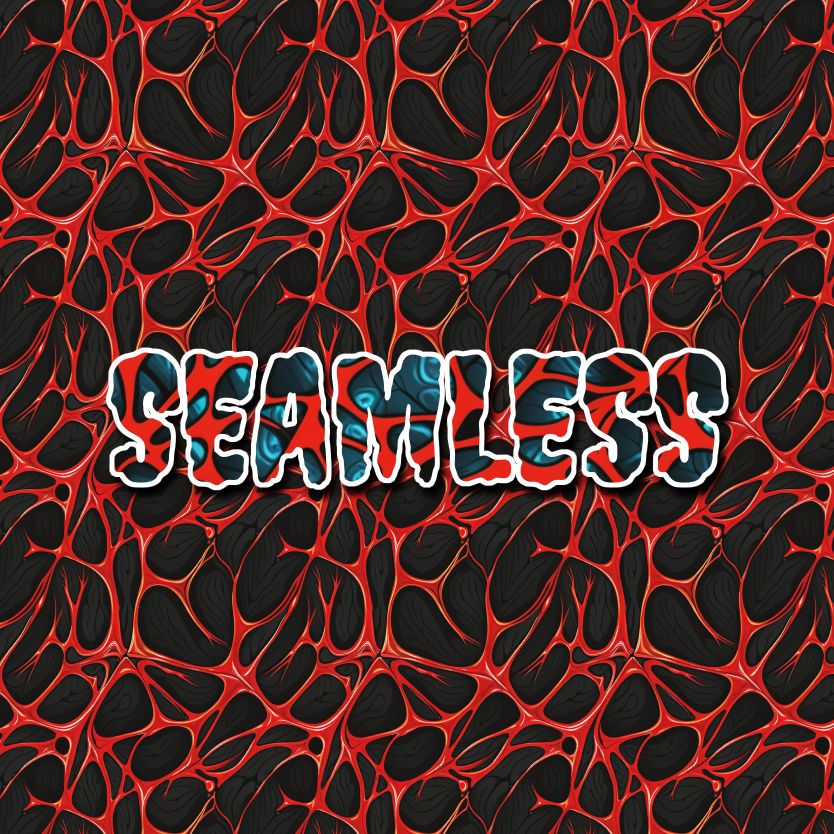
This is the result, and it looks like this image can be sold for $50+ in Fiverr, as an album cover for aspiring recording artists.
This is the end of the tutorial. 🙂