

Let’s create this haunted house scene with Stable Diffusion and Krita. If you don’t have access to Stable Diffusion, feel free to use the sample images here to follow along.
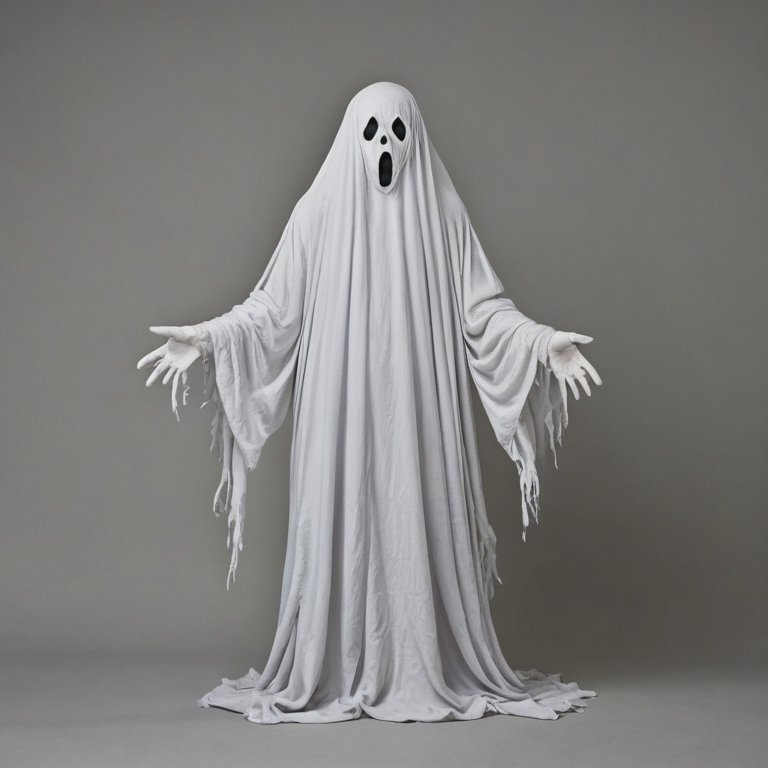
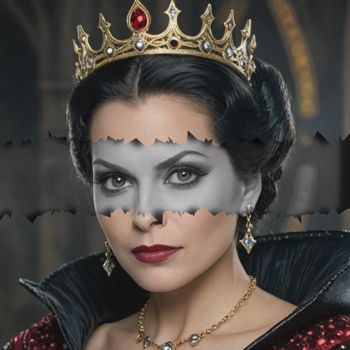
This image was created by Stable Diffusion with the following prompt:
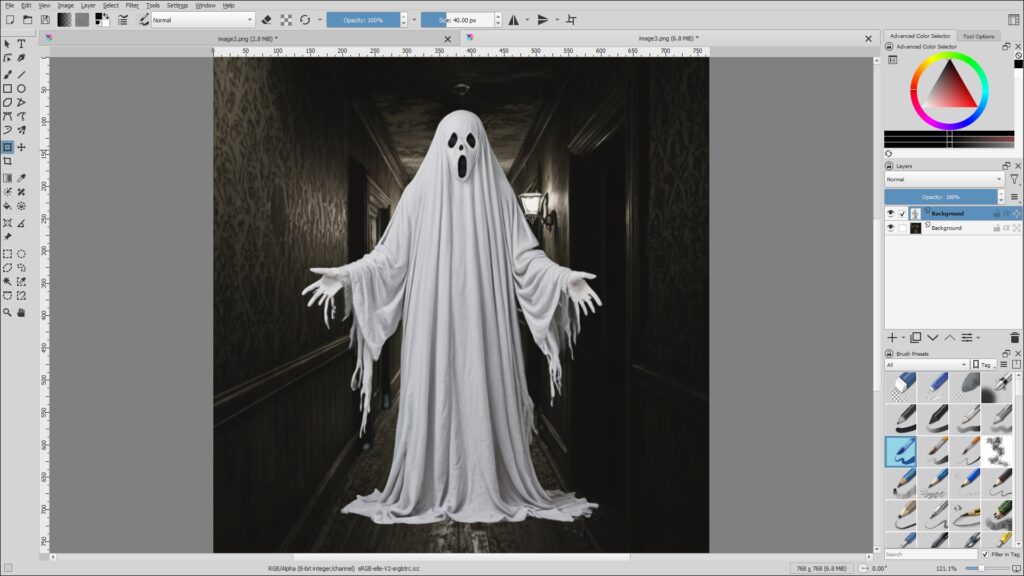
- Prompt: Scary Halloween ghost costume, doing the spooky pose toward the camera, isolated on grey background, full body shown
- Negative prompt: (worst quality, low quality, normal quality:1.8)
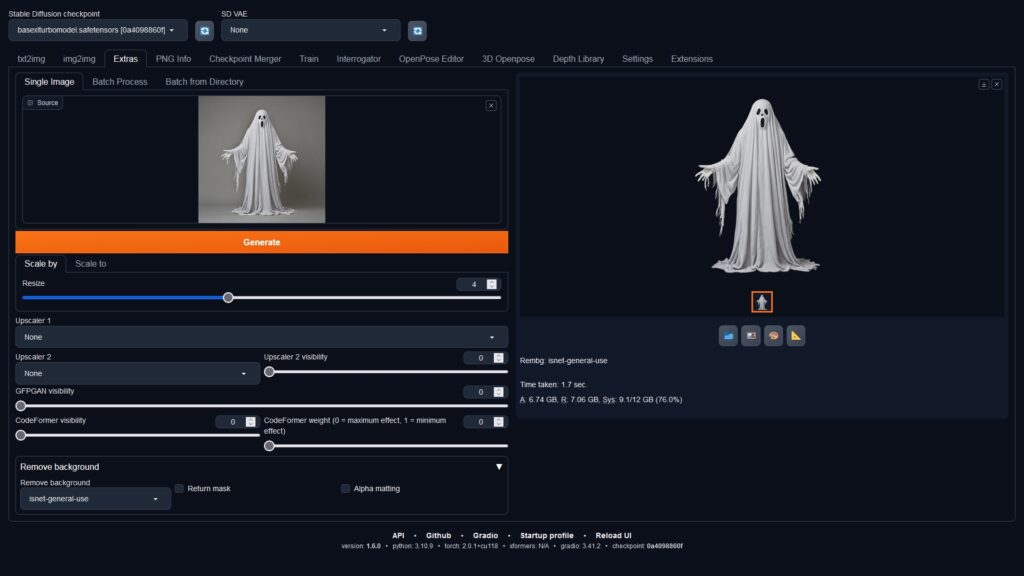
I have removed the background by using Stable Diffusion’s Remove Background extension. This extension can be installed by going to the [Extensions] tab, and installing an extension called [rembg]. The model that I used was [isnet-general-use], and it will automatically download when you use the model.
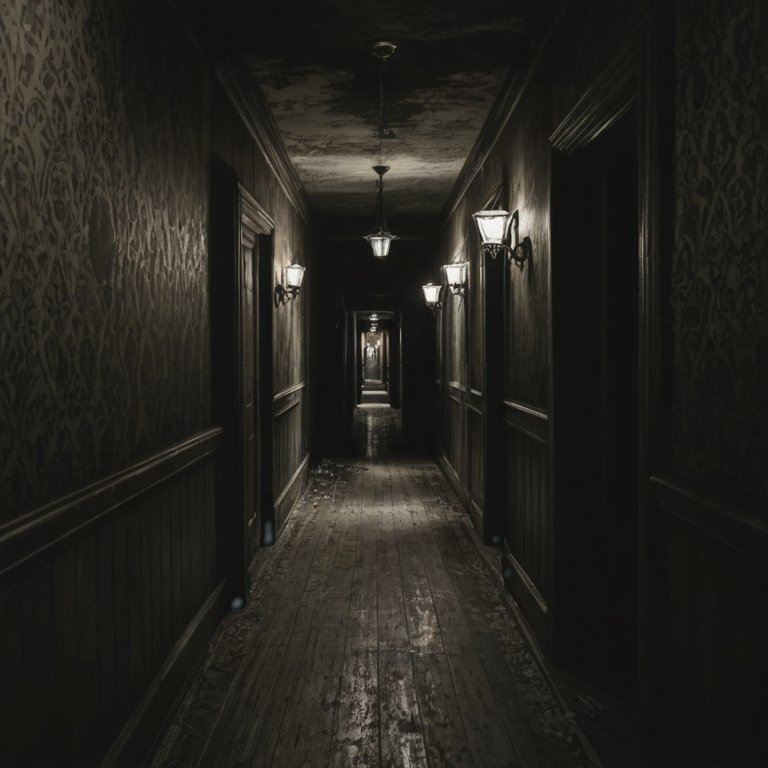
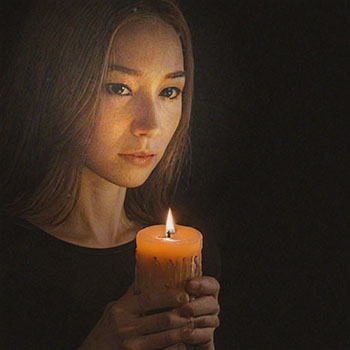
This image was created by Stable Diffusion with the following prompt:
- Prompt: Haunted house interior, dark hallway, spooky and scary
- Negative prompt: (worst quality, low quality, normal quality:1.8)
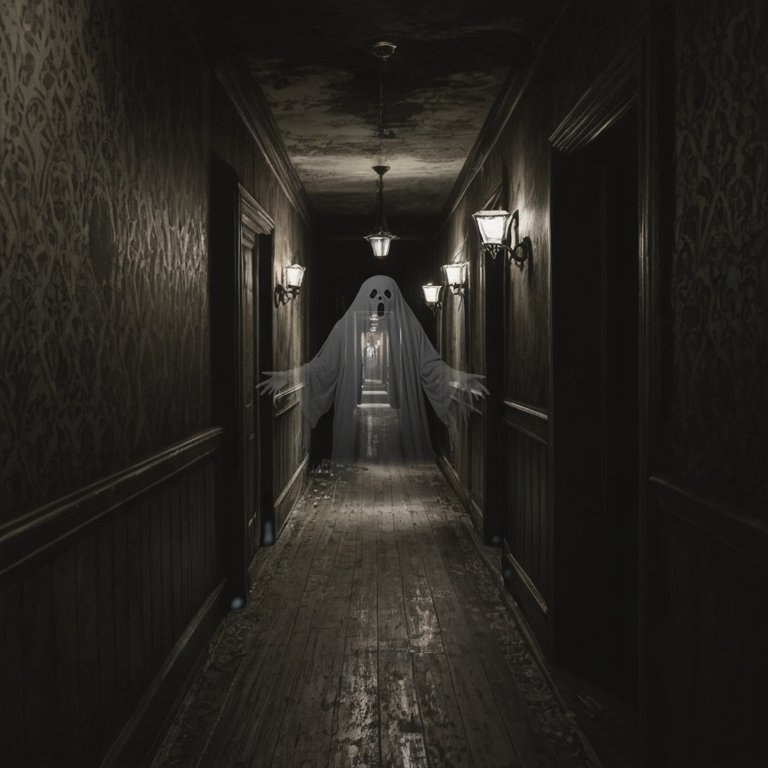
Open both images in Krita. Go to the ghost image, press [Control + A] to select all, and [Control + C] to copy. Go to the background image, and press [Control + V] to paste.
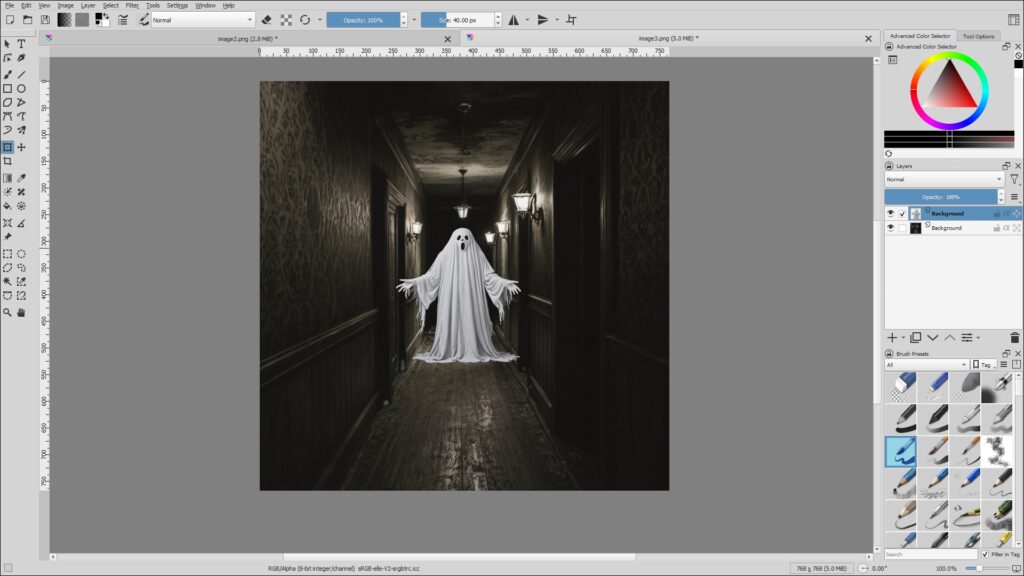
Press [Control + T] to resize and move the ghost image.
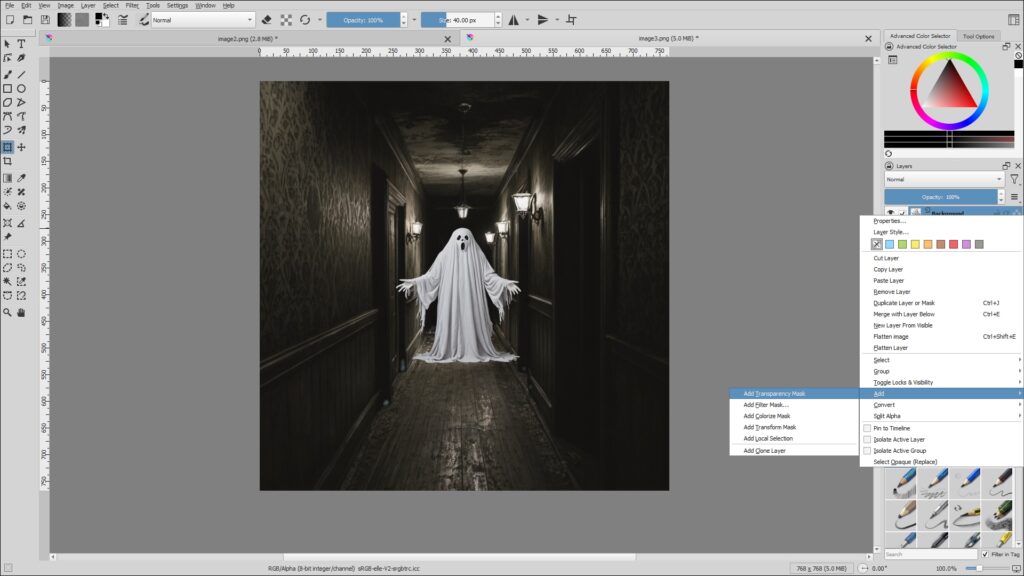
Right click the ghost layer to add a new Transparency Mask.
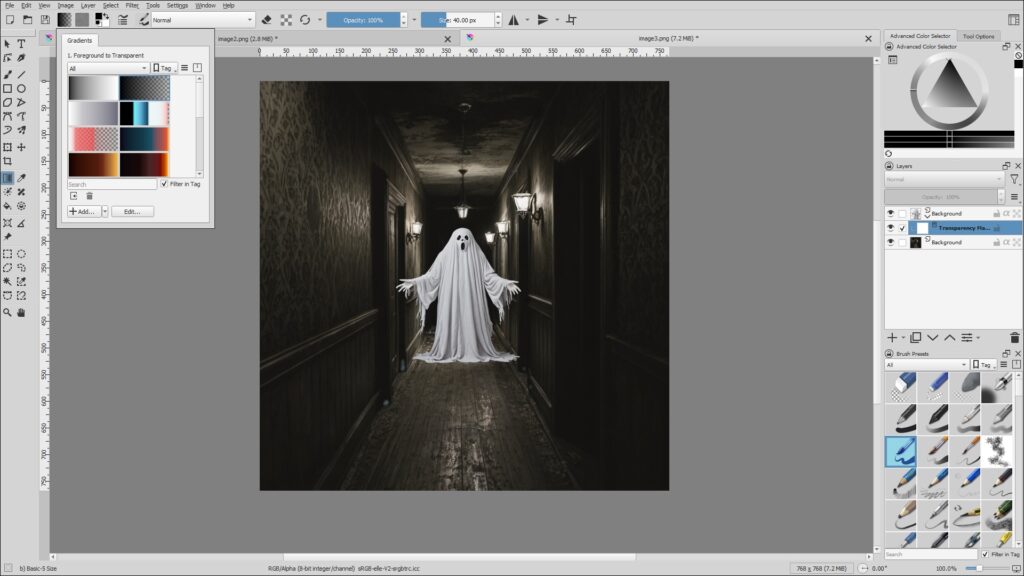
Select a foreground to transparent gradient, and make sure black is set as the foreground color.
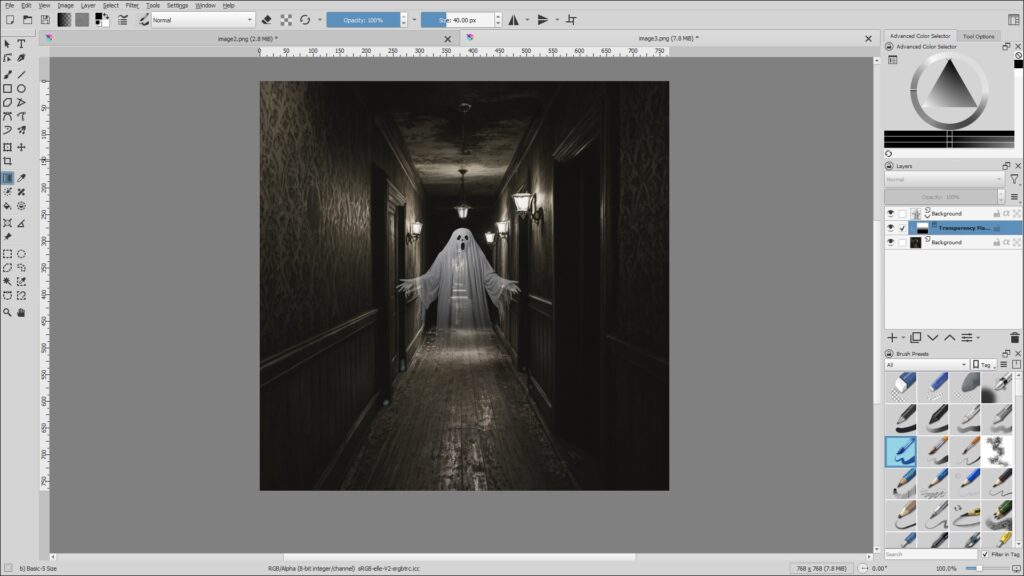
Apply a gradient from the ghost’s feet to the head.
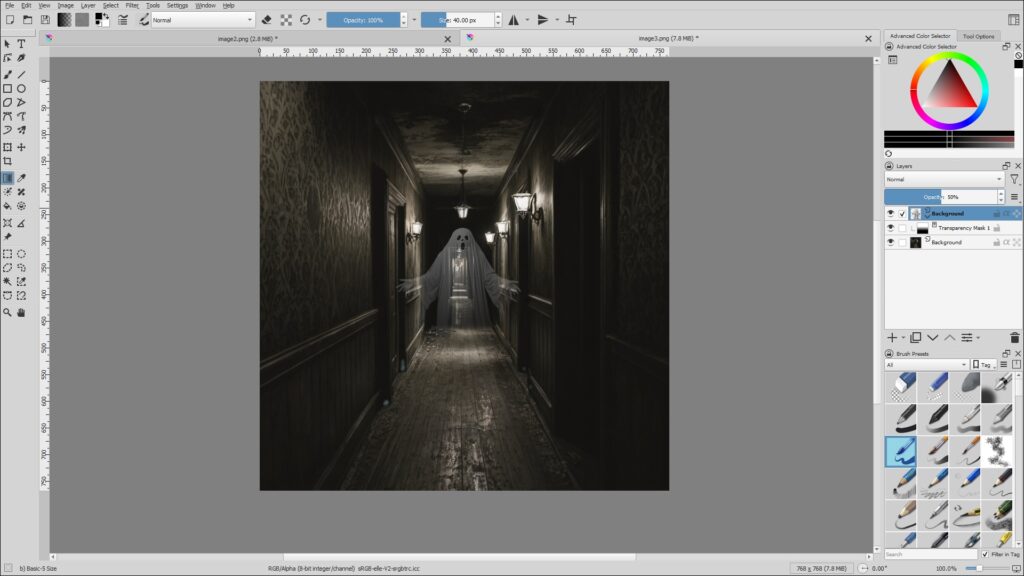
Lastly, let’s lower the Layer Opacity to 50%.
Here is the result. This is the end of the tutorial. 🙂